Table of Contents
Advertisement
Advertisement
Table of Contents

Related Manuals for Elmo PX-30


Summarization of Contents
Handling Precautions
Installation and Carrying Precautions
Guidance on placing and carrying the product safely, including setup.
AC Adapter Cabling Safety
Warning against tightly wrapping the power cable around the AC adapter.
1 Preparation
Package Contents Overview
List of all items included in the product package.
2 Basic Operations
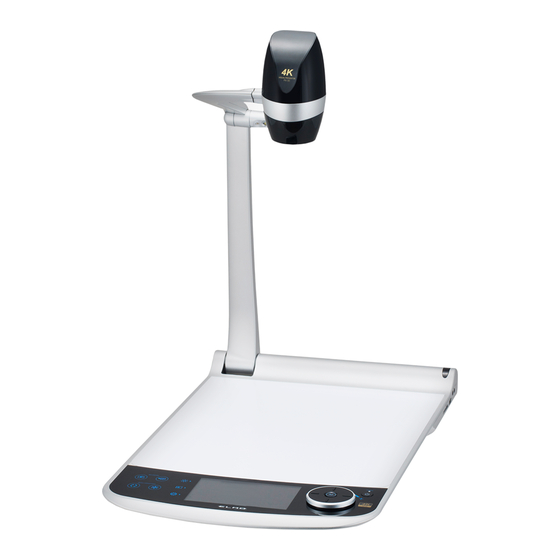
About the Document Camera
Introduction and identification of the document camera components.
Part Names Identification
Labeling and identification of the main parts of the document camera.
Operating Panel Overview
Detailed description of buttons and controls on the operating panel.
Rear Panel Connections
Explanation of the input and output ports located on the rear panel.
Side Panel Ports
Description of the ports and slots available on the side panel.
Camera Movement and Handling
Information on the camera arm's movement range and handling.
Setup and Folding Procedures
Step-by-step guides for setting up and folding the document camera.
2-2 Supplied Accessories
Remote Control Operation
Instructions for using the remote control to operate the camera.
Whiteboard Sheet Usage
Guidance on using the whiteboard sheet for annotation and drawing.
Caution Sticker Information
Information on the caution sticker and its placement on the unit.
2-3 Shooting Images
Connecting to Display Devices
Steps to connect the camera to a projector or monitor via HDMI or RGB.
Powering the Device On/Off
Procedure for turning the document camera on and off using the power button.
Using the LCD Touchscreen Interface
Guide to interacting with the camera's touchscreen interface for operations.
2-4 Configuring the Settings
How to Configure Settings
Accessing and navigating the camera's settings menu.
Image Quality Settings
Adjusting image parameters like white balance, contrast, and contour.
Network and Product Information
Configuring network settings and viewing product details.
Details About Functions
Image Manipulation Functions
Using Freeze, Image Rotation, and Mask features.
Image Quality Enhancements
Applying Contour Correction, Contrast, and Time-Lapse recording.
3 Advanced Operations
Using SD Card and USB Flash Drive
Inserting and managing storage media for recording and playback.
Still Image Recording Process
Capturing still images onto storage media or internal memory.
Video Recording Process
Procedures for recording video to SD cards.
Recording Specifications
Managing Recorded Files
How to view, browse, and delete recorded still images and videos.
Thumbnail Browsing and Deletion
Navigating recorded files and deleting unwanted items.
Explanation of Icons
Still Image Display and Icons
Viewing individual still images and accessing related menus and icons.
3-2 About RS-232C
RS-232C Connection Setup
Steps for establishing a PC connection using an RS-232C cable.
3-5 About EIT(ELMO Interactive Toolbox)
Software Installation Guide
Instructions for downloading and installing the EIT application.
5 Trouble Shooting
Symptoms and Confirmation Steps
Checking common symptoms to identify potential problems and their causes.
Need help?
Do you have a question about the PX-30 and is the answer not in the manual?
Questions and answers