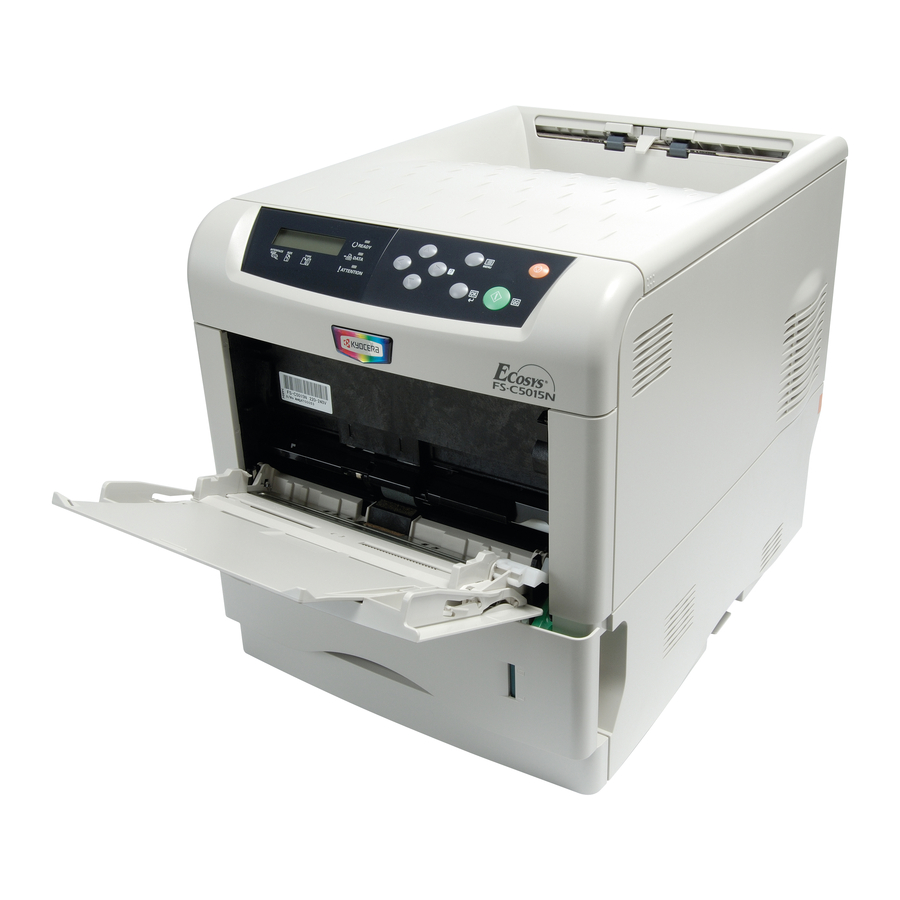
Kyocera FS C5015N - Color LED Printer Operation Manual
Km-net for accounting
Hide thumbs
Also See for FS C5015N - Color LED Printer:
- User manual (105 pages) ,
- Operation manual (66 pages) ,
- Command reference manual (410 pages)
Table of Contents
Advertisement
Quick Links
Advertisement
Table of Contents

Related Manuals for Kyocera FS C5015N - Color LED Printer


Summary of Contents for Kyocera FS C5015N - Color LED Printer
-
Page 1: Operation Guide
KM-NET for Accounting Operation Guide... - Page 3 Unauthorized reproduction of all or part of this guide is prohibited. The information in this guide is subject to change without notice. Kyocera Mita cannot be held liable for any problems arising from the use of this product, regardless of the information herein.
-
Page 4: Table Of Contents
2.4. Registering the Printing System ..............6 2.5. Assigning the Account ID ................7 2.6. Enabling the Accounting Function ..............8 2.7. Configuring the Kyocera Extended Driver ............8 3. Screen Layout ...................... 10 3.1. Printing System View ..................10 3.2. -
Page 5: What Is Km-Net For Accounting
Account management means to manage the counters on the printing systems on an account basis. Account management first requires account registration on each printing system. The count is then recorded on each counter of the account. Kyocera Extended Kyocera Extended KM-NET for Accounting... -
Page 6: Accounting System Configuration
Accounting Function on page 8. Step 6 Register account ID to Kyocera Extended Driver of the client PC. Refer to Configuring the Kyocera Extended Driver on page 8. System configuration is complete. Refer to each section in this document for details on operations and settings. -
Page 7: Installing The Km-Net For Accounting
2.3. Starting the KM-NET for Accounting When the installation is complete, you can start KM-NET for Accounting by clicking the start menu > All Programs > Kyocera > KM-NET for Accounting. Registering the passwords When KM-NET for Accounting is launched for the first time, the KM-NET for Accounting Startup Wizard starts. -
Page 8: Registering The Printing System
Login When KM-NET for Accounting is launched, the authentication screen for the administrator password appears. Enter the password and click OK. 2.4. Registering the Printing System After login, the Add Printing System Wizard starts. If you do not need to add printing systems here, click Cancel. -
Page 9: Assigning The Account Id
Click Finish. Registering of the printing systems starts. After registration is complete, the selected printing systems are registered in this application. Add printing system Registers a printing system by specifying an IP address or a host name. Select Add printing system. Click Next. Specify IP address/Host name, Community name and Timeout time. -
Page 10: Enabling The Accounting Function
Select the checkbox for each function to apply the accounting function. Click OK. 2.7. Configuring the Kyocera Extended Driver Perform the following procedure to register the account ID to Kyocera Extended Driver. Open the Printers and Faxes window from the Start menu. - Page 11 Click OK. If you want to protect and restrict the settings in the Administrator Setting dialog box, refer to the Kyocera Extended Driver Operation Guide. Account ID List Configuration Perform the following procedure to register account IDs in the account ID list.
-
Page 12: Screen Layout
3. Screen Layout 3.1. Printing System View The main screen switches to printing system view when the Printing system tab is clicked. Tree Inside the printing system view, the tree displays the printing systems registered in this application. All printing systems Displays all registered printing systems. -
Page 13: Account View
Sub list Displays the page counter by function. When the connected printing system is a multi- functional copier, function or media can be selected from the combo box on the upper right of the sub list. List style Counter name The name of the page counter, such as Copy, Print, Scan, FAX (Send), FAX (Receive) and Media (if supported). - Page 14 Main list Displays the printing systems relating to the account selected on the Tree. The Main list displays each printing system and the items below. Model name Displays the model name. Total displays the totals for each counter of each printing system. IP address/Host name The IP address or the host name.
- Page 15 Graph style The current page counter value is displayed in red and the maximum output/input value is displayed in blue. KM-NET for Accounting...
-
Page 16: Menu
4. Menu 4.1. File Menu The File menu allows you to import or export CSV and XML files. The printing system’s CSV file can register printing systems from one PC to another. The account CSV file can import settings for accounts and restrictions. The import settings for accounts are variables such as IP address, User ID, Account ID, Password, Maximum printing output/input for each function, etc. - Page 17 Import Account Account information including output/input restrictions, can be imported from an Account CSV file. The format of the Account CSV file is as follows. Column Item Description IP address/Host name Specifies the IP address or the host name of the printing system.
- Page 18 Column Item Description Enables maximum output/ Enables or disables the job accounting for input of the scanned other scanning other than for copying. (1: on, 0: off) than for copying FAX transmission output/ Specifies the maximum FAX transmission input output/input. Enables maximum output/ Enables or disables the job accounting for fax.
- Page 19 Column Item Description Model name The model name. Serial number The serial number. Asset number The asset number. Total printed pages The total printed pages. Export Counter Saves the names and counters of all printing systems to a CSV file. This file is for administration purposes only.
- Page 20 Saves all information in the database to an XML file. The saved file can be imported. Export Account ID List Saves account ID and name of all accounts to a CSV file. The Kyocera Extended Driver can import the file. Exit Quits the application.
-
Page 21: Edit Menu
4.2. Edit Menu The Edit menu allows you to create and manage user-defined folders.The following section describes how to use the Edit menu. Move to Folder Creates a link to a printing system or an account link to a folder. Usually, a link can be created by dragging and dropping a printing system to any folder which the administrator has created under My Folder. -
Page 22: View Menu
4.3. View Menu The View menu allows you to configure views and rename printing systems and accounts. The following section describes how to use the View menu. Configure Views Configures the style of the tree and the sub list. Tree Changes the style of the tree to printing system-oriented or account-oriented. -
Page 23: Printing System Menu
4.4. Printing System Menu The Printing System menu allows you to add and delete printing systems to this application and configure the account ID registered in the printing system. The following section describes how to use the Printing System menu. Starts the Add Printing System Wizard to add the printing systems. - Page 24 Property Confirms and configures the settings of the selected printing system. Note All items which cannot be configured and those not supported by the printing system are grayed out. Model name The model name. IP address/Host name The IP address or the host name. Serial number The serial number of the printing system.
-
Page 25: Account Menu
Enable Job Accounting Enables job accounting function. Enable Copy based Job Enables job accounting for copying. Accounting Enable Printer based Job Enables job accounting for printing. Accounting Enable Scan based Job Enables job accounting for scanning. Accounting Enable FAX based Job Enables job accounting for FAX. -
Page 26: Counter Menu
Output permission Check the output which is allowed using the account. Note Only the available outputs are displayed. Property Changes the name of the selected account. Account ID Displays the account ID. Account name Enter the new account name. The maximum length of an account name is 32 characters. -
Page 27: Tool Menu
4.7. Tool Menu The Tool menu allows you to configure the option settings. The following section describes how to use the Tool menu. Option Changes the administration and database password and configures the setting of polling and column. Administrator Password Changes the administrator password. -
Page 28: Help Menu
Polling Enables polling and adjusts the interval. Column Configures the columns displayed in the main list. 4.8. Help Menu The Help menu allows you to refer to the help pages, the version of this application and copyright information. The following section describes how to use the Help menu. Contents Displays Help. -
Page 29: Troubleshooting
5. Troubleshooting If trouble occurs when using Network Tool for Accounting, refer to the table below to diagnose the problem and resolve it. If the trouble persists, contact your service representative or authorized service center. Symptom Cause Remedy The application does Your PC does not meet the Upgrade your PC. - Page 30 KM-NET for Accounting...
- Page 32 ©2005 is a trademark of Kyocera Corporation...
- Page 33 Revision 1.4 2005.6...
Need help?
Do you have a question about the FS C5015N - Color LED Printer and is the answer not in the manual?
Questions and answers