Table of Contents
Advertisement
Advertisement
Table of Contents

Related Manuals for soundsation CLARITY 8A


Summary of Contents for soundsation CLARITY 8A
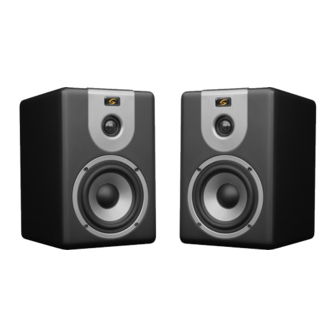
- Page 1 CLARITY SERIES CLARITY 5A/6A/8A/10A ACTIVE 2 WAY STUDIO MONITOR USER’S MANUAL...
-
Page 2: Table Of Contents
TABLE OF CONTENTS Important Safety Instructions........2 Introduction/ Unpacking........3 Monitor/Subwoofer rear panel......4 Rear Panel Connections........5 System Control/ Speaker Placement..........6 Troubleshooting............7 Technical Specifications........8 SPL Curves............Warranty and service .......... WEEE and CE disclaimers........ -
Page 3: Important Safety Instructions
Important Safety Instructions 1. Read these instructions. 2. Keep these instructions. 3. Heed all warnings. 4. Follow all instructions. 5. Do not use this apparatus near water. 6. Clean only with dry cloth. Terminals marked with this symbol carry 7. Do not block any ventilation openings. Install in electrical current of sufficient magnitude to accordance with the manufacturer’s instructions. -
Page 4: Introduction/ Unpacking
INTRODUCTION Congratulations on your purchase! Growing demands on music recording professionals have created the need for better monitor performance at more realistic prices. The CLARITY-Series class of Powered studio monitors was created to meet these needs. Please take a moment to carefully read the information in this guide. -
Page 5: Monitor/Subwoofer Rear Panel
MONITOR/SUBWOOFER REAR PANELS SIGNAL XLR INPUT JACK WIRING SIGNAL XLR INPUT JACK WIRING Note: CLARITY-5A,CLARITY-6A,CLARITY-8A,CLARITY-10A have similar back panels. -
Page 6: Rear Panel Connections
CONNECTIONS If on the other hand, you are using passive (non-powered) monitor Powering On speakers that require an external amplifier, hook the two outputs of the subwoofer up to the inputs of the stereo monitor amplifier. Typically this would also be an XLR connector, but if need be, you could use the con- All Connections should be made, all fader controls should be set at their nections providing the amplifier will accept them at amp input. -
Page 7: System Control/Speaker Placement
SYSTEM CONTROL/ SPEAKER PLACEMENT System Volume Speaker Placement The input sensitivity is adjusted (counterclockwise reduces sensitivity) with Positioning your monitors correctly in the studio is critical to their perform- the rear panel mounted system gain control. Adjustment range is from - ance.Typically, they should be placed so that the listening position is fully 80db to + 6db, which should suffice for most conditions. -
Page 8: Troubleshooting
TROUBLESHOOTING PROBLEM: IF THERE IS NO POWER, CHECK TO SEE IF... bleshooting section above before continuing to the next steps. The power cord is plugged into both the IEC socket on the rear panel of the unit and into the AC mains Disconnect the signal cable at the input of the monitor. -
Page 9: Technical Specifications
SPECIFICATIONS CLARITY-5A CLARITY-6A CLARITY-8A CLARITY-10A Frequency Response 53Hz -20kHz +/- 2.0dB 50Hz -20kHz +/- 2.0dB 45Hz -20kHz +/- 1.5dB 35Hz -150Hz High Frequency Driver 1” Soft Dome 1” Soft Dome 1” Soft Dome Low frequency Driver 5” Aramid Glass Fiber 6.5”... -
Page 10: Spl Curves
SPL CURVES CLARITY-5A CLARITY-6A CLARITY-8A CLARITY-10A... -
Page 12: Weee And Ce Disclaimers
www.soundsationmusic.com...
Need help?
Do you have a question about the CLARITY 8A and is the answer not in the manual?
Questions and answers