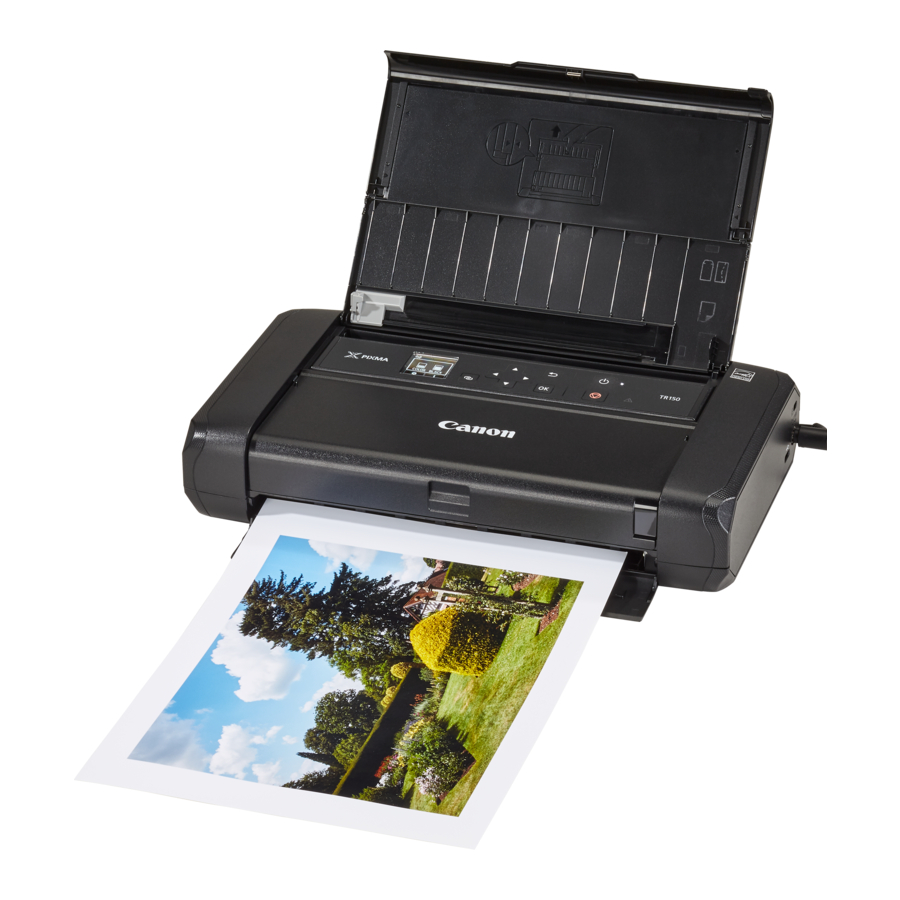
Canon PIXMA TR150 Manual
- Getting started (77 pages) ,
- Getting started (17 pages) ,
- Getting started (17 pages)
Advertisement
Online Setup
Detailed instructions and videos are available on the Canon website.
Setup a Computer
https://ij.start.canon

Setup a Smartphone


Instructional Videos


Setting Up the Product
Box Contents
- Ink Tanks
![]()
- AC Adapter
- Power Cord
- USB Cable
- Print Head
![]()
- Setup CD-ROM for Windows
- Safety and Important Information
- Getting Started (this manual)


Removing Packing Materials

- Remove and dispose of any packing materials and orange tape.
- Open and extend the rear tray cover, and then remove and dispose of the protective material.

- The paper output slot cover opens automatically.

Turning on the Unit

- Connect the power cord.


At this time, do not connect any other cables.
- Press and hold the ON button until the ON lamp lights up.

- Use the
![]() and OK buttons to select a language.
and OK buttons to select a language.

- Press the OK button.
![]()

 and OK buttons to select a language.

Scan the QR code for a video tutorial of the setup procedure.
Installing the Print Head

- Open the print head cover.
![]()


Do not touch the print head holder until it stops moving.
- Press inward on both tabs on the print head lock lever to release the lock, and then raise it firmly until it stops.
![]()
- Remove the print head from its package.


There may be some transparent or light color ink on the inside of the bag the print head comes in - this has no effect on print quality. Be careful not to get ink on yourself when handling these items.
- Remove the protective cap.


Do not touch the areas shown in the figure. Otherwise, the printer may not print correctly.

- Set the print head in the print head holder so the
![]() mark faces inward.
mark faces inward.

- Hold both tabs on the print head lock lever, and then lower it.
![]()
 mark faces inward.

Once you have installed the print head, do not remove it unnecessarily.
- To lock the print head lock lever, push the left and then the right tabs until they snap into place.


Installing the Ink Tanks

- Remove the orange cap from the Black ink tank.

- Install the ink tank.
- Insert the ink tank into the right-hand side of the print head so the
![]() mark faces inward, and then press down until it clicks.
mark faces inward, and then press down until it clicks.

- Check that the lamp on the ink tank is lit. If the lamp is not lit, press down on the back of the ink tank.
- Insert the ink tank into the right-hand side of the print head so the
- Repeat steps 1 to 2 and install the Color ink tank as well, on the left-hand side.

- Close the print head cover.
![]()

 mark faces inward, and then press down until it clicks.


Loading Paper

- Press the OK button.
![]()
- Slide the paper guide to the left
![]()
- Load Letter or A4 sized plain paper against the right edge with the print side facing up.
![]()
- Align the paper guide to the width of the paper, and then check that the paper thickness lever is set to the right.
![]()
- Press the OK button.

- Press the OK button.


Scan the QR code for a video tutorial of the setup procedure.
- Check that the following screen appears.
![]()

What device are you connecting?
- Connecting to a Computer
If you are using multiple computers, perform these steps on each computer.

- Access the Canon website from a computer.
https://ij.start.canon
![]()
- Select
![]() Set Up.
Set Up. - Enter your printer's model name and click Go.
- If prompted, select your country or region.
- Click Start.
- Click If you have already prepared your printer, go to Connect.
Note
The following steps are for Windows users. - Click Download.
- Run the downloaded file.
- Click Start Setup.
![]()
- Follow the on-screen instructions.
- These operations may take some time.
- To connect to a smartphone as well, see "Connecting to a Smartphone"

 Set Up.
Using the Setup CD-ROM for Windows
Double click EasySetup.exe in the CD-ROM, and then continue from step 3. If you do not have an internet connection, open the win folder in the CD-ROM and double click SETUP.exe. This will install the printer driver.
- Connecting to a Smartphone
If you are using multiple smartphones, perform these steps on each smartphone.

Prepare the following before starting.
- Enable the Wi-Fi setting on your smartphone.
- Connect your smartphone to the wireless router (if you have a wireless router).
Refer to your smartphone and wireless router manuals for more details.
- Install the "Canon PRINT Inkjet/SELPHY" app on your smartphone.
- Scan the QR code shown on the right to access the Canon website, and then download the app.

- Open your smartphone's Wi-Fi settings. Tap the network name (SSID) that starts with "Canon_ij_".
If "Canon_ij_" does not appear, proceed to step 3.
(Example of iOS screen)
![]()
- Open the installed app.
![]()
- Follow the on-screen instructions in the app to add your printer.


Once you have added your printer, you can print from your smartphone.
Using your Unit Without a Wireless Router
Refer to Print While Away from Home in the Online Manual.
In order to use the printer in an area where you do not have access to Wi-Fi, you must change the settings on your computer or smartphone.

Normally you will use a wireless router to connect your printer to your computer or smartphone.

When a wireless router is not available, you can connect your printer directly to your computer or smartphone (Wireless Direct).

Documents / Resources
References
Download manual
Here you can download full pdf version of manual, it may contain additional safety instructions, warranty information, FCC rules, etc.
Advertisement


Need help?
Do you have a question about the PIXMA TR150 and is the answer not in the manual?
Questions and answers