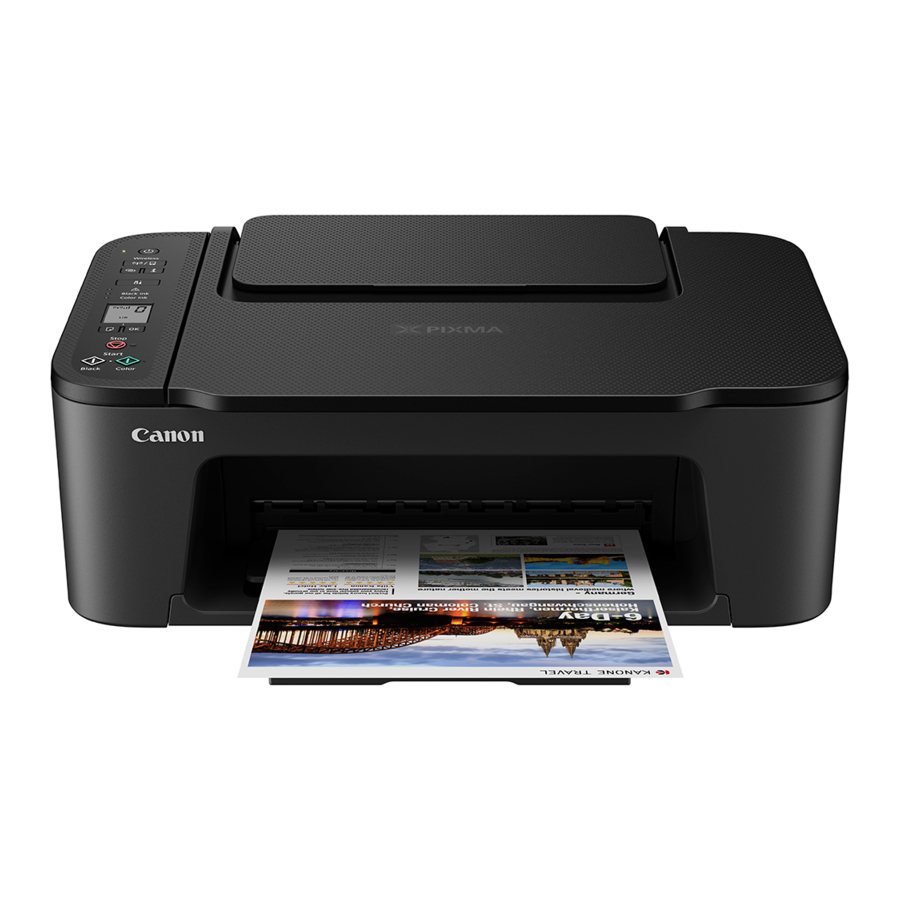
Canon PIXMA TS3400 Series, PIXMA TS3450, PIXMA TS3440 Manual
- Manual (77 pages) ,
- Getting started (40 pages) ,
- Online manual (377 pages)
Advertisement
Setting Up the Printer
Box Contents
- FINE cartridges
![]()
- Power Cord
- Setup CD-ROM
- Safety and Important Information
- Getting Started (this manual)

Removing Packing Materials
- Remove the orange tape on the right and open the cover.
![]()
- Remove the orange tape on the left.
![]()
- Close the cover.
![]()


Turning on the Printer
- Connect the power cord.
![]()
- Press the ON button.

![]()
If another screen appears, see "If any of the following screens appear" and follow the instructions.


Installing the FINE Cartridges
- Open the cover.
![]()
![]()
Do not touch the FINE cartridge holder until it stops moving. - Lower the ink cartridge lock lever on the lefthand side.

- Remove the Color FINE cartridge from the package and remove the protective tape.
![]()
![]()
- Do not touch the ink on the protective tape. It could stain your hands or surrounding objects.
- Do not touch the areas shown in the figure. Otherwise, the printer may not print correctly.
![]()
- Insert the Color FINE cartridge in the FINE cartridge holder.
![]()
![]()
- Do not bump the FINE cartridge. Doing so may cause a malfunction.
![]()
- Do not bump the FINE cartridge. Doing so may cause a malfunction.
- Raise the ink cartridge lock lever.

- Repeat steps 2 to 5 and install the Black FINE cartridge on the right-hand side.
![]()
- Close the cover.
![]()
- Check that the following screen appears.
![]()
![]()
If E > 0 > 4 appears on the screen, see "If any of the following screens appear" and follow the instructions.


Select the connection method that best matches how you will use the printer.
- To use the printer without connecting to any other devices
- Setup is now complete.
- To use the printer connecting to a computer or smartphone
- Proceed to the next step.
If any of the following screens appear

Check the screen, and then follow the corresponding instructions below.

Install the FINE cartridges.
- "Installing the FINE Cartridges"

Protective material remaining.
- "Removing Packing Materials"

FINE cartridges are not installed correctly.
- "Installing the FINE Cartridges"

What device are you connecting
Connecting to a Computer
If you are using multiple computers, perform these steps on each computer.

- Access the Canon website from your computer.
https://ij.start.canon - Select
![]() Set Up.
Set Up. - Enter your printer's model name and click Go.
- Click Start.
- Click (B) Connecting to a Computer/Smartphone.
- The following steps are for Windows users.
- Click Download.
- Run the downloaded file.
- Follow the on-screen instructions.
- These operations may take some time.
- To connect to a smartphone as well, see "Connecting to a Smartphone".

Using the Setup CD-ROM
Double click EasySetup.exe in the CD-ROM, and then continue from step 3. If you do not have an internet connection, open the win folder in the CD-ROM and double click SETUP.exe. This will install the printer driver.

Connecting to a Smartphone
If you are using multiple smartphones, perform these steps on each smartphone.

- Install the "Canon PRINT Inkjet/SELPHY" app on your smartphone.
![]()
- Search for "Canon PRINT" in App Store, or Google Play.


- Access the Canon website to download the app.

- Open your smartphone's Wi-Fi settings. Check that the network name (SSID) that starts with "Canon_ij_" appears.
(Example of iOS screen)
![]()
- If "Canon_ij_" appears > Proceed to step 3
- If "Canon_ij_" does not appear > Proceed to step 4
- Tap the network name (SSID) that starts with "Canon_ij_".
- Open the installed app, and follow the on-screen instructions in the app to add your printer.
![]()


Once you have added your printer, you can print from your smartphone.
To print photos, see "Loading Paper".

Loading Paper
- Open the paper support.
![]()
- Slide the paper guide to the left.

- Load several sheets of paper against the right edge with the print side facing up and align the paper guide to the width of the paper.

- Press the Paper Select button, select a paper size, and then press the OK button.

- Extend the paper output tray, and open the output tray extension.

- Look at it from the side to confirm it looks like the diagram.
![]()


If Print Results Are Unsatisfactory
Perform Print Head Alignment if straight lines are crooked or colors are inconsistent, or print results are otherwise not what you expected.
For details, click Maintenance on the Online Manual and refer to If Printing Is Faint or Uneven > Aligning the Print Head. Refer to the back cover for how to access the Online Manual.
- Lines Are Misaligned
![]()
- Uneven or Streaked Colors
![]()


Documents / Resources
References
Download manual
Here you can download full pdf version of manual, it may contain additional safety instructions, warranty information, FCC rules, etc.
Download Canon PIXMA TS3400 Series, PIXMA TS3450, PIXMA TS3440 Manual
Advertisement


Need help?
Do you have a question about the PIXMA TS3400 Series and is the answer not in the manual?
Questions and answers