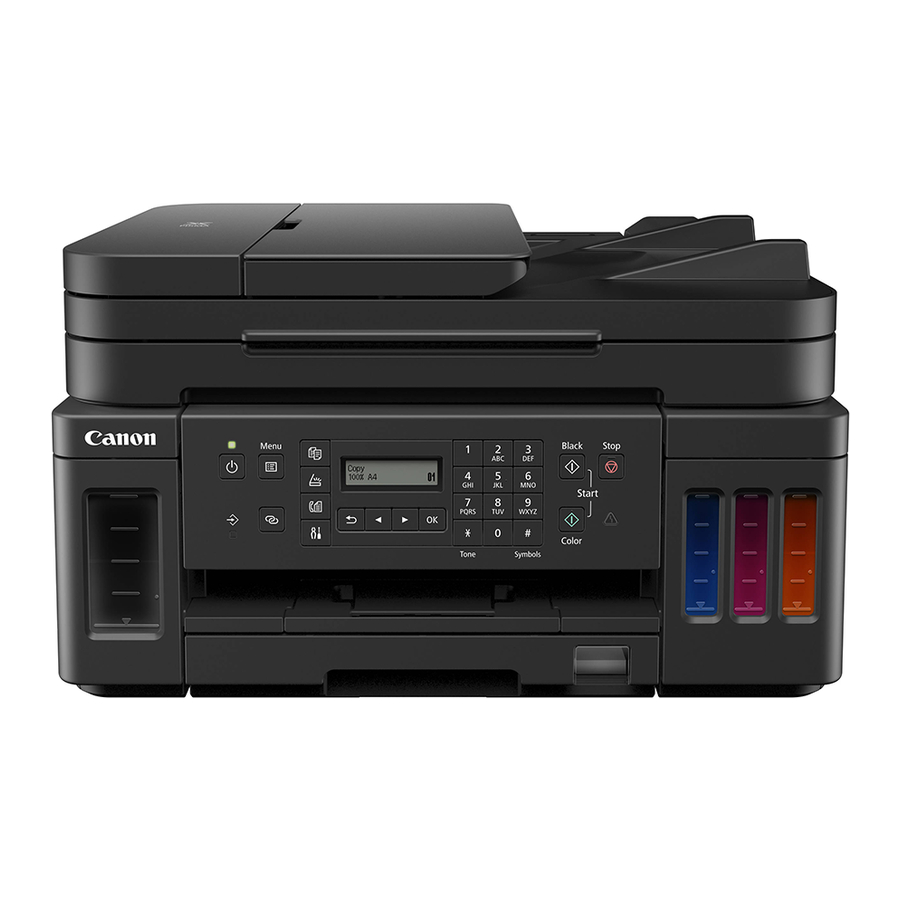
Canon PIXMA G7000 Series Printer Getting Started
- Getting started (40 pages) ,
- Online manual (594 pages) ,
- Getting started (23 pages)
Advertisement
Introduction
Online Setup
Detailed instructions and videos are available on the Canon website.
Setup a Computer

https://ij.start.canon
Setup a Smartphone

Holding the Printer

Instructional Videos

https://ij.start.canon

Setting Up the Printer
Box Contents
- Print heads
![]()
- Ink bottles
- Power cord
- Modular cable
- Setup CD-ROM for Windows
- Safety and Important Information Getting Started (this manual)

Removing Packing Materials


- Remove and dispose of any packing materials and orange tape.
- Open the scanning unit / cover, remove and dispose of the orange tape and protective material inside.
Installing the Print Heads

- Open the print head locking cover.

- Take out each print head from the package and remove the label.

- Remove the protective tape.

- Insert the C (color) print head on the left and the B (black) print head on the right.
![]()
- Close the print head locking cover and press down until it clicks.

- Press down both joint buttons completely until they click.


Pouring Ink


This product requires careful handling of ink. Ink may splatter when the ink tanks are filled with ink. If ink gets on your clothes or belongings, it may not come off.
- Open the ink tank cover and tank cap on the left of the printer.

- Hold the ink bottle upright and gently twist the bottle cap to remove.

- Align the nozzle of the ink bottle with the inlet.
![]()
- Slowly stand the ink bottle upside down and push down to pour the ink.


- If the ink does not pour, gently remove the ink bottle and try again.


- Gently remove the ink bottle from the inlet.
- Be careful not to spill the ink.
![]()

- Replace the tank cap securely, and then close the ink tank cover.

- Repeat steps 1 through 6 to pour all ink into the corresponding ink tanks on the right.

- Close the scanning unit / cover.
![]()
![]()
Watch your fingers.


Turning on the Printer

- Connect the power cord.

![]()
At this time, do not connect any other cables. - Open the operation panel and press the ON button.

- When the following screen appears, use the
![]() and
and ![]() buttons to select a language, and then press the OK button.
buttons to select a language, and then press the OK button.
![]()
![]()
If an error appears on the screen, see "If an error message (support code) appears on the screen" and follow the instructions. - If the country or region selection screen appears, use the
![]() and
and ![]() buttons to select your country or region, and then press the OK button.
buttons to select your country or region, and then press the OK button.


Loading Paper

- When the following screen appears, use the
![]() and
and ![]() buttons to select Yes, and then press the OK button.
buttons to select Yes, and then press the OK button.

- Remove the cassette from the printer.
![]()
- Slide apart the paper guides.
- Slide the right paper guide to the right edge. Align the front paper guide with the Letter or A4 mark.

- Slide the right paper guide to the right edge. Align the front paper guide with the Letter or A4 mark.
- Load paper.
- Load 2 or more sheets of Letter or A4 sized plain paper with the print side facing down.
- Place the paper against the front paper guide, and align the right paper guide to the width of the paper.

- Replace the cassette.

- Pull out the paper output tray.

- Follow the on-screen instructions, and then press the OK button.
- Check that Ready to connect appears on the printer's screen.

- Check that Ready to connect appears on the printer's screen.


If an error message (support code) appears on the screen

Check the support code, and then follow the instructions if the displayed code is written below.
- 1890
The protective materials are not removed.
→ "Removing Packing Materials" - 1470
The print heads are not installed correctly.
→ "Installing the Print Heads" - 1471
No print heads are installed.
→ "Installing the Print Heads" - 1642
There may be insufficient ink.
→ "Pouring Ink"
For all other cases, refer to the Online Manual.
Connecting to a Computer, Smartphone or Tablet
What device are you connecting?

Connecting to a Computer
If you are using multiple computers, perform these steps on each computer.

- Access the Canon website from a computer.
![]()
https://ij.start.canon
- Select
![]() Set Up.
Set Up. - Enter your printer's model name and click Go.
- Click Start.
- Click If you have already prepared your printer, go to Connect.
Note
The following steps are for Windows (except Windows 10 in S mode) and macOS users. For other operating systems, continue setup by following the on-screen instructions instead. - Click Download.
- Run the downloaded file.
- Click Start Setup.

- Follow the on-screen instructions.


- These operations may take some time.
- To connect to a smartphone as well, see "Connecting to a Smartphone".

Documents / Resources
References
Download manual
Here you can download full pdf version of manual, it may contain additional safety instructions, warranty information, FCC rules, etc.
Advertisement


Need help?
Do you have a question about the PIXMA G7000 Series and is the answer not in the manual?
Questions and answers