Advertisement

- Hot! Avoid touching the heating nozzle and heating build plate in operation.
- Moving parts in printer may cause injury. Do not wear gloves or other sources of entanglement in operation.
This guide is only applicable to Creator Pro 2 3D printer
Unboxing
The Creator Pro 2 was carefully packaged at FlashForge manufacturing facility. Please follow the unpacking steps laid out below.

- Remove the package and take out accessories carefully. Do not use force.
- Do not tear the yellow high temperature resistant adhesive tape around the nozzle, it has thermal insulation and high temperature resistance characteristics.
- Open box and remove top foam piece.


- Firmly grasp the two side handles of FlashForge Creator Pro 2. Lift it out of the carton and place it on a stable surface.


- Remove the packing bag and then remove the tape and plastic wrap for protecting the front door.


- The accessories shall be displayed. Let us remove the inner package and take the accessories out.

- Take the extruder out and place the extruder carefully. Avoid the nozzle to touch the desk, which prevent the nozzle damage from scratch.

- Take out the foam with accessories. Shear two ties on the both sides of X-axis guide rod.

- Open the door, remove top cover of the printer and take filament out of the lid.

- Hold both sides of the printing platform, and slowly lift the platform from the bottom to facilitate the removal of the foam box below.

- Take out the foam on the bottom of the platform, and then slowly press the platform down by hands to the lower position for easy subsequent installation.

- Unpacking is complete. It is recommended that you keep the packaging materials for later handling or storage.


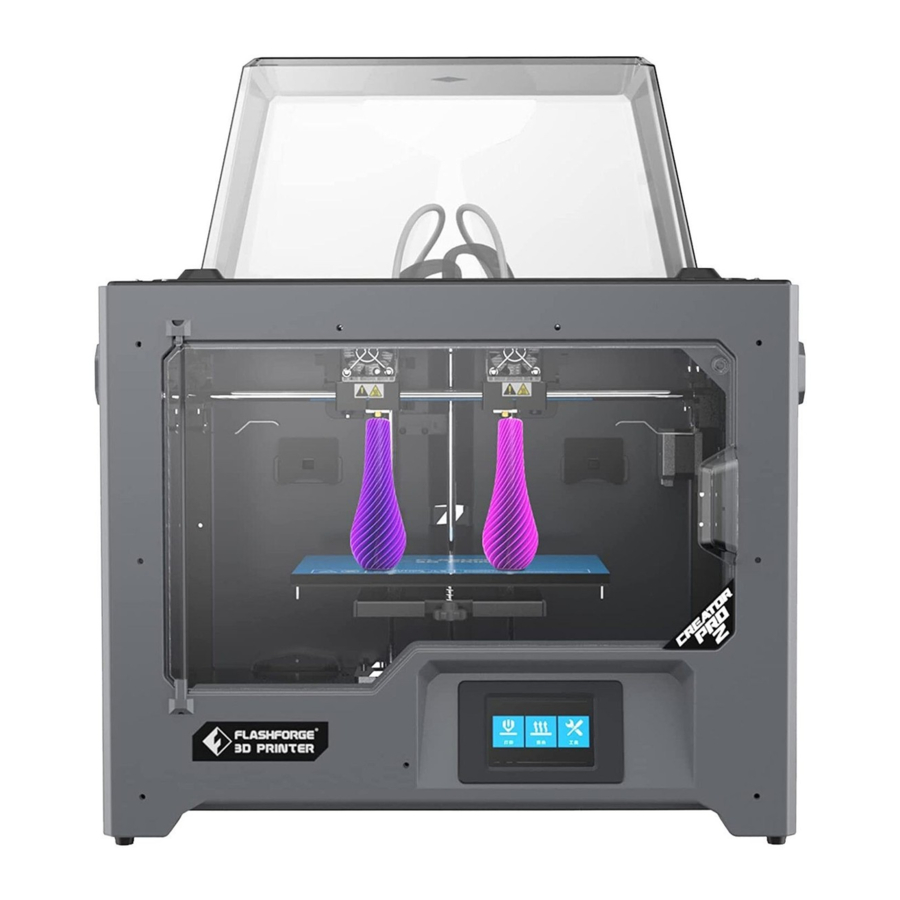
About Your Creator Pro 2

- Platform
- Platform support
- Leveling nut
- LCD panel
- Z-axis guide rod
- Extruder cable bunch
- X-axis guide rod
- Slot
- Nozzle cooling fan
- Spring presser
- Cooling fan
- Nozzle
- Turbofan baffle
- Extruder bracket
- SD card slot
- USB cable input
- Filament guidetube buckle
- Spool holder slot
- Spool holder
- Power input
- Power switch
Accessories

Installation
Extruder Assembly

- Lower the platform first and place the dual extruder on the extruder seat.
- Take the M2.5 Allen Wrench from the tool bag and four M3 bolts from the accessory kit.
- Adjust the extruder location to align the bolt holes.
- Secure the extruder onto the extruder seat by screwing the M3 bolts in.
Filament Guide Tube and Filament Installation

- To install a spool holder, level it and insert the end into the corresponding opening.

- Turn down the spool holder to make the holder bottom cleave to the printer back.

Please refer to the next page for the right method of filament mounting. - Take a roll of filament, then squeeze the spool holder top and mount the filament spool to the holder.


Tips

- The filament spool must be oriented correctly.
- After filament guide tube fixation completed, press the left spring presser of extruder, put filament vertically into the left filament intake from the other end of filament guide tube.
 Note: Please pay attention to extend the guide tube to the inside of the spool to prevent the filament from being entangled and being wrapped outside the spool.
Install Top Cover

Install top cover for printing ABS; remove the top cover for printing PLA.
Install Anti-oozing Plate

Fixed the anti-oozing plate by two screws.
Please make sure that the nozzle touches the anti-oozing plate properly when installed. It is OK to adjust the distance between the nozzle and plate manually. It is normal to see scratches on the surface of the plate after printing for several times.
The First Setting
Loading and Unloading

- Tap [Tools]-[Filament]

- Tap [load], the extruder will start to heat up. After heating to the target temperature, please manually insert the filament into the filament feeding wheel. When the filament is ejected from the nozzle, it indicates that loading is completed.
![]()
- Tap [unload], the extruder starts to heat up. After heating to the target temperature, manually feed out a part of filament from the nozzle, then press down the spring presser, quickly pull out the filament, and complete unloading.


Leveling
Clearing the remaining materials on the nozzle first to avoid leveling fails.

- Tap [Tools]-[Leveling] to start leveling. The machine will finish homing first.

- After stop movement of extruder and platform, tighten the three nuts below the platform counterclockwise (To avoid scratch build plate by extruder and it is important action)

- Choose one extruder and move it to the first nut by hand. Place a paper under the extruder and tighten the nut to reduce the distance between extruder and platform. Gently move the paper and feel the fraction. If move the paper with gent fraction, it is a suitable distance between extruder and platform. Finished the first place, and repeat the same actions in the second and third nut.


Note: the small distance between the extruder and platform causes removing printed objects hard, while big distance causes adhesion fails or wrapping.
XYZ Axis Calibration
Z Axis Calibration

- Tap [Tools]-[Setting]-[Z calibration]. Creator Pro 2 uses a compensation layer mechanism. Instead of manually adjusting the installation positions of the left and right nozzles, a program is used to calculate the height difference between the two nozzles.


- The extruder and platform will return to the zero position first, select any extruder to calibrate. When the temperature of the nozzle and the platform is too high, it will wait for the nozzle to cool down to 50°C to prevent the nozzle from scalding the build tape.


- Follow the on-screen instructions and insert the leveling card between the nozzle and the platform, please click Z- or Z + to adjust the appropriate spacing. The adjustment range is sliding leveling paper. If you feel a little frictional resistance, it indicates that the distance between the nozzle and the platform is appropriate. When one extruder is adjusted, it will be switched to another extruder for calibration.
Note: Do not turn the nuts under the platform during Z-axis calibration.
X Axis Calibration
X-axis calibration: Used to adjust the consistency of the two extruders in the X-axis direction to prevent misalignment during printing.

- Tap [Setting]-[X Calibration], or continue the X-axis calibration after the Z-axis calibration is completed. After the machine initialization movement is completed, the nozzle and the platform will be heated. At this time, please ensure that the filament has been inserted into the extruder.
![]()
- After heating, left and right extruders print a line one by one.

- According to the actual printed lines, click X-, X + to adjust the bias of the extruders and remove the printed lines; tap the verify button, the left and right extruders will print the lines again to see if the lines coincide, if they coincide, it means that the X-axis calibration is completed, if they are inconsistent, continue to adjust, until it coincides.


Y Axis Calibration
Y-axis calibration: Used to adjust the consistency of the two extruders in the Y-axis direction to prevent misalignment during printing.

- Tap [Setting]-[Y Calibration], or continue the Y-axis calibration after the X-axis calibration is completed. After the machine initialization movement is completed, the nozzle and the platform will be heated. At this time, please ensure that the filament has been inserted into the extruder.
![]()
- After heating, left and right extruders print a line one by one.

- According to the actual printed lines, click Y-, Y + to adjust the bias of the extruders and remove the printed lines; tap the verify button, the left and right extruders will print the lines again to see if the lines coincide, if they coincide, it means that the Y-axis calibration is completed, if they are inconsistent, continue to adjust, until it coincides.


First Print
After installing, loading filament and calibrating, it start your first print.

- Insert the SD card to the side of machine.


- Tap [Print]-[SD card]; choose the test file to print.


Documents / ResourcesDownload manual
Here you can download full pdf version of manual, it may contain additional safety instructions, warranty information, FCC rules, etc.
Advertisement


Need help?
Do you have a question about the Creator Pro 2 and is the answer not in the manual?
Questions and answers