Advertisement
Table of Contents
Contents
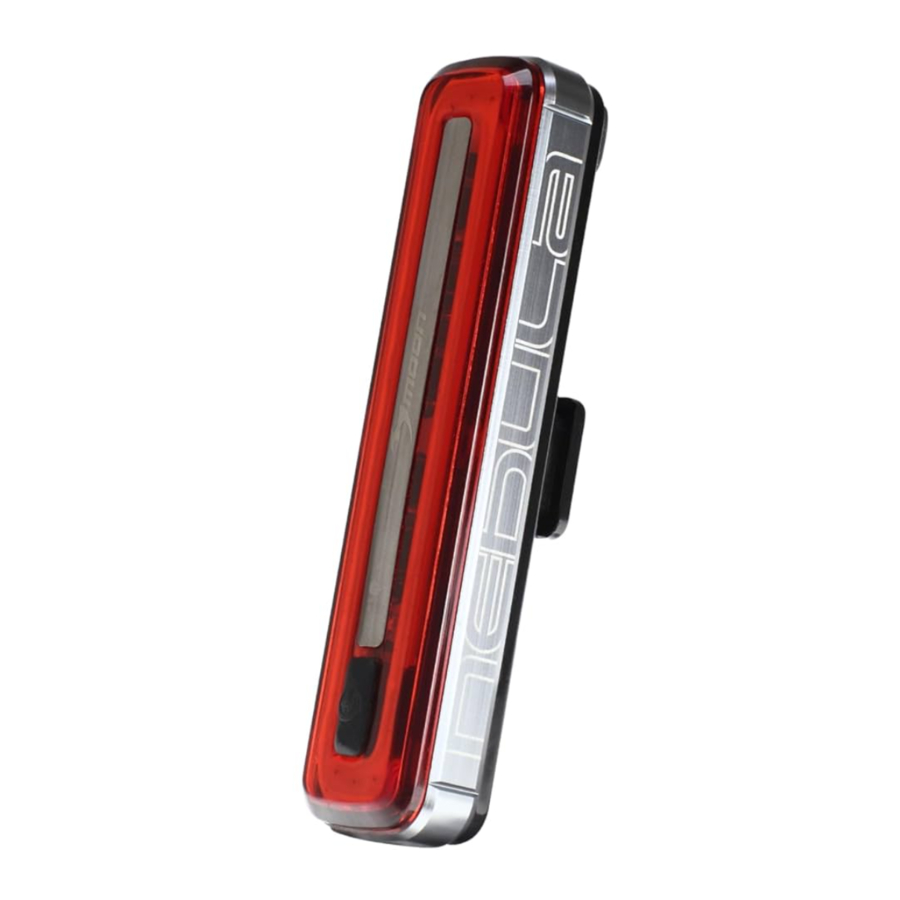
moon Nebula Manual
Introduction
Please read the following instructions carefully before first use and keep this user manual for future reference. Pay particular attention to the safety instructions. If you have any questions or comments about the device, please visit our customer support page: www.alza.cz/EN/kontakt.
Read Before Use
Please read this manual carefully before using the product and keep it for future reference.
Features
- 50-chip rectangular ring COB high-brightness red LED
- CNC aluminium heat sink casing for improved durability and heat dissipation
- Rechargeable lithium polymer battery for extended use
- Day flash mode for increased daytime visibility
- Mode memory function to retain the last used setting
- Auto safe mode to extend battery life when power is low
- 4 steady modes & 4 flashing modes for versatile lighting options
- Quick-release universal bracket compatible with round and AERO style handlebars
- Low battery, charging, and fully charged indicators
- Automatic full-charge cut-off system to prevent overcharging
- Side visibility for increased safety on the road
- Recharge time: 2.5 hours
- Water-resistant (IPX4) for reliable use in various weather conditions
Contents
- Nebula light unit
- RB-22 – Universal bracket
- 2 O-rings for mounting:
- RS-G (Fits Ø 20-35 mm)
- RS-H (Fits Ø 35-52 mm)
- RB-21 – Saddle rail bracket
- BK-21 – Belt clip
- USB cable
Optional Accessories
- RB-19 – Rear rack bracket
- RB-23 – Helmet bracket
- RB-27 – GoPro mount adapter
- USB remote control (1200 mm)
Operation
- Turn on the light by pressing the power button.
- Cycle through modes by pressing the power button repeatedly.
- Switch between steady and flashing modes by double-clicking the power button.
- Turn off the light by pressing and holding the power button for 1 second.
Mode Memory Function
- The lightremembers the last used mode and resumes it upon the next activation.
- Remote switch operation follows the same controls as above.
Lighting Modes
- Steady Modes:
- Mode 1 → Mode 2 → Mode 3 → Mode 4
- Flashing Modes (Double Click to Switch):
- FL1 → FL2 → Steady Flash → Day Flash (Double Blast)
Runtime
| Mode | Mode 1 | Mode 2 | Mode 3 | Mode 4 | FL1 | FL2 | Steady Flash | Day Flash |
| Lumen | 20 | 40 | 60 | 100 | 100 | 50 | 100 | 200 |
| Runtime (H:MIN) | 5:30 | 2:50 | 1:50 | 1:10 | 25:00 | 11:00 | 12:00 | 14:00 |
| 1M Lux | 9.1 | 16.5 | 24.5 | 40.2 | - | - | - | - |
| 2M Lux | 2.6 | 4.5 | 6.5 | 11 | - | - | - | - |
Beam Angles
- 270° Total Angle – Provides wide illumination coverage.
- 60° Spot Angle – Focused beam for concentrated visibility.
Saddle Rail Mounting
Mounting Methods

Method 1
- Loosen therelease screw and rotate clockwise to open the clamp.
- Secure the bracket onto thesaddle rail.
- Attach thelight unit onto the bracket until it clicks into place.
- Adjust thevertical beam angle for optimal illumination.
Method 2
- Adjust theclamp angle to fit the saddle rail.
- Secure the bracket onto thesaddle rail by tightening the screw.
- Attach thelight unit by sliding it into place.
- Adjust thevertical beam angle as needed.
Seat post Mounting

- Choose the appropriate strap size to fit your seat post.
- Ensure thestrap clicks securely into the hook.
- Hold thelight unit against the seat post.
- Wrap the rubber strap around the seat post and stretch it over the hook to secure it.
- Slide the light forward onto the bracket until it clicks into place.
- Press the release lever to remove the light when needed.
- When mounted on thehandlebar or seat post, you can adjust the horizontal or vertical beam angle. Loosen the screw knob and rotate the light left or right or tilt it up or down to achieve the preferred angle. Tighten the screw knob to secure the light in place.
Adjustments
- To release: Press the release lever and slide the light backward.
- To adjust the angle: Rotate the light body to achieve the desired beam direction.
Belt Clip Mounting

- Slide the light forward onto the belt clip until it clicks into place.
- Press the release lever to remove the light when needed.
Mounting Methods
- Method 1: Attach the light directly by sliding it onto the clip.
![]()
- Method 2: Use an alternative clip position for a more secure hold.
![]()


Low Battery and Charging Indicator
- Low Battery Status:
- When the battery level is low, the indicator will show a Steady Blue light, signalling the need for recharging soon.
- Auto Safe Mode:
- If the battery becomes critically low, the light will enterAuto Safe Mode, and the indicator will start Flashing Blue.
- This mode reduces brightness to conserve energy and extend runtime for anextra hour before shutting off.
- Charging Indicator:
- Flashing Blue – The battery is currently charging.
- Steady Blue – The battery is fully charged, and the device is ready for use.
Auto Safe Mode
- Battery Preservation: When the battery reaches a low level, the light automatically switches to Safe Mode, reducing brightness to extend runtime by one hour.
- No Manual Override: Safe Mode cannot be manually disabled, ensuring the remaining power is used efficiently.
- Recharge Promptly: For optimal performance, recharge the battery as soon as possible to prevent unexpected power loss.
Battery Charging and Care
- Power Off First: Always turn off the light before starting the charging process.
- Access the Charging Port: Gently lift the rubber cover to reveal the USB charging port.
- Connect the USB Cable: Plug the USB cable into the charging port securely.
- Choose a Power Source: Insert the other end of the cable into a wall adapter, power bank, or computer USB socket.
- Monitor the Charging Indicator: The charging process begins when the indicator shows a Flashing Blue light. Once fully charged, it will change to Steady Blue.
- Unplug When Fully Charged: Disconnect the USB cable once the battery is fully charged to prevent overcharging and extend battery lifespan.
Battery Care
- Voltage Safety: Do not charge the battery with more than 5V, as it may cause damage.
- Fire Hazard Prevention: Keep the battery away from flammable materials while charging to reduce the risk of fire or explosion.
- Temperature Considerations:
- Battery temperature may rise significantly during charging (up to 40°C).
- After approximately300 charge/discharge cycles, the battery capacity may decrease to around 80% of its original capacity.
- Cold temperatures impact battery performance:
- At 0°C, capacity decreases by 5-10%, reducing runtime by 50%.
- At -20°C, capacity may drop by 30%, leading to a 70% reduction in runtime.
- The battery will return to normal performance once it reaches 20°C again.
- Proper Storage: Store the battery in a cool, dry place when not in use. To maintain optimal performance, fully recharge the battery at least every three months.

- Legal Compliance: Ensure the light follows local lighting laws before using it on public roads.
- Eye Safety: Never shine the light directly into eyes, as it may cause discomfort or temporary blindness.
- Wireless Interference: Avoid mounting the light too close to wireless devices to prevent potential signal disruptions.
- Traffic Safety: Adjust the light downward to prevent blinding oncoming vehicles.
- Water Exposure: Do not submerge the battery or the entire light unit in water.
- Charging Safety:
- Unplug thelight, charger, and cable once the battery is fully charged.
- Do not disassemble the light, as it may void the warranty.
- Fire Safety: Keep the light away from fire and flammable materials at all times.
- Unattended Use: Never leave the light on and unattended for prolonged periods.
- Storage: After use, avoid storing the unit in hot or direct sunlight conditions.
Documents / ResourcesDownload manual
Here you can download full pdf version of manual, it may contain additional safety instructions, warranty information, FCC rules, etc.
Advertisement


Need help?
Do you have a question about the Nebula and is the answer not in the manual?
Questions and answers