Advertisement
Table of Contents
Contents
Brookfield AMETEK Manual
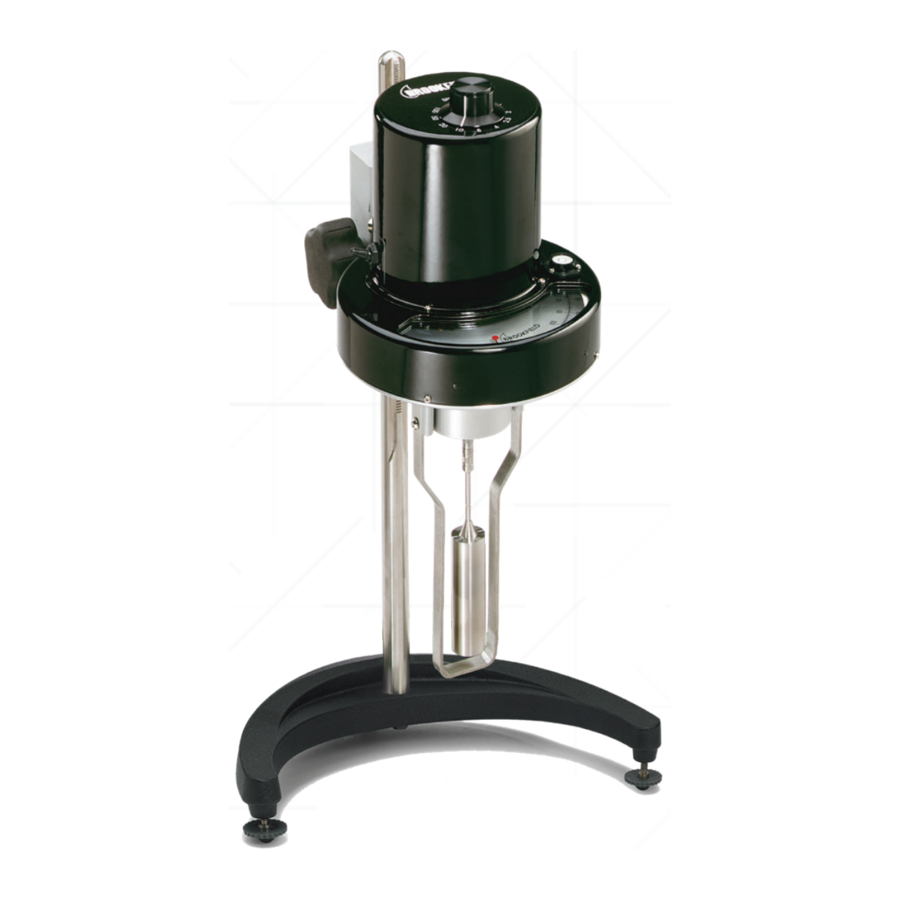
Instrument Setup
- Assemble laboratory stand (refer to assembly instructions in the Appendix of the manual).
- Mount the viscometer securely on a Brookfield laboratory stand. The metal handle should be inserted into the laboratory stand clamp. Level the viscometer, referring to the bubble level on the instrument.
- The shipping box containing your instrument should be saved for future use when returning your instrument to AMETEK Brookfield or your local authorized dealer for service. The carrying case for standard viscometers/rheometers should also be saved since this provides added protection for these instruments during shipment.
Operation

- Be sure the plug of the power supply is securely plugged into your power source.
- Plug the metal jack of the power supply into the circular receptacle on the back of the viscometer.
- The black, rubber baton switch on the viscometer controls the motor and has three positions:
- UP: O - turns the motor o and stops the dial from turning
- MIDDLE: On - causes the dial to rotate at the selected speed
- DOWN: Pause (or motor stop) - causes the dial to pause when rotating
- LV viscometers use a set of four spindles and a narrow guard leg; RV viscometers use a set of six spindles and a wider guard leg; HA and HB Viscometers use a set of six spindles and no guard leg
- Speeds (rpm) are changed by turning the black knob on the top of the viscometer (to the left or right) to the desired speed.
- The clutch lever, when depressed, raises the dial against the red pointer and "holds" the viscometer reading. Releasing the clutch lowers the dial and frees the pointer.
Using the Viscometer for Measurements
- Mount the guard leg (if used) on the viscometer.
- With no spindle attached, lower the viscometer by turning the black knob on the right side of the clamp. Center the viscometer over the test material.
- Take care to avoid trapping air bubbles under the spindles, especially the disk-type. Begin by immersing the spindle on a diagonal path across the surface of the fluid. Slowly drag the spindle across the fluid surface and then bring the spindle to the upright position. Thread the spindle onto the viscometer.
- Attaching the spindle correctly is important. Gently push up on the viscometer coupling screw, avoiding any side-to-side movements. Hold it securely while screwing the spindle on (Note: left hand thread).
- Lower the viscometer and center the spindle in the test material until the meniscus is in the middle of the immersion mark.
Taking Readings and Calculating Viscosity

- Select the desired speed.
- Turn the Viscometer motor switch to the ON position.
- Allow time for the indicated reading to stabilize; this time may vary, depending on your fluid, or your test method. A minimum of 5 revolutions is recommended before taking any reading.
- To take a reading, depress the clutch lever and hold it in the down position. With the lever still depressed, move the motor switch to the "Pause" or "O " position. Adjust the dial position, if necessary, to allow the red pointer to appear in the viscometer window.
- Depressing the clutch lever locks the calibrated spring deflection in place, thereby providing the dial reading; holding the motor switch in the "Pause" position (or moving it to the "OFF" position) stops the motor and causes the dial to stop turning so you can record the reading.
- Record the reading indicated by the red pointer on the dial: this number is known as % torque. Consult the manual for information on how to convert the % torque reading to viscosity in centipoise (cP).
- Switch the motor to the OFF position when changing spindles and samples.
- Remove the spindle before cleaning.
 (800) 528-7411 or (602) 470-1414
 brookfieldengineering.com
Documents / Resources
References
Download manual
Here you can download full pdf version of manual, it may contain additional safety instructions, warranty information, FCC rules, etc.
Advertisement


Need help?
Do you have a question about the AMETEK and is the answer not in the manual?
Questions and answers