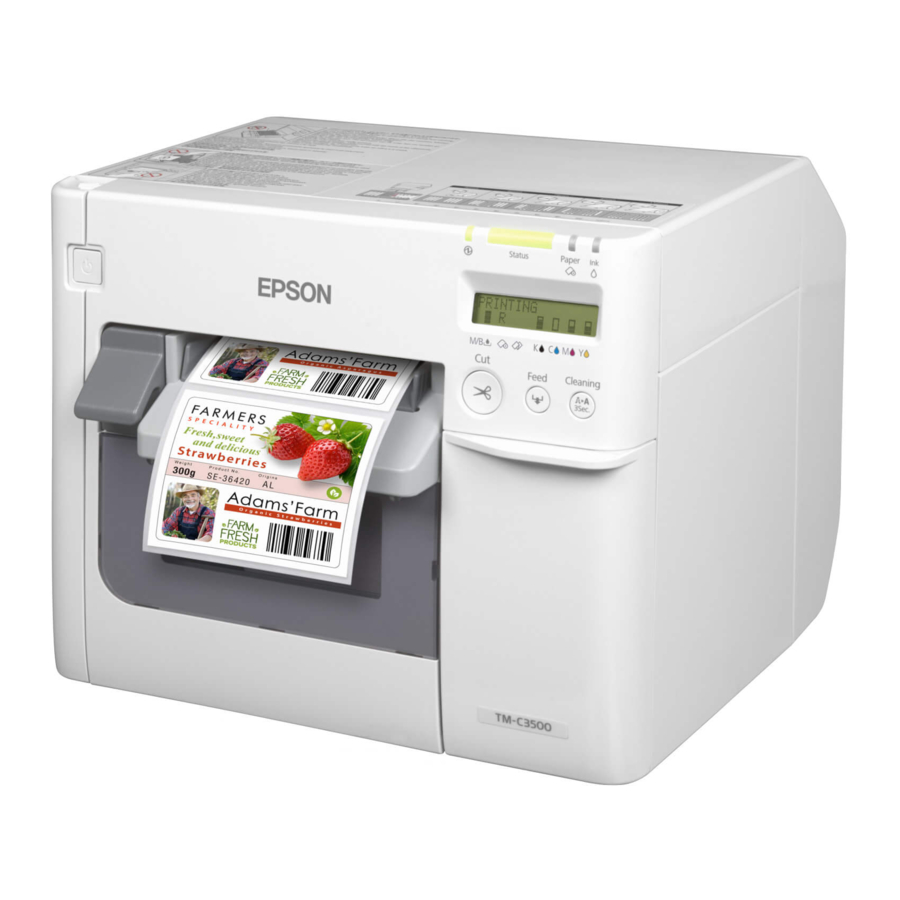
Epson TM-C3500 Troubleshooting Guide
- Technical reference manual (240 pages) ,
- User manual (203 pages) ,
- Developer's manual (101 pages)
Advertisement
- 1 BADGE IS CUT AT THE WRONG PLACE OR PRINTED IN THE WRONG SIZE
- 2 PRINTER DOES NOT PRINT
- 3 BADGE HAS LINES ACROSS IT OR IS PRINTING PARTIALLY WRONG COLORS
- 4 LIGHT IS FLASHING ORANGE/RED
- 5 ACTIONS EXPLAINED
- 6 THE PRINTER IS GETTING STUCK
- 7 HAND SCANNER BEEPS 3 TIMES (AND NOTHING HAPPENS)
- 8 SEVERAL BLANK PAGES COME OUT OF THE PRINTER
- 9 Documents / Resources
BADGE IS CUT AT THE WRONG PLACE OR PRINTED IN THE WRONG SIZE
Cause: Your printer probably doesn't have the right media settings.
 | Pay attention! Please follow the instructions precisely as outlined below. There are 3 methods to update the Printer Defaults. However, only setting all methods described below will yield the correct results. |
Solution:
- Click on Windows Key (found on laptop keyboard)
- Open settings → In the search box type 'Printers and scanners'
- Click on the connected printer → Select 'Manage'
- Choose 'Printer properties'. This is your start position for the 3 options.
Option A:
- Click on the tab 'Advanced'
- Click on 'Printer Default'
- Select the Badge Type under the Media name drop down
- Check the Media width + length & Media form according to the table below
Option B:
- Click on the tab General
- Click on 'Preferences'
- Repeat the step c & d under option A.
Option C:
- Click on the tab General
- Click on 'Preferences'
- Click on 'Printer Utilities'
- Click on 'Printer Setting Utility(P)
- Update the Media detection setting to the form listed below. (See column Media Form)
Default settings
| Name/Settings | Type | Width | Height | Media Form |
| ExpoBadge 260T | Large plastic | 102.0mm | 276.0mm | Die-cut label (Gap) |
| ExpoBadge 180T | Large paper | 96.5mm | 265.0mm | Die-cut label (Black Mark) |
| ExpoBadge 260TS | Small plastic | 99.5mm | 164mm | Die-cut label (Gap) |
*) Contact your event consultant if you have a different format.
After saving to the right settings, perform another test print and the size should be good!
PRINTER DOES NOT PRINT
Cause: The printer is not turned on or not selected in the badge printing software.
Solution:
- Check printer is switched on (and the power cable connected).
Please note: When turning on the printer, you need to press the power button for 3 seconds. - Check USB connection between laptop + printer
- Check Badge Printing Software is connected to the correct printer by pressing the setting (
![]() ) icon in the software.
) icon in the software.
If this does not work please make sure you've selected the right printer.
Additional tip: If multiple printers are added to the system, you can remove all printers and then re-add the printer to be 100% sure you've the right printer.
BADGE HAS LINES ACROSS IT OR IS PRINTING PARTIALLY WRONG COLORS
Cause: The ink heads need maintenance
Solution:
- Press and hold the cleaning button on printer for 3 seconds
- The printer will clean itself (Head maintenance)
- Do NOT touch the printer until it's stopped 'Head maintenance'
LIGHT IS FLASHING ORANGE/RED
Cause: Various, check the solution table
Solutions:
| Printer warning/error | Action needed |
| Paper out error (displayed on screen) | Paper needs replacing:
|
| Ink out (flashing red light +! on screen by relevant color) | Ink needs replacing:
|
Head maintenance Do not touch printer until Head Maintenance has stopped | Printer is cleaning itself: Wait until maintenance is complete. (this may take a minute or two) |
| Paper Jam (status light is red + paper jam on screen) | Paper needs to be removed:
|
| Media form error (displayed on screen) | Printer needs resetting:
|
| Maintenance Box full (status light flashes yellow + text on screen) | Maintenance box needs replacing:
|
| Roll Cover open (text on screen) | Close the printer roll cover:
|
Visual explanations
Please check the next page to get visual explanations about the following actions:
- Changing an Ink Cartridge
- Changing a Maintenance box
- Open / Close Roll cover
ACTIONS EXPLAINED
Changing an Ink Cartridge

Changing a Maintenance box

Open / Close Roll cover

THE PRINTER IS GETTING STUCK
Cause: Probably you've pulled the badge too early during printing
Solution:
Let the printer finish printing and cutting before trying to take the badge. If you take it too early you may cause costly paper jams.
HAND SCANNER BEEPS 3 TIMES (AND NOTHING HAPPENS)
Cause: The scanner is not connected to the laptop.
Solution: Ensure that the scanner has been connected to the relevant laptop using either the Bluetooth USB dongle (if using the hand scanner) or via the wired connection.
SEVERAL BLANK PAGES COME OUT OF THE PRINTER
Cause: The correct paper settings have not been setup
Solution: Please refer to pages on how to set the correct dimensions for the paper in the laptop printer settings.
Documents / ResourcesDownload manual
Here you can download full pdf version of manual, it may contain additional safety instructions, warranty information, FCC rules, etc.
Advertisement


Need help?
Do you have a question about the TM-C3500 and is the answer not in the manual?
Questions and answers