dejavoo QD4 Manual
- Quick reference manual (2 pages) ,
- Quick reference manual (5 pages) ,
- User manual & setup manual (12 pages)
Advertisement
Setup
How to Load Paper Roll
- Hold the device in both hands.
- Pinch the sides of the top of the device up next to the credit card tap section.
- Flip the top away from the device screen.
- Insert the receipt paper into the slot. The paper size should be about 50ft.
- Roll out some of the receipt paper so that the top is closed and the end of the paper is left out.
 Note: Some payment terminals may include a separate device for printing receipts. The Dejavoo QD4's receipt printer is built into the terminal.
How to Turn On/Off
- Press and hold the POWER button on the left-hand side of the terminal when the screen is facing up.
How to Connect to Wifi
The connectivity options available for the Dejavoo QD4 include Ethernet, USB to Ethernet, or WiFi.
- Tap on the top right corner of the screen and swipe down.
- Select the Wi-Fi icon.
- Wait for the list of networks to load.
- Tap on your network.
- Enter your Wi-Fi password.
- Tap CONNECT to finish WiFi setup.
- How to connect to Ethernet.
- Plug an ethernet cord into the port at the bottom of the device.
- Connect the other end to the modem or router.
Dejavoo QD4 - Default Password
The default password for the Dejavoo QD4 is 1234.
How to Do a Full Download or Partial Download
After you've set up your Terminal Profile Number, you'll need to download the necessary firmware, software, and encryption keys to the terminal.
- Tap the A (AURA) button.
- Tap the 3 lines on the bottom left.
- Tap CORE MENU.
- Tap UTILITY.
- Enter Password (1234).
- Press OK.
- From the UTILITY menu, tap SOFTWARE DOWNLOAD.
- Tap CONNECT.
- Tap NETWORK.
- Select FULL DOWNLOAD or PARTIAL DOWNLOAD.
- Enter the TPN number.
- Press OK.
- Terminal will ask if you want to apply updates, tap YES.
Accept Payments
The Dejavoo QD4 protects sensitive cardholder data and ensures security when processing customer transactions with its PCI- compliant defense measures (PCI PTS v4). It works with a variety of POS systems via Secure Payment Integration. Merchants should inquire with their provider to ensure that their Dejavoo QD4 is compatible with their POS system.
How to Process a Sale
Types of payments accepted by the Dejavoo QD4 include MasterCard PayPass, Visa PayWave, ExpressPay, and D-Pass (in progress), Apple Pay, Samsung Pay, Google Wallet.
Chip Credit Sale
- Press the CREDIT icon on the home screen. A new screen will display the following options: SALE, RETURN, VOID, AUTH, TICKET, and BALANCE.
- Press SALE.
- Input the SALE amount and press OK.
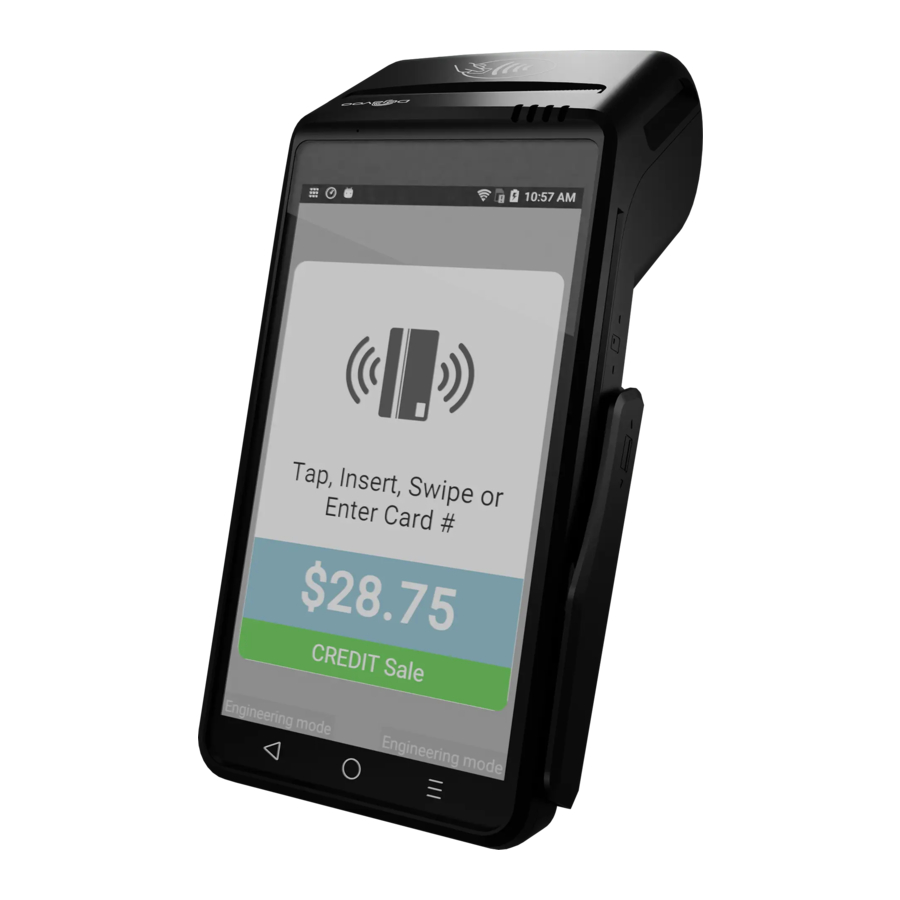
- Customer will be prompted to tap, insert, swipe, or enter their card number manually. They will need to tap or insert chip card.
- The sale will be processed. The transaction will be declined or approved.
- The customer will be prompted to sign. Once signed, press OK.
- Sales receipts will be printed with details.
Manual Entry Credit Sale
- Press the CREDIT icon on the home screen. A new screen will display the following options: SALE, RETURN, VOID, AUTH, TICKET, and BALANCE.
- Press SALE.
- Input the SALE amount and press OK.
- Customer will be prompted to tap, insert, swipe, or enter their card number manually. Tap on ENTER CARD NUMBER.
- Enter the card number and press OK.
- Enter the expiry date and press OK.
- When asked if the card is present, press YES if it is and NO if it is not.
- If the card is present, you will be prompted to enter the CID number, ZIP CODE, and ADDRESS. If the card is not present, enter AVS (Address Verification Service) and card's code security information.
(![warning]() Note: Code is 3 digits on the back of MasterCard or Visa found in the signature line, and 4 digits on the front right of American Express found above card number).
Note: Code is 3 digits on the back of MasterCard or Visa found in the signature line, and 4 digits on the front right of American Express found above card number).
- The sale will be processed. The transaction will be declined or approved.
- Sales receipts will be printed with details.
Debit Sale
- Press the DEBIT icon on your terminal home screen. A new screen will display the following options: SALE, RETURN, and BALANCE.
- Press SALE.
- Input the SALE amount and press OK.
- Customer will be prompted to tap, insert, or swipe their card. Select the appropriate option.
- If prompted, select your chosen application.
- If prompted, confirm the SALE AMOUNT by tapping YES.
- Customer will be prompted to enter PIN on the encrypted terminal PIN Pad or encrypted external PIN Pad. The customer should then press OK.
- The terminal will flash the host response and print the sales receipt. Once finished, the terminal will return to idle prompt.
Cash Sale
- Press CASH on the home screen.
- Press SALE.
- Input the CASH SALE amount and press OK.
- The sale will be processed. Sales receipts will be printed with details.
How to Reprint Receipt
- From the prompt, tap the Star icon to access the FAVORITES menu.
- Tap the REPRINT RECEIPT option.
- When prompted, input the Manager Password (default: 1234).
- Tap your preferred option (LAST, BY TRANSACTION #, or BY CARD NUMBER).
- Follow the available prompts and transaction receipt prints.
How to Process a Refund
- Credit Card Return.
- Press CREDIT on the home screen.
- A new screen will display the following options: SALE, RETURN, VOID, AUTH, TICKET, and BALANCE.
- Press RETURN.
- Enter the RETURN amount. If the amount shown is correct, press OK to confirm.
- If prompted, enter MANAGER PASSWORD (default: 1234). Enter the RETURN amount and press OK.
- Customer will be prompted to tap, insert, swipe, or enter their card number manually. Select the appropriate option.
- The sale will be processed. The transaction will be declined or approved.
- Customer will be prompted to sign. Once signed, press OK.
- Sales receipts will be printed with details.
Debit Card Return
- Press DEBIT on the home screen. A new screen will display the following options: SALE, RETURN, and BALANCE.
- Press RETURN.
- Enter the RETURN amount. If the amount shown is correct, press OK to confirm. If it's incorrect, press CANCEL and re-enter the correct amount. If prompted, enter Manager Password (default: 1234).
- Customer will be prompted to tap, insert, swipe, or enter their card number manually. Select the appropriate option.
- If prompted, select your chosen application.
- Enter the original transaction date and press OK.
- Enter the original transaction time and press OK.
- Customer will be prompted to enter PIN on the encrypted terminal PIN Pad or encrypted external PIN Pad then press OK.
- The return will be processed. The transaction will be declined or approved.
- The terminal will flash the host response and print the sales receipt. Once completed, the terminal will return to idle prompt.
Cash Return
- Press the CASH on the home screen. A new screen will display the following options: SALE and RETURN.
- Press RETURN.
- Enter the RETURN amount. If the amount shown is correct, press OK to confirm.
- If prompted, enter MANAGER PASSWORD (default: 1234).
- Press YES to confirm the return amount.
- The transaction is processed. Sales receipts will be printed with details.
How to Void Transaction
Void Credit Transaction (Card Present)
- Press the CREDIT icon on your terminal home screen. A new screen will display the following options: SALE, RETURN, VOID, AUTH, TICKET, and BALANCE.
- Press VOID.
- Enter the VOID amount.
- Press OK to confirm the amount.
- If prompted, enter MANAGER PASSWORD (default: 1234).
- Customer will be prompted to tap, insert, swipe, or enter their card number manually. Select the appropriate option.
- Enter the void transaction number and press OK.
- The transaction will be processed and will be declined or approved.
- Void receipts will be printed with details.
Void Credit Transaction (Card Not Present)
- Press STAR on the home screen to access the FAVORITES menu.
- Press VOID TRANSACTION.
- If prompted, enter MANAGER PASSWORD (default: 1234).
- Press BY TRANSACTION #.
- Enter the TRANSACTION NUMBER and press OK.
- Select the transaction you want to void by pressing the screen and confirm that you want to void by pressing SELECT.
- The transaction is processed. Void receipts will be printed with details.
How to Print Reports
From the idle prompt, tap STAR and select REPORTS.
- Choose REPORT from OPEN/CLOSED Batch.
- Tap on the desired report type (Summary, Daily, Un-Tipped, Tipped, Non Cash).
- Tap on NEXT and then tap on PRINTER.
How to Close Batches
- Tap on the AURA icon (the A icon).
- Tap the STAR icon.
- Select SETTLE DAILY BATCH.
- Input Manager Password (default: 1234).
- Tap the green OK button.
- The screen will say PROCESSING.
- The device will batch and print out a receipt for you.
How to Run a Cash Discount
- Tap CREDIT.
- Tap SALE.
- Enter SALE AMOUNT.
- Terminal will prompt you to confirm the cash discount amount and the non-cash adjustment. If the amount is correct, press OK.
- Customer will be prompted to tap, insert, swipe, or enter their card number manually. Choose the appropriate option.
- Transaction will process and the sale receipt will print with details.
Settings
How to Change Time and Date
Note: When the terminal is powered on, it will prompt you to confirm the date and time is correct. If it is correct, press F2. If it is incorrect, press F4. Follow the terminal prompts to update to the correct date and time. The time in the terminal must always be entered in a 24-hour clock (military) format. The date is formatted as MM (2-digit month), DD (2-digit day), and YY (2-digit year). Time is in Military format: HH (2-digit hour), MM (2-digit minute), SS (2-digit second). Both entries are done without spaces.
- From the idle prompt, tap the GEAR ICON to reach the SETTINGS menu.
- If prompted, enter the Manager Password (default: 1234).
- Press DISPLAY & TIME.
- Tap SELECT TIME ZONE and choose your preferred time zone.
Or:
- From the idle prompt, press OK to get to the Core Menu.
- Tap UTILITY ( If asked, enter the password; the default is 1234).
- TAP SETTINGS.
- TAP DATE AND TIME.
- If the date displayed is correct, press OK. If the date displayed is incorrect, press the Yellow BACKSPACE to clear it, then enter the correct date using the following format: MM/DD/YY.
- If the time displayed is correct, press OK. If it is incorrect, press the Yellow backspace key to clear it, then enter the correct time using the 24-hour clock (military) format.
Troubleshooting & Tips
How to Do a Factory Reset
Note: Performing a factory reset will erase all data on the device, including transaction history and customized settings. Back up any important data before proceeding with a factory reset. Dejavoo does not recommend users perform a factory reset on their own since this will completely erase the device's Market application. In the event that instructions are not followed diligently, there is a considerable margin for error.
One alternative solution would be to clear the previous configuration settings and start fresh with a new TPN (Terminal Profile Number).
Dejavoo users who plan on clearing the Aura application from a prior configuration should also clear their data from the Android settings.
Below are the steps required to delete CreditApp and/or PinpadApp.
- Select SETTINGS on the Android home screen.
- Select ABOUT POS.
- Select POS CONFIGURATION.
- When prompted, select your Administrator Login. Your password for this login will either be 01062009 or 99999999. Following this, be sure to double-confirm your login.
- Select the back arrow twice, then navigate to APPS.
- Select DVPAY.
- Select STORAGE.
- When prompted, select the CLEAR DATA option.
- Return to the home screen.
- Merchants are encouraged to back up sensitive data before resetting their Dejavoo device.
How to Reach Customer Service
If you have any customer service issues related to your Dejavoo terminal, contact Dejavoo directly, either via email (support@dejavoo.io) or telephone (877-358-6797).
Documents / ResourcesDownload manual
Here you can download full pdf version of manual, it may contain additional safety instructions, warranty information, FCC rules, etc.
Advertisement


Need help?
Do you have a question about the QD4 and is the answer not in the manual?
Questions and answers