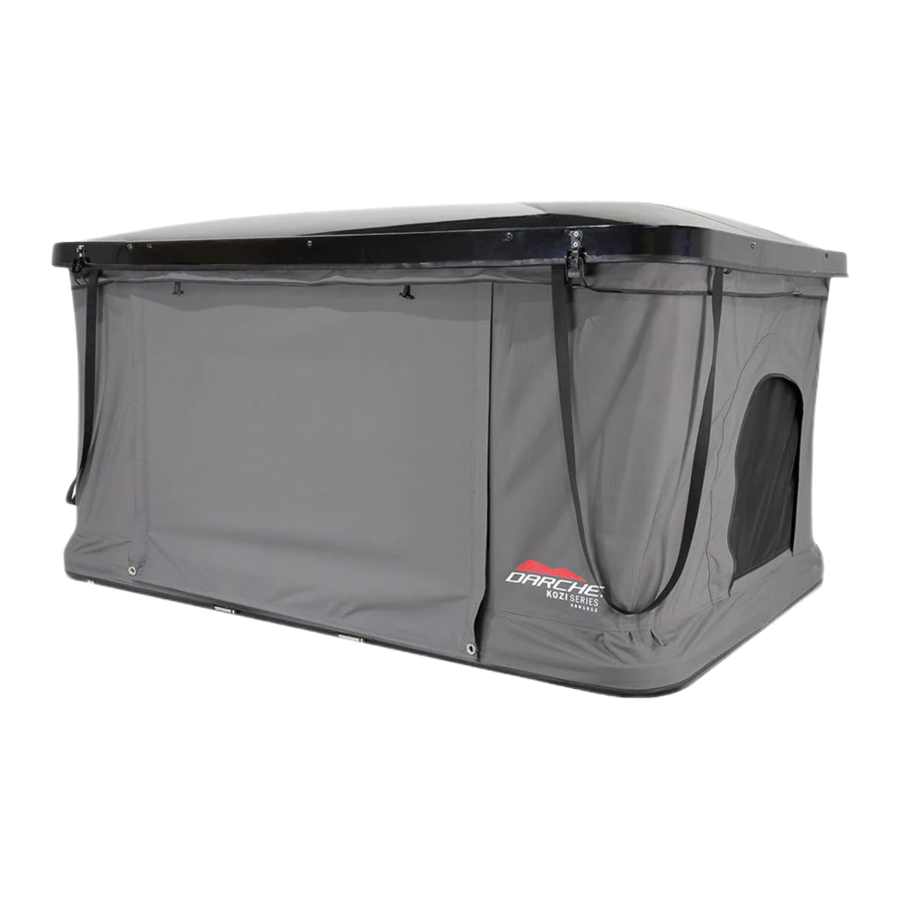
DARCHE KOZI Series, KOZI RTT POP UP Manual
- Instruction manual (12 pages) ,
- Instruction manual (8 pages) ,
- Instruction manual (8 pages)
Advertisement
HARDWARE IDENTIFICATION CHART
| Vehicle Mounting Bolts |  |
| Qty. 12 | |
| Mounting Plate |  |
| Qty. 12 | |
| Nylock Nut |  |
| Qty. 12 | |
| Spanner |  |
| Qty. 1 | |
| Spring Pole |  |
| Qty. 4 |
MOUNTING THE PRODUCT TO YOUR VEHICLE
When mounting your RTT to a vehicle, ensure that the pre-installed vehicle mounting channels run in the opposite direction to the bars of your roof rack or roof bars and that the tent in centred on the roof bars or roof rack if possible.
It is recommended to mount the RTT to three roof bars as detailed in this instruction manual. If your vehicle is unable to accommodate three roof bars, two roof bars may be used. If using two roof bars, ensure a minimum spacing of 800mm between the roof bars.
- Place two bolts into a mounting plate as seen below. Repeat for the remaining 5 mounting plates.

- Slide three mounting plates into each vehicle mounting channel, and measuring off your vehicles roof bars or roof rack, space the bolts so that there is a bolt on each side of the rail to be clamped. Ensure to fit all 12 bolts, clamping your RTT to the vehicles roof bars or roof rack in 6 separate locations.

- Place the closed RTT on top of your vehicle's roof rack system. Please ensure you do not exceed safe manual handling limits. Some assistance may be required.

- In each clamping location, pass the two vehicle mounting bolts through the mounting plate and fasten with 1 Nylock nut per bolt. Repeat for the remaining 5 steel plates.

- After ensuring the RTT is positioned correctly, tighten all 12 bolts securely. It is important that you check all the mounting bolts and brackets periodically to ensure they are securely fastened to your base board and roof rack or after-market roof bars.


OPENING FOR THE FIRST TIME
- On all four corners release the webbing straps hook and loop fastener and unhook from the top loop.

- Release the four latches located at each corner of the tent.
From the rear of the vehicle, begin lifting the top section.
Move the elastic cord down and secure it under the latches.
The gas strut will then assist to raise one end of the tent.
Move to the front of the vehicle and begin lifting the front section. The gas struts will then open the tent fully.

- Move the elastic cord down and secure it under the latches.

- Extend the telescopic ladder, and using the hooks on the top rung of the ladder, attach the ladder to the RTT via the ladder mounting brackets.

- For your safety, ensure that the ladder is approximately 75 degrees to the ground before climbing ladder.

- Unzip the side access door to allow internal access.

- Insert the end of the spring pole into the mounting hole.

- Applying gentle force to the spring pole, place the eyelet on the storm flap over the spring pole hook. Repeat on the other side.


CLOSING
- Remove the storm cover from the spring poles, remove the spring poles from their mount and store in an appropriate location.

- Release the elastic cord, placing it in the middle of the tent.

- Close the rear of the tent by slowly pulling down the hoop strap at the corners to allow time for the air inside the tent to escape.

- Extend the rear webbing straps and secure the hooks into the loop attached to the top section of the RTT. Do not pull the webbing strap tight.

- Close the front of the tent by slowly pulling down the hoop strap at the front corners to allow time for the air inside the tent to escape.

- Extend the front webbing straps and secure the hooks into the loop attached to the top section of the RTT. Do not pull the webbing strap tight.

- Tuck any material inside the tent if required, then tighten the webbing straps to secure the top section.

- Secure the top of the RTT with the four latches located at each corner.

- Once on the ground, remove the ladder and press the triggers on either side of your ladder rungs to allow the ladder to slide back into a closed position. Place the ladder inside the ladder bag and store the ladder in an appropriate location.


CARE & STORAGE INSTRUCTIONS
- Remove dirt with a soft brush and cold water after use.
- Do not clean with soap, detergent, petrol, oil or solvents.
- Ensure RTT is completely dry before storing.
- Correct storage is vital for the longevity of your RTT. If on occasion the RTT is required to be stowed wet, it is essential it is unpacked and dried as soon as possible. Water damage, mildew damage and incorrect storage is not covered under warranty.
- It is recommended that you open your RTT periodically between use to inspect the material and allow it to dry out.
- If spot mould is visible, brush it off with a stiff bristle nylon brush and vacuum the area to get rid of any residual spores.
STRUCTURAL INTEGRITY
This RTT has been designed for general camping in normal conditions. This RTT is designed as a temporary shelter, not a permanent structure. Do not leave up for extended periods and do not leave unattended.
To avoid the chance of personal injury and or property damage, DARCHE recommends this RTT should not be erected or used in extreme weather conditions.
Your vehicle should not be moved while the RTT is deployed.
WARNING

Keep all flame and heat sources away from the Roof Top Tent.
Avoid using this Roof Top Tent in extreme weather conditions.
Ensure that you follow the installation instructions carefully. It is very important that your Roof Top Tent is installed correctly on your vehicle and you fully understand the safe use of your Roof Top Tent.
Please refer to your vehicle manufacturer or vehicle manual for roof load carrying capacity and also the manufacturer of your roof rack/rails for carrying capacities, particularly if you are planning to travel off-road. Not all vehicles or aftermarket roof rack/bars are suitable for carrying a Roof Top Tent, this may include; weight restrictions and or adhering to legal requirements, for example insurances.
Any element applied to the vehicle roof changes the normal vehicle handling.
The manufacturer disclaims all responsibility in case of accidents due to improper use, improper maintenance, or failure to check the tightness of brackets, bolts and any other fasteners on your roof rack or Roof Top Tent.
Inspections: During trips regularly check that all nuts and bolts on your Roof Top Tent are tight and in good condition. This includes nuts and bolts attaching the RTT to the vehicle as well as those on all mechanical components of the RTT.
For your safety and protection, ensure correct placement and angle of ladder.
DO NOT CLIMB ON LADDER UNTIL CORRECT ANGLE IS ACHIEVED (approx. 75 degrees).
DARCHE TAKES NO RESPONSIBILITY FOR THE FITMENT OF THE RTT TO ANY VEHICLE OR ROOF RACK.
Darche Outdoor Gear - The wholesaler / manufacturer shall not be liable for special, indirect incidental or consequential damages.
KEEP ALL FLAME AND HEAT SOURCES AWAY FROM THE TENT MATERIALS.
UNDER NO CIRCUMSTANCE SHOULD ANY NAKED FLAME SOURCES OR HEATING DEVICES BE USED INSIDE OR NEAR THE TENT.
KEEP EXITS CLEAR.
Should you have any questions or require assistance, please contact your DARCHE retailer or call our customer service line: 1300 367 695

SCAN TO WATCH THE VIDEO
Documents / Resources
References

Download manual
Here you can download full pdf version of manual, it may contain additional safety instructions, warranty information, FCC rules, etc.
Advertisement


Need help?
Do you have a question about the KOZI Series and is the answer not in the manual?
Questions and answers