Advertisement
Structural Diagram
Package Lists


Product Specifications
| Model No.: W1 | |||
| Display Technology | LCD | Light Source | LED |
| Resolution | Native 1920x1080 | Focus | Manual |
| Installation Type | Front/Rear/CeiIing | Aspect Ratio | 4:3/16:9 |
| Product Size | 260x210x102mm | Product Weight | 1 95kg |
| Input Interface | HDMI/USB/AV/3 5mm audio | Output Interface | Audio out |
Multimedia Supported Files
| Files | Support | Doesn't Support |
| Audio Format | MPEG1, MPEG2, LPCM, MP3, avi /.ts/.dat/.vob/.wmv /.mkv/.mp3/.mp4 /.m4a | Dolby AC3 / AAC, DTS, WMA, DivX, VC1, RM, RMVB, FLV, etc |
| Image Format | JPEG, PNG, BMP | |
| Video Format | MPEG1, MPEG2, H.263, H 264, AVS, VC1, MJPEG, RV30, RV40, HEVC | MSVC / CRAM, MP42, GMC, IV32, RLE, cvid, RV20, DivX, RM, RMVB, VC1, FLV |
| File Format | TXT |
If you play the above files, it still can't work properly, don't hesitate to contact us via support02@wimius.com
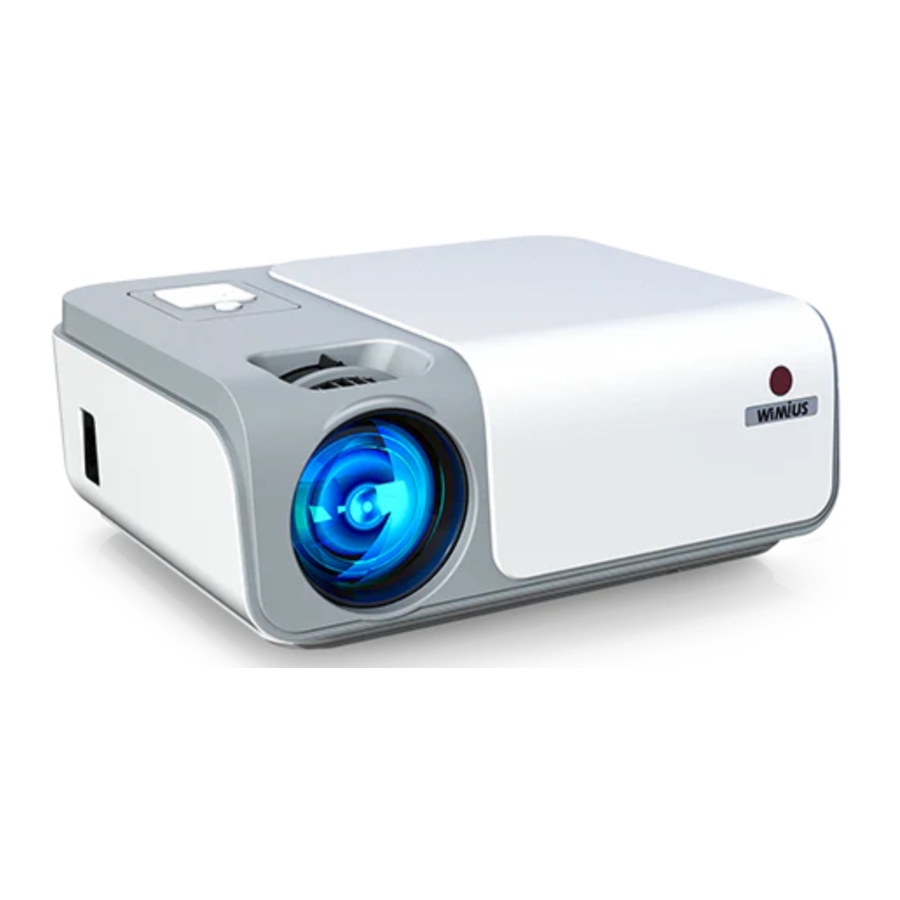
Product Overview

- Control Panel
- Keystone Correction knob
- Manual Focus
- Power/ Return
- Menu/ Up
- Left/ Volume +
- Source/ Down
- OK Button (Select/confirm/enter)
- Right/ Volume -
- Lens
- IR Receiver
- Power cable Socket
- Analog TV tuner(Optional Function)
- IR Receiver
- Speaker
- Ventilation Inlet
- Av Input
- Headphone Output (3 5mm)
- HDMI 1 Input
- HDMI 2 Input
- USB(2.0) Input x2
- Ventilation Outlet
Remote Control

Note: While using the remote control, point it toward the IR receiver.
Note:
- Install 2 pieces of AAA batteries into the remote before using it, Do not combine ne batteries with old ones in remote controller, which can cause operation failure due to insufficient power supply.
- When using the remote control, please make sure that the signal transmitter of the remote controller aims at infrared signal receiver of the
- When you are not using there mote controller for an extended period. Please take out batteries to prevent batteries leakage.
Installation
Installation Method
The projector can be hanged on the ceiling with special hanger fame and placed on the stable desk to project the image according to the operating environment and requirements. In addition, the projector can be installed with following methods.
Note: Keep the projector at a height where its lens is axial symmetry to the screen. If it is not possible, use the keystone correction ring to adjust the image.

Projection Size Chart
If you don't know how to purchase the appropriate accessories, please contact us at: support02@wimius.com.
| Distance (m) | Picture size (inch) |
| 1.50 | 50" |
| 2.10 | 70" |
| 3.00 | 100" |
| 3.30 | 120" |
| 5.50 | 200" |
| ... | ... |
Recommended projection distance: 2.4-3M.
The image size depends on the distance between projector and screen. There may be 3% deviation among above listed data. Different settings cause various distances.
Installing the Device
Keep the projector vertical with projector screen and keep it on the same level or attach it to a hanging bracket.
- To adjust the tilt base, unscrew the support rod at the bottom of the projector, see below.
- For Ceiling mount, there are 4 holes at the bottom of the projector (M4*10mm). Please slowly rotate it out first, see below.
NOTE: The hanging bracket is an accessory that is not supplied.
Bottom View

| Support base thread | Adjust the height or the projector |
| Rubber Pads | Fix with M4x10mm Screws |
Power On/Power Off
First connect the power cord to the projector, then connect the power cord to the outlet before the power is turned on. The indicator light will turn to red
Once the projector is plugged in, it will be in Standby mode.
If not use for a long time or encounter thunder and lightning, please unplug the power cord.
Power on: Press the power button on the remote control once to turn the projector on. The indicator light will turn red,
Power off: Press the power button on the remote control again to turn the projector off.
Keystone Correction & Focus
Keystone Correction
If the projected image is in a trapezoidal shape, it can be resolved by Keystone correction.

Method 1: Move the keystone on the top of the projector to left or right to adjust the trapezoid of the image, the adjustable angle is ±20°

Method 2: Press the key on the remote control, enter to the the setting page of keystone correction to adjust the image trapezoid. (The value is ±50°, while the rotate angle is ±50°)
Method 3: Horizontal and Vertical Keystone Correction by Remote Control

Horizontal Range: -50°~+ 50°
If the projection image is tilted Horizontally, you can press the button on the remote control, select "4D Keystone Correction" from Option menu, then press "Horizontal Keystone" button and press the left and right button on the remote control to set the Horizontal to "±", until to achieve the projection rectangle.

Vertical Range: -50°~+ 50°
If the projection image is tilted Vertically, you can press the button on the remote control, select "4D Keystone Correction" from Option menu, then press "Vertical Keystone" button and press the left and right button on the remote control to set the Vertical to "±", until to achieve the projection rectangle.
*Note:
When you press the "Reset" button, the values of horizontal and vertical will be restored to 0.
Image focus

The projected image may be blurry or difficult to see, this is due to lack of Focus adjustment with the lens. Please adjust the focus ring slowly to make the picture clear. (Do Manual Focus, find the most sharpness picture on the screen )
*Note: For LED projectors, it is normal when sharpness in the central, a little blur in the edge.
Device Setting
Select Projection Mode to obtain a front and upward image: Menu>Picture>Projection Direction.
Press arrow key to select and press "OK" to confirm
- Front Desktop
- Rear Desktop
- Front Ceiling
- Rear Ceiling
Signal Source & Multimedia Connection
- Select the Input Source
Connect input devices and then dick the "source" button to choose corresponding signal source (HDM1, HDM2, Screen Mirroring, AV, USB1, USB2)
![]()
- Multimedia Connection
- Insert the USB flash driver into the USB port and choose the right signal source, then press Play/Pause button(> )to display or stop.
(Press "Source" on the remote control or "S" on the control panel, then there is "Input Source" on the screen, choose "USB")

- HDMI Connection
Support most device with HDMI slot. Press "Source" on the remote control, then choose the right signal source "HDMI"

- AV Connection
Use AV cable for connecting as follows, choose the "AV" source input.

- Audio Out connection
User can connect the projector to an extemal speaker or headphones via headphone jack.

- Insert the USB flash driver into the USB port and choose the right signal source, then press Play/Pause button(> )to display or stop.


Wireless Connection
Warming Tips:
- The fluency of screen mirroring with wireless connection will be affected by the network environment. A bandwidth of 100Mbit or more is recommended when using screen mirroring.
- Make sure your mobile device is close to the projector when using wireless connection. A distance within 1 meter is recommended
- Some mobile devices may not support screen mirroring due to the compatibility.
- Any questions, please feel free to contact WiMiUS support02@wimius.com.
Wireless Mirroring Setting
Please press [source] on the remote control or the [S] button on the projector to select he signal source [Screen Mirroring] and enter the screen sharing function
For Android Devices
To activate this function, your android device must support Multi-Screen/Wireless display. Names may differ from different devices.
Method 1: Setting with cellular data
- Tum on the projector, select "Screen Mirroring" as the Input Source, then choose Android on the projector interface of Screen Mirroring for Android System.
![]()
- Turn on the screen casting function on your Android device
- Activate Multi-Screen function in your Android devices and search for the projector. Select RKcast-XXXXXX from the searching results to connect. Your Android device display will be projected to the wall/screen after a successful connection.

Method 2: Setting with Home Wifi
- Please see the WiFi logo in the top right corner of the interface.
![]()
- Press and hold the "OK" button on the remote control, or click the OK button on the projector. See the image below.
![]()
- Open the interface of select the home WiFi. Select your home WiFi and enter the password. Please see the image below.
![]()
- Success. Next, get your phone connected to your home WiFi too.
![]()


AirpIay for iOS Devices

Method 1: Setting with cellular data
- Go to the settings of your iOS mobile device and connect it to the Wi-Fi of RKcast-XXXXXX (password: 12345678). Please ignore the exclamation mark before it.
- Swipe up the screen of your iOS mobile device, then tap Screen Mirroring/AirPIay Mirroring and search for the projector.
![]()

Method 2: Setting with Home Wifi
For more details, please refer to the method of connecting to home WiFi for Android phones.
Wired Mirroring Setting
For Android phones, we do not recommend use wired mirroring setting. Wireless connection will be convenient.
For IOS wired mirroring setting.
- Tum on the projector, connect your iPhone or iPad with the projector via ORIGINAL lightning to USB cable
- Select "Trust" in the pop-up window. Then it works.
![]()

Bluetooth
WIMiUS WI Bluetooth WiFi projector has bluetooth function. It not only connects to devices such as Bluetooth stereos and headphones, but also to mobile phones, tablets etc. and can be used as a Bluetooth stereo to play music from mobile apps.

Connecting Bluetooth Speaker
- Press "M" on the projector or the [Menu] button of the remote control to open the main menu.
- Go to 'audio output' under the 'sound' menu and you can make various Bluetooth settings.
- Press the left and right buttons to switch between bluetooth modes

Mode 1 [Audio output static]
Select [device list: search device] and press the right button, then the projector starts searching for Bluetooth.
Once you have found the name of the Bluetooth speaker, press the right button to make an OK selection. Please wait about 10s for the bluetooth speaker to be successfully connected.
Note:
- Before connecting your bluetooth speaker, make sure it is in pairing mode that it can be searched for.
- Once the connection has been successfully made, the name of the bluetooth speaker will turn green.
- If you fail to connect, please contact us via support02@wimius.com

Mode 2 [audio output auto]
In this mode, the projector will automatically connect to previously connected Bluetooth devices.
Mode 3 [audio output off]
Turn off the Bluetooth function and disconnect the connected Bluetooth device. Use the audio that comes with the projector.
As a Bluetooth speaker (Audio Output Receiver Mode)
WiMiUS W1 projector can also be connected to a mobile phone, tablet etc via Bluetooth, and used as a Bluetooth speaker to play music from the mobile app.

- Press "M" on the projector or the [Menu] button of the remote control to open the main menu. Go to "audio output" under the "sound" menu and you can make various Bluetooth settings.
- The [audio output receiver] mode can be switched with the left and right buttons.
- Please use the Bluetooth function of your mobile phone to search for [BT SENDER] and connect. After successful connection, you can play music from your phone through the projector. When music is playing, you can turn off the projected screen by pressing the button and selecting [Closed the screen]. When the OK button be pressed again, th projection image can be switched on again
![]()

Main Menu Function

Press "Menu" on the remote or projector to make some personal settings.
Option

| System Properties | Properties Value |
| OSD Language | Multilingual |
| Restore Factory Default | Press enter (Restore all settings to initial values) |
| Blending | OFF/middle/high |
| Osd Duration | Off/5Sec/10Sec/15Sec |
| Keystone | H calibration ±50°/V calibration ±50°/Rotate ±50°/Reset |
| Software Update(USB) | Press enter (Use USB connection to provide Update Files) |
Picture Setting

| Settings of Picture | |
| Picture Options | Setting Value |
| Picture Mode | Standard / Soft / User / Vivid |
| Color Temperature | Medium/ Warm/Cool/ User |
| Aspect Ratio | 16:9 / 4:3 / Auto |
| Noise Reduction | Middle/ Off/ Low/ High/ Default |
| Projection Direction | Front Desktop/ Rear Desktop/ Front Ceiling/ Rear Ceiling |
| HDMI Mode | PC |
| Reduce Display Size | 50-100% |
Time Setting

| Time | Sleep Timer |
| Set the sleep time | OFF/10min/20min/30min/60min/90min/120min/180min/240min |
FAQ
Common problems can be found in the table below, we suggest you read the manual careful by first time use. If there is any question, that you couldn't solve with this manual, please contact us.
| Questions | Solutions |
Can't play video in App Netflix/Hulu/Amazon Prime | Those APPs are limited with HDCP. This model doesn't support this function So it can't support these APPs |
Wi-Fi connection is not stable |
|
Indicator light is off when plug into power supply |
|
| Press the power button on the remote control and the projector does not turn on |
|
No image on the screen |
|
Picture right & no sound |
|
| It will shut off automatically after turn on for a while |
|
| Can't find devices when connected with hard drive or flash drive? |
|
Can't play the movies |
|
Warnings
- High brightness lamp! Please don't look directly into the lamp
- Adjusting the contrast, brightness and focal length according to different input signals is the key to make the picture clear; otherwise, the picture will be blurred;
- There is high voltage inside the projector. It is forbidden to open the cover and touch the internal parts of the machine
Precautions
- Clean when clean this projector, please pull out the power cable. Use a wet cloth to clean, don't use any detergent that may damage the unit.
- Accessory
Please use our recommended accessory. Or it will damage the projector. - Correct environment
do not place the projector in a wet environment, like damp basement or near the swimming pool, etc. - Ventilation
the ventilation is equipped for the projector to work stably. Do not put anything around the vents. Or it will cause the projector heating up. - Power
please make sure the power is within the required power range. - Thunder
for thunder day, please unplug the power cable from the projector. - Repair
due to high voltage inside, please do not open or try to repair the projector by yourself. Don't disassemble the projector without authorize, otherwise any warranty will be invalid. Seek help from an authorized agent or qualified professionals when needed. - Keep away from heat device
please make sure the projector is far away from any heat devices which will damage the projector.
Contact US
Thank you for your purchase with WiMiUS W1 video projector.
If any questions during using it, feel free to contact us at below, so that we can service you further.
Email: support02@wimius.com (optimal)
To obtain the Use and Maintenance videos please contact: support02@wimius.com
Documents / ResourcesDownload manual
Here you can download full pdf version of manual, it may contain additional safety instructions, warranty information, FCC rules, etc.
Advertisement


Need help?
Do you have a question about the W1 and is the answer not in the manual?
Questions and answers