Victron energy GX Series, Venus GX Manual
Also See for GX Series:
- Manual (5 pages) ,
- Manual (2 pages) ,
- Step-by-step manual (15 pages)
Advertisement
Table of Contents
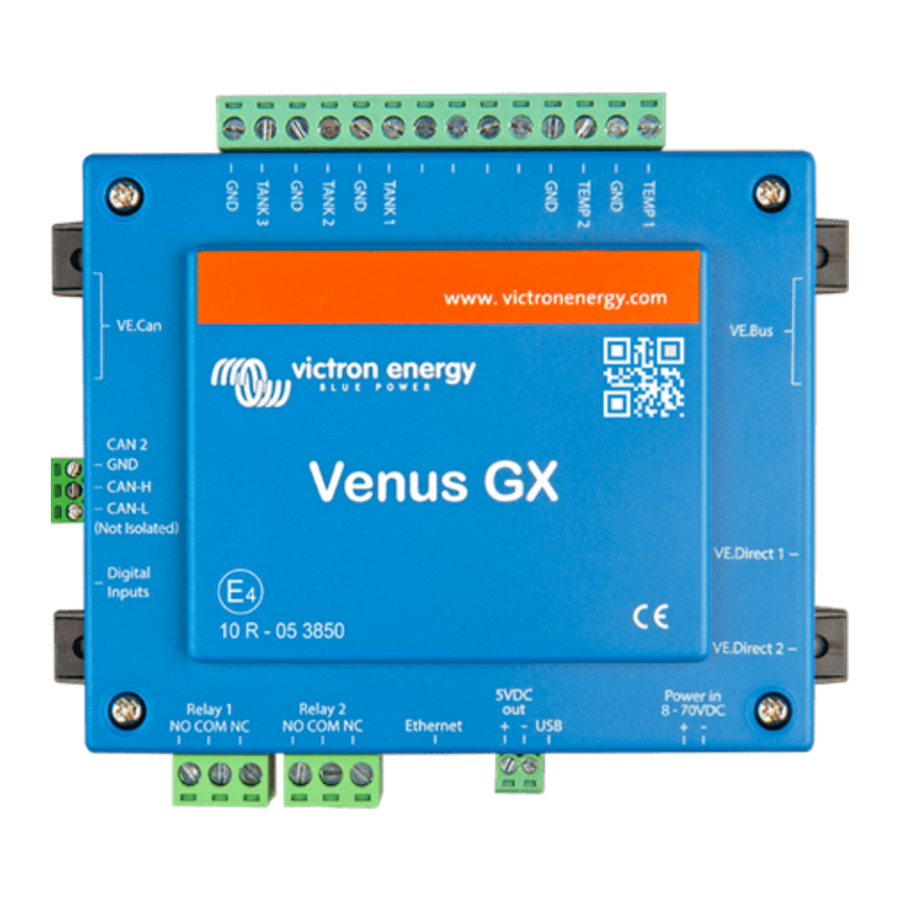
Victron energy GX Series, Venus GX Manual
Replacing a GX device in VRM
-
- Physically disconnect the old GX device that you wish to replace
- It should be offline to start this process
-
- Take note of the old VRM id from the device that you want to replace
- It is displayed on a sticker on the GX device
- If the sticker is damaged or missing, you can proceed without it, it is only used as a confirmation that we are replacing the correct system
- In this example I am replacing an old Venus GX device with VRM ID 38d2693a613e
![]()
-
- Physically connect the GX device you want to use as the replacement, in the location of the old GX device that you are replacing
- The minimum essential components are the power supply, and the internet connection. Though it makes sense to connect all the peripherals that were previously connected as well
- Neither the GX device that is getting replaced, nor the replacement GX device need to online at the time of the VRM replacement procedure
- However both must have been online at least once and made automatic contact with Victron VRM servers
-
- Record the VRM ID from the new replacement GX device and keep it handy, we will need this ID to proceed
- The replacement Cerbo GX in this example is VRM ID C0619AB6A1A7
![]()
- Open up VRM and go to the VRM site that has the history that you want to preserve and have transferred over to new replacement GX device

- In the replacement site general settings on VRM, confirm that the VRM ID matches the GX device you want to replace.

-
- Rename the site so that it is very clear that this is the site to replace
- This isn't necessary if you only have a single site registered to your VRM account, but strongly recommend if you have more than one

-
- Return to the top most menu on the left hand side of VRM and select "Add installation"
- Scroll to the bottom and select "Replace GX device"

- Enter the VRM ID for the replacement GX device (in this example the Cerbo GX)

- Select the site you want to replace as "Current installation"

- Select the new replacement GX device

- Confirm the details are correct

-
- Reboot the replacement GX device
- This can be done physically, or remotely via the remote console in the General menu on the GX


Documents / ResourcesDownload manual
Here you can download full pdf version of manual, it may contain additional safety instructions, warranty information, FCC rules, etc.
Advertisement


Need help?
Do you have a question about the GX Series and is the answer not in the manual?
Questions and answers