PAX S920 Manual
- User manual (163 pages) ,
- Reference manual (35 pages) ,
- Quick setup manual (17 pages)
Advertisement
Overview
Meet the PAX S920, a mobile payment terminal renowned for its portability, easy WiFi setup, and versatile features. Ideal for merchants in the service, restaurant, or retail industries, the S920 is resilient and responsive, designed for on-the-go use in busy environments. It has a durable battery, a SIM card slot, and receipt paper functionality. The charging base ensures continuous use. The PAX S920 supports contactless and QR payments and offers robust software for your transaction needs.
Setup
How To Load Paper Roll
- Open the paper compartment release lever.
- Place the 40mm thermal receipt paper roll inside the paper compartment.
- Leave a small length of receipt paper hanging out of the open compartment. Close the compartment and tear off excess paper. Before using your PAX S920, ensure the paper compartment lid is completely closed.
How To Turn On/Off
To turn your PAX S920 on and off, press and hold the red X button for approximately three to five seconds, then release. Your PAX device will then perform a self-test.
How To Set Up a Wifi Connection
- Ensure your PAX S920 is powered on and adequately charged.
- Press and hold the green button on your S920 keypad. Alternatively, you can press the green button and the 1 key simultaneously.
- At this point, you will be prompted to enter a default password. The password for the S920 will either be 916860 or the day's date.
- Select MAIN COMM, then select WIFI.
- Select WIFI PARAMETERS.
- A display reading "SEARCHING WIFI" will appear. At this point, you will be prompted to search for the network you wish to join.
- If prompted, select PASSWORD.
- When prompted, enter your network password.
How To Run a Ping Test on Your PAX S920
To successfully test the durability of your network connection, you must conduct a ping test. To perform this test, you'll first need to ensure that you are connected to your local WiFi network.
- Select your choice WiFi network, or SSID. If prompted, select the relevant SECURITY TYPE.
- Select the PASSWORD option.
- Input password, then select ENTER.
- Select PING.
- Verify that your online address is clear and displayed. If it is, press ENTER to proceed.
- Following this, the results of your ping test will show on your screen.
How To Install a SIM Card in Your PAX S920
- On the back of your terminal, remove the SIM socket cover.
- Carefully remove the existing battery.
- Insert the SIM card into the corresponding card slot.
- Re-attach SIM socket cover.
How To Turn On No Paper Mode on Your PAX S920
- From the main menu, select OPERATION SETTINGS.
- Select NO PAPER MODE.
- Enter either your password or the default admin password if prompted.
- If asked to authenticate NO PAPER MODE, select YES to confirm.
PAX S920 - Default Password
The default password for the PAX S920 will either be 916860 or the numerical date you are using the terminal.
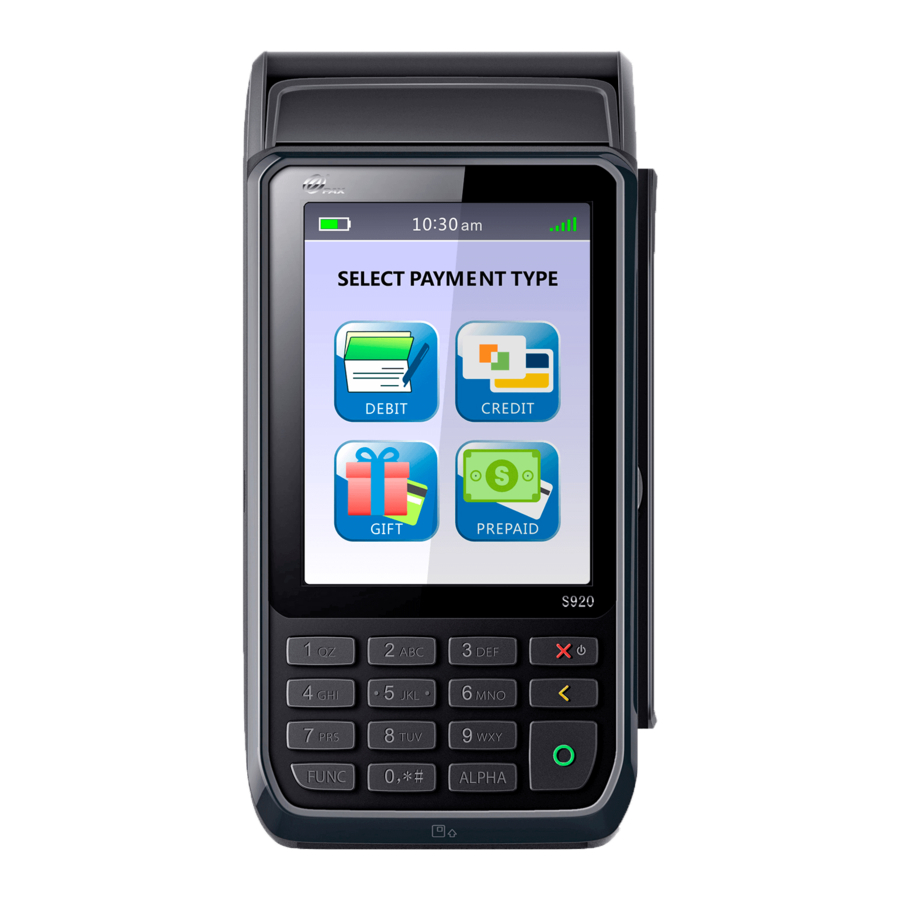
Accept Payments
The PAX S920 accepts magnetic stripe payments, as well as smart, PIN and NFC contactless options. It also accepts Visa payWave MasterCard Contactless, Discover D-Pas via MasterCard, and American ExpressPay.
How To Process a Sale
Chip Credit Sale
- Select CREDIT.
- Select SALE.
- Enter the total amount for the sale, then confirm.
- The cardholder will then tap, swipe, or insert their card.
- Upon approval, a receipt will print.
Manual Entry Credit Sale
- Select CREDIT.
- Select SALE.
- Enter the total amount for the sale, then confirm.
- The merchant or cardholder will then manually input card details, including card number, expiration date, CVV, and possibly your card's billing zip code.
- Upon approval, a receipt will print.
Debit Sale
- Select DEBIT.
- Select SALE.
- Enter the total amount for the sale, then confirm.
- The cardholder will then swipe or insert their card before being asked to enter their personalized PIN information to finalize the sale.
- Upon approval, a receipt will be printed. Cardholders may be asked to sign for their debit sale.
How To Reprint Receipt
- On the main menu, select the REPRINT option.
- At this point, you will be presented with the option to print a receipt for the last transaction or to select a custom transaction. Merchants may also be asked to select between MERCHANT COPY and CUSTOMER COPY.
- Upon selection, a copy of the relevant receipt will be reprinted.
How To Process a Refund
Credit Card Return
- Select CREDIT.
- Select RETURN or REFUND.
- Enter the total amount for the return, then confirm.
- The cardholder will tap, swipe, or insert their card to authenticate the return.
- Upon approval, receipts will be printed for the merchant and cardholder.
Debit Card Return
- Select DEBIT.
- Select RETURN or REFUND.
- Enter the total amount for the return, then confirm.
- The cardholder will swipe or insert their card to authenticate the return before entering their PIN information.
- Upon approval, receipts will be printed for the merchant and cardholder. Cardholders may be asked to sign for their debit return.
How To Void Transaction
Void Transaction
- If prompted, select FUNC.
- Select VOID or V SALE.
- Select the type of void that corresponds to the transaction: DEBIT, CREDIT, etc.
- You will be asked to enter the transaction number for the sale you wish to void. This number is on the original transaction receipt.
- Upon verifying the exact details of the void, press the green button to confirm.
How To Print Reports
- Select FUNC.
- Select REPORT.
- When ready, PRINT.
Alternatively, you can select REPORT and enter the password, after which the most recent default report will print automatically.
Settings
How To Turn On Battery Saver Settings
- Select ENTER.
- Press 1.
- Select OPERATION SETTINGS.
- Select BATTERY SAVER.
- Select OPERATION MODE: either OFF or AUTO OFF.
How To Change the Date and Time
- Press 1.
- When prompted, enter the password.
- Select SYSTEM SETTINGS.
- In SYSTEM OPTIONS, select DATE/TIME.
- Enter that day's date in the MM/DD/YYYY format.
- Enter your time zone in the HH:MM:SS format (H= Hours, M= Minutes, S= Seconds).
- The correct date and time will be displayed when you return to your main menu.
Troubleshooting & Tips
How To Check for Updates on Your PAX S920
Manual Update
- Press the FUNC and 1 keys simultaneously.
- Enter password 0000 - enter key.
- Select SYSTEM SETTING.
- Select APP MANAGEMENT.
- Select APP UPDATE.
Power Cycle
- Start by making sure that your PAX S920 is connected to WiFi.
- Turn the terminal OFF. Wait ten seconds.
- Turn the terminal back ON.
- Upon rebooting, the terminal will automatically check for updates.
What To Do if You See PED TAMPERED on Your Screen
If your device suddenly displays text reading PED TAMPERED on-screen, do not select any on-screen options or attempt to fix the problem yourself. Instead, contact PAX support to get a replacement terminal.
What To Do if Your S920 Touchscreen Is Unresponsive
If you are having trouble using your PAX S920 touchscreen ensure that a.) your device is dry and has not been damaged by liquid, and b.) your PAX terminal is not within proximity to any magnetic devices. If these issues persist, contact a PAX support representative.
Performing a Factory Reset
It is strongly advised that any PAX user hoping to factory reset their PAX S920 should do so with the assistance of their merchant service provider.
Note: Performing a factory reset will erase all data on the device, including transaction history and customized settings. Be sure to back up any important data before proceeding with a factory reset.
PAX S920 Common Error Messages
Below is a list of some other common messages you may receive on your PAX S920 screen, alerting you of an error that needs to be addressed. These usually appear along with their corresponding error codes:
- GENERAL ERROR: Error of unknown origin.
- TOTAL AMOUNT ERROR: Formatting error.
- TRANSACTION DECLINED: Self-explanatory, transaction cannot be successfully authorized.
- CHIP CARD READ ERROR: Terminal incapable of reading or processing EMV chip card information.
- PARAMETER ERROR: PAX parameter is non-functional.
- BATCH CLOSE FAIL: Attempt at closing a batch was not successful.
How To Reach Customer Service
If you have any customer service issues related to your PAX device, contact PAX support directly, either via email (support@pax.us) or telephone (877-859-0099).
PaymentCloud LLC.
800-988-2215
support@paymentcloudinc.com
Documents / ResourcesDownload manual
Here you can download full pdf version of manual, it may contain additional safety instructions, warranty information, FCC rules, etc.
Advertisement


Need help?
Do you have a question about the S920 and is the answer not in the manual?
Questions and answers