Advertisement
In the Box

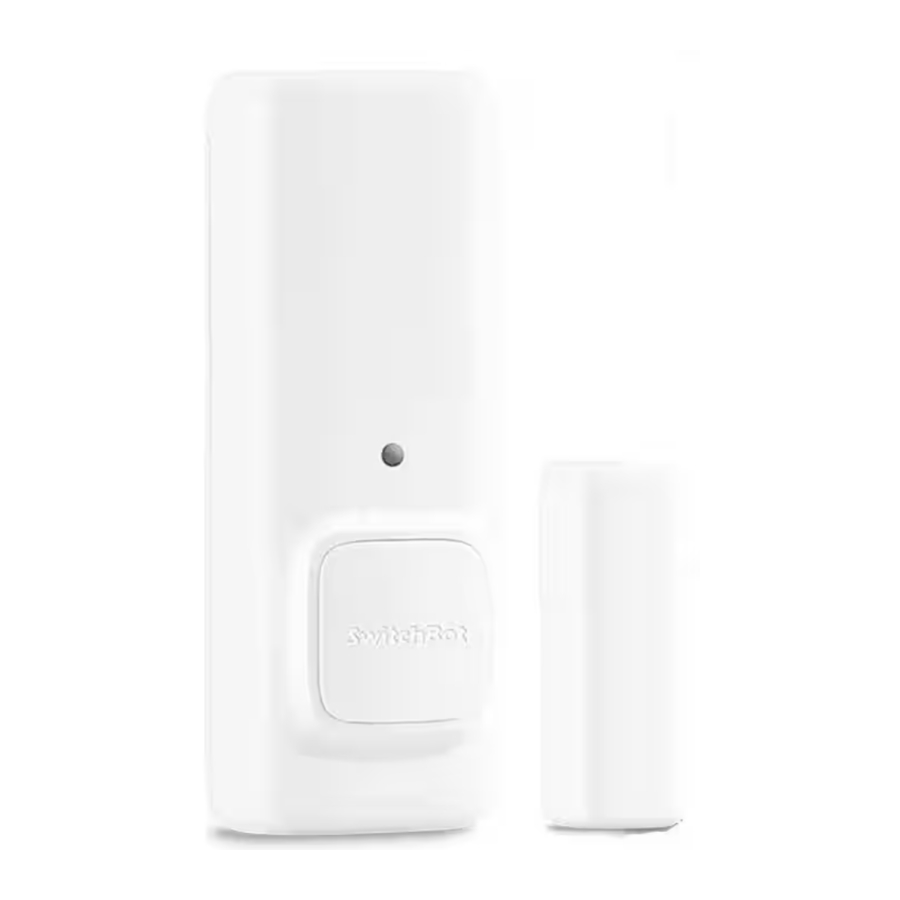
- Contact Sensor
- Magnet
- AAA Batteries x 2
- User Manual
- Screw Pack
- Sticker (adhered to Contact Sensor)
- Sticker (adhered to Magnet)
Device Instruction

Preparation
- A smartphone or tablet with Bluetooth 4.2 or above
- Download the SwitchBot app


- Create a SwitchBot account and sign in
- (Optional) If you intend to use the Cloud
Service feature, you need to set up a SwitchBot Hub Mini (sold separately) and connect your phone to the internet
Getting Started
- Removethe Battery Case. Install two AAA batteries into the battery box following the and signs. Then put the Battery Case back.
- Open the SwitchBot app and sign in.
- On the app, tap the "+" icon on the top right of the homepage. Tap the "Contact Sensor" icon and follow the instructions to complete the setup.


Detection Range
Maximum Detection Distance: 5m
Maximum Detection Range (Horizontal): 90º

Maximum Detection Range (Vertical): 55º

The data above is obtained from lab experiments conducted under 77ºF (25ºC).
Light Sensor
Light Sensor is used for detecting whether it is bright or dark in the target environment. You can define the threshold for being bright or being dark in the app. Navigate to the Settings page of Contact Sensor in the app for more information.
How to Install
Adhere to a door or a window
Peel off the protective film from the Contact Sensor and Magnet.

Line up Contact Sensor and Magnet on the door or window and make sure the Magnet is aligned with the bottom of Contact Sensor.
Stick the Contact Sensor on the door/window and Magnet on the frame or the other way around. Make sure the gap between the sensor and the magnet is less than 30mm when the door or window is closed.
Apply pressure to the Contact Sensor and Magnet for 60 seconds so that they are firmly attached.

Mount to a surface using screws
Remove the Battery Case from Contact Sensor. Mount the Battery Case to the target surface using the screws provided. You don't need to peel the protective film off during this process. Install the Contact Sensor back to the Battery Case, that has been mounted to the target surface. Line up the Contact Sensor and the Magnet on the door or window and make sure the Magnet is aligned with the bottom of the Contact Sensor.
Peel the protective film off Magnet and stick it to the surface near the Contact Sensor. Make sure the gap between the sensor and the magnet is less than 30mm when the door or window is closed.
Apply pressure to Magnet for 60 seconds so it is firmly attached.


- Make sure the target surface is dry and clean.
- Avoid any heat sources, such as light bulbs.
- Avoid facing towards a glass door or window to reduce reflection and interference.
- Avoid facing towards constantly moving objects.
Battery Replacement, Firmware Update and Factory Reset
Battery Replacement
Remove the Battery Case. Follow the "+1' and " marks, replace the old batteries with new ones.
Put the Battery Case back.
Firmware Update
Please make sure you have the up to date firmware by upgrading in time.
Factory Reset
Long press the Reset Button for 15 seconds or until the LED Indicator Light is on.
 Note: After the device is reset, all settings will be set to the default values and the activity logs will be erased.
Q&A
Q: Is there any difference in using Contact Sensor on a door or window?
A: When installed to a window, the motion sensing feature will be automatically disabled because the cool air or hot air may interfere with the bulit-in motion sensor beneath the Reset Button which may trigger false alarms.
Q: How to enable Cloud Service?
A: You need to purchase a SwitchBot Hub Mini (sold separately) and set it up under your account.
Then navigate to the app Home page.
If you see a cloud icon showing up on the Contact Sensor device card, this means it is being scanned by Hub Mini. Navigate to the Settings page of Contact Sensor to enable Cloud Service from there.
Scan the QR code below to view more solutions.

https://support.switch-bot.com
Specification
Model Number: WI 201500
Size:
70.5mm x 25.5mm x 23mm (Contact Sensor);
35mm x 12mm x 12.5mm (Magnet)
Weight:
43g (Contact Sensor with batteries);
13g (Magnet)
Battery Life: 2 x AAA batteries roughly 3 years (triggered 80 times door open & door close respectively, button press and light sensing 40 times and 20 times by local scenes under 77ºF(25ºC) by daily use)
Working Condition: 14ºF~140ºF (-10ºC~60ºC), 20~85% RH
Maximum Detection Distance: 5m, results obtained from lab experiments under 77ºF (25ºC)
Maximum Detection Range: 90º horizontally and 55º vertically, results obtained from lab experiments under 77ºF (25ºC).
Contact and Support
Setup and Troubleshooting: support.switch-bot.com
Support Email: support@wondertechlabs.com
Feedback: If you have any concern or problem when using our products, please kindly send feedback from the Profile > Feedback page in the SwitchBot app.
Safety Information
- Keep the device away from humid or hot environments.
- Remove the batteries when not used for long period of time.
- Do not attempt to disassemble, repair, or modify the device.
- Do not use any other batteries than those recommended.
www.www.switch-bot.com
Documents / Resources
References
Download manual
Here you can download full pdf version of manual, it may contain additional safety instructions, warranty information, FCC rules, etc.
Advertisement


Need help?
Do you have a question about the W1201500 and is the answer not in the manual?
Questions and answers