SwitchBot Hub 2 (W3202100) Troubleshooting Manual
- User manual (65 pages) ,
- Troubleshooting manual (9 pages)
Advertisement
- 1 SwitchBot Hub 2 Alexa Setup Guide
- 2 Commands for controlling IR appliances with Alexa
- 3 How to learn IR appliance remote control?
- 4 Voice control of scenes with Amazon Alexa (Scene 3.0)
- 5 Hub 2 failed to find router, keep connecting network during setup?
- 6 What Should I Do if Hub 2 Does Not Start Up After Power-On?
- 7 How to set up Matter with SwitchBot Hub 2 (iOS)?
- 8 Documents / Resources
SwitchBot Hub 2 Alexa Setup Guide
- Make sure your SwitchBot App version is up to date.
- Make sure SwitchBot Hub 2 has been added to your App.
- Method 1: Please follow the steps below to integrate via the Alexa App.

- Method 2: Please follow the steps below to integrate via the SwitchBot App.
- Launch the SwitchBot App and log in.
- Tap the relevant SwitchBot Hub 2.
- Tap the gear icon in the top right corner.
- In the Settings screen, tap on "Cloud Services".
- Tap Amazon Alexa.
- Tap "Connect".
- Enter your Amazon Alexa App login ID and password.
- The link will be automatically established.

Commands for controlling IR appliances with Alexa
After connecting your SwitchBot account to Alexa, you could control the IR appliances that you had already added to SwitchBot Hub 2, with a voice command.
For air conditioners:
- "Alexa, turn on/off <device name>"
- "Alexa, set <device name> to 20 degrees"
- "Alexa, set <device name> to < >mode"
- The air conditioner remote added with the "Custiomize Mode" only support on/off command.
For television:
- "Alexa, turn on/off <tv name>"
- "Alexa, change channel to 20 on <tv name>"
- "Alexa, next channel on <tv name>"
- "Alexa, lower the volume on <tv name>"
- "Alexa, mute <tv name>"
For fans:
- "Alexa, turn on <fan name>"
- "Alexa, set the <fan name> speed to 7"
- "Alexa, turn up the <fan name> speed"
- "Alexa, set speed to low/high on sky <fan name>"
- "Alexa, decrease the fan speed on the <fan name> by 3"
- "Alexa, turn on oscillate on <fan name>"
- "Alexa, set <fan name> to natural mode"
- "Alexa, set <fan name> to standard mode"
For appliances added in "Others":
Others appliances could not be controlled by voice command. Simply use the scene feature on SwitchBot APP or IFTTT app.
How to learn IR appliance remote control?
- Before registering the home appliance remote control, please add Hub 2 to the SwitchBot App first.
- Open SwitchBot App, please register the home appliance remote control in the order of "+" in the center right of the corresponding Hub →2 screen.
- Since the learning method may differ depending on the model number of the infrared remote control, we will guide you through the following four learning modes "Smart Learning / Automatic Learning", "Search Manufacturer / Manual Learning", "Customization / Button Learning" and "Other".
"Smart Learning" (remote control automatic learning)
- Select the appropriate Hub 2
- Tap the "+" in the center right of the screen.
- Select Home Appliances
- Tap Remote Control Auto Learn
- Move the home appliance remote control closer to Hub 2 and press the power button.
- Test the template that came out until it works
- Save remote control that works flawlessly
"Search Manufacturer" (remote control manual learning)
- Select the appropriate Hub 2
- Tap the "+" in the center right of the screen.
- Select Home Appliances
- Tap Remote Control Manual Learning
- Search by entering manufacturer and model number
- Test the template that comes out
- If it works fine, save the remote
"Customize" (remote control button learning)
- Select the appropriate Hub 2
- Tap "Add Remote"
- Select Home Appliances
- Tap the button Learn on the remote control
- Learn each button one by one
- Save Remote Control
"Other"
In "Other" mode, you can freely add buttons for the remote control, and you can also freely name the learned buttons. It is most recommended for those who have a DIY remote control or button.
- Slide to the bottom of the device list, then tap More. Give your button a name and start learning.
- After the indicator lamp in the upper left corner of the Hub 2 unit turns off, press the remote control button once and wait until the indicator lamp flashes.
- If the button is recognized, you will see a success suggestion, tap "Test" to check if the appliance is actually working. If it doesn't respond, re-register with "Learn Again". After learning all the buttons, name and save the remote control. This completes the registration.
Voice control of scenes with Amazon Alexa (Scene 3.0)
- Create a scene with the SwitchBot App.
- Launch SwitchBot App
- Tap "+" on the top right of the home screen
- Tap "Add scene"
- Enter scene name
- Add action
- Save
- Go into the Alexa App and link your SwitchBot from your skill.
- Launch Alexa App
- Tap More
- Tap skill/game
- Search for SwitchBot
- To enable
- Log in with your SwitchBot App account
- Link completed

- Trigger scenes with prescribed voice commands. Voice example: "Alexa, turn on [scene name]."
- Kindly note:
- If the skill is already linked with Alexa, the created scene will be automatically added to Alexa with the skill.
- "Scenes" in Alexa can only respond to voice commands to turn them on. Let me explain with an example.
Scene 1
Scene name: Air conditioner on
Speak when operating with Alexa: "Alexa, turn on 'Air conditioner on'."
Scene 2
Scene name: Air conditioner off
Speak when using with Alexa: "Alexa, turn on 'Air conditioner off'."

Hub 2 failed to find router, keep connecting network during setup?
- Make sure your SwitchBot app version is up to date.
- Make sure the Hub is connected to a stable 2.4GHz (802.11b/g/n, iPv4) WiFi network instead of a 5GHz one. Currently, the iPv6 network and Wi-Fi 6 router are not supported.
- In many cases, it helps to fix the router connection by rebooting the router.
- Please note that building materials and metal objects located between the WiFi router and Hub or between the Hub and your mobile phones impact connectivity. If possible, set up the Hub within a clear line of sight of your WiFi router.
- If that doesn't work, It is recommended to perform a test by connecting the Hub to a Personal Hotspot from another mobile phone. Pay attention to the following points:
- Turn on Personal Hotspot from another mobile phone.
- If possible, turn off the Wi-Fi router to exclude disturbances during the test.
- For iPhone 12 or newer devices, enable Maximize Compatibility to ensure the personal hotspot is a 2.4GHz network.
- After the personal hotspot is enabled, follow the steps to proceed your test.
- Tap the Hub Mini on SwitchBot App.
- Tap the gear icon on the top right corner.
- Tap Wi-Fi Settings.
- Tap Edit, enter the new name & password of personal hotspot on your mobile phone.

- If the Hub is fine connecting to a Personal Hotspot, then the problem may be in the settings of your WiFi router.

If it doesn't work, Please submit a feedback.
What Should I Do if Hub 2 Does Not Start Up After Power-On?
- Please ensure that your home's power outlet is functioning properly.
- Ensure that the cable is securely plugged into the device.
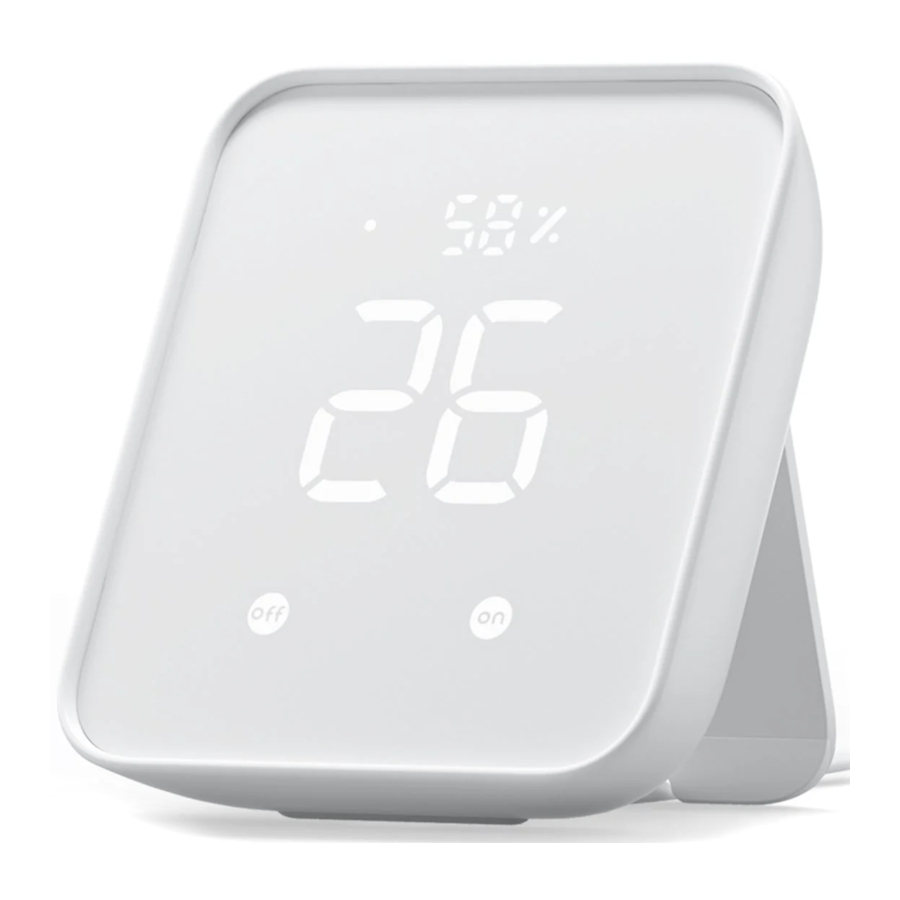
- If you have an alternate charging adapter and cable available, try switching to them to see if the device turns on. Once powered on, the Hub 2 will beep and display temperature and humidity data simultaneously.
Charging adapter output: 5V2A
Connection port: USB Type C(with multiple sensors) - If using a different charging adapter and cable resolves the issue, we will compensate you for the cost of the charging adapter/cable in the case of the Hub Mini. The Hub 2 cable is unique and will be replaced with the original or a new cable within the warranty period.
- If the device fails to turn on even after switching the charging adapter and cable, please contact us by logging in to the SwitchBot app → Profile → Help and Feedback → Feedback. We would appreciate it if you could provide us with the following information when you contact us.
- Please kindly provide us with a video of the device failing to start after powering on.
How to set up Matter with SwitchBot Hub 2 (iOS)?
- Related Products: SwitchBot Hub 2, SwitchBot Hub Mini Matter
Preparation
Before setting up devices using Matter, you will need the following:
Devices
SwitchBot Hub 2/SwitchBot Hub Mini Matter
iPhone
and
A HomePod Mini/Apple TV
Software
- SwitchBot App: version 6.25.1 or newer
- SwitchBot Hub 2 Firmware: version 0.7-0.5 or above
- iOS 16.5 or newer
- Homepod Mini 16.5 or newer
When using our app, tap the Matter Configuration via your SwitchBot Hub 2/Hub Mini Matter to update firmware version automatically. Make sure all devices are on a 2.4Ghz Wi-Fi network.
 Note: Unlike the regular Hub Mini, the Matter-enabled Hub Mini has a Type-C connection terminal.
Getting started using Matter.
When you're ready to get started, select the SwitchBot Hub 2/Hub Mini Matter icon on our app's homepage and enter the your Hub 2/Hub Mini Matter device page. Click the Settings icon in the upper right-hand corner to enter and scroll down to the Matter settings option and click to enter. We can then choose to download our device QR code image or copy its number.

Resetting your SwitchBot Hub 2/Hub Mini Matter.
Now, before adding Hub 2/Hub Mini Matter to your Apple Home app, you will need to reset Hub 2/Hub Mini Matter.
For Hub Mini Matter, press the button on SwitchBot Hub Mini Matter for 15 seconds.
For Hub 2, press and hold the On and Off buttons on SwitchBot Hub 2 for 15 seconds, and release them after hearing a drip sound. Then select Add Device in the Apple Home app.

Please Note: Backlight and alert settings will also be reset.
Adding Hub 2/Hub Mini Matter to Apple Home.
Can't find a Matter QR code on the back of Hub 2/Hub Mini Matter?
If you can't find a Matter QR code on the back of your SwitchBot Hub 2/Hub Mini Matter, we recommend copying the number of your device from our app. After copying the number, enter the Home app. Select Add Accessory in the upper right-hand corner, then click More Options, My Accessory Is Not Here, and Add with Code.
A paste button will appear after long pressing, paste the copied number, press continue, and enter the adding process.

Documents / ResourcesDownload manual
Here you can download full pdf version of manual, it may contain additional safety instructions, warranty information, FCC rules, etc.
Advertisement


Need help?
Do you have a question about the Hub 2 and is the answer not in the manual?
Questions and answers