Advertisement
Package Contents


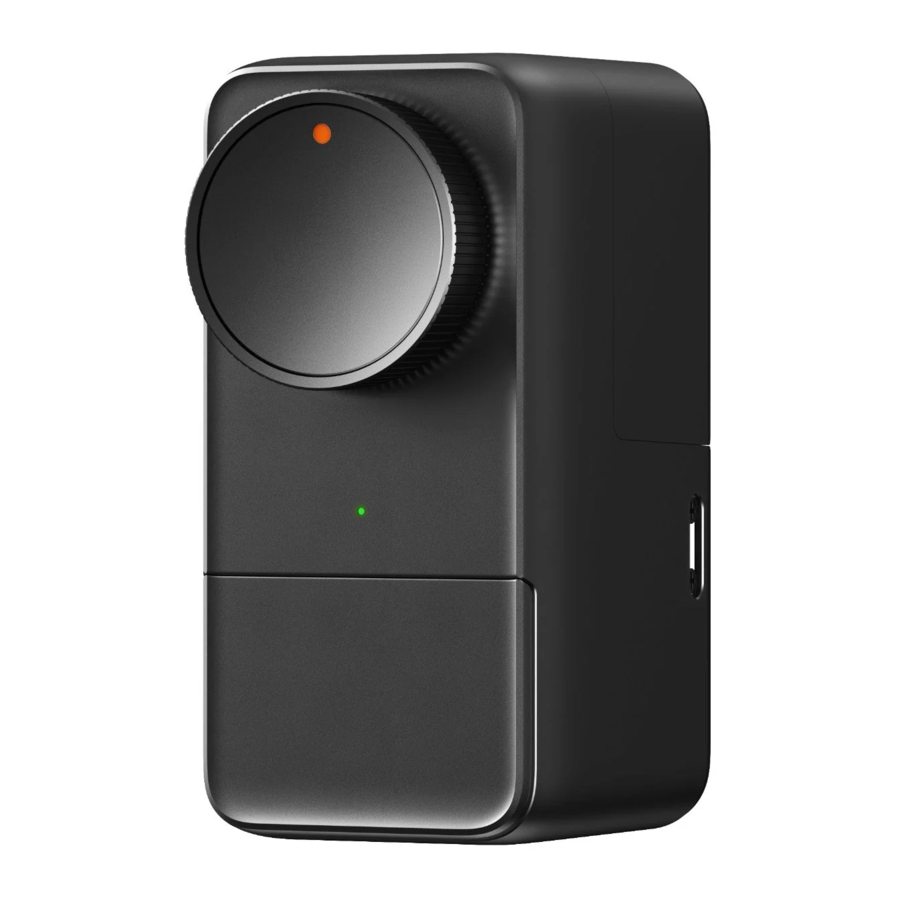
List of Components

Preparation
You will need:
- A smartphone or tablet using Bluetooth 4.2 or later.
- The latest version of our app, downloadable via the Apple App Store or Google Play Store.
- A SwitchBot account, you can register via our app or sign in to your account directly if you already have one.
Please note: If you want to control your Lock remotely, receive notifications or use the third-party services, you will need a SwitchBot Hub (sold separately).
iOS 14.0+


Android OS 5.0+


Installation
- Check your cylinder type
- If the interior side of your lock cylinder is a knob, please remove the knob first according to the cylinder user manual. Select a compatible cylinder adaptor in the package. Attach it to your cylinder and make sure it can turn the cylinder.


- If the interior side of your lock cylinder is a keyhole, please proceed to the next step directly.

- If the interior side of your lock cylinder is a knob, please remove the knob first according to the cylinder user manual. Select a compatible cylinder adaptor in the package. Attach it to your cylinder and make sure it can turn the cylinder.
- Select a suitable mounting bracket
Measure the height of the part of your cylinder that stands out.- If the height is > 3 mm, please use mounting bracket A.

- If the height is < 3 mm, please use mounting bracket B.

- If the height is > 3 mm, please use mounting bracket A.
- Install the mounting bracket
Mounting bracket- Align the hole on the mounting bracket with the cylinder, and attach the mounting bracket to your door lock. Use the small hex key to secure the three hex screws on the bracket.

- Clean the installation surface using the provided wet wipe first. Apply the adhesion promoter to the installation area. Peel off the 3M adhesive tape liner on the back of the mounting bracket, align the hole of the mounting bracket with your lock cylinder, then firmly attach it on your door. Press for at least 2 minutes to ensure a secure installation.
Tip: If the contact area is small or if you are concerned about the stickiness of the adhesive tape, you can use screws to secure the mounting bracket. Refer to the following pictures to operate.

- Align the hole on the mounting bracket with the cylinder, and attach the mounting bracket to your door lock. Use the small hex key to secure the three hex screws on the bracket.
- Insert the key (Only applicable to keyhole cylinders)
Insert the key into the cylinder.

- Install your Lock Pro
- Turn the thumbturn of Lock Pro to align the back groove with the key or the cylinder adaptor, and fit the key or the cylinder adaptor into the groove securely.

- Screw the four hex screws into the screw holes on the two sides of Lock Pro.

- Turn the thumbturn of Lock Pro to align the back groove with the key or the cylinder adaptor, and fit the key or the cylinder adaptor into the groove securely.
- Install the magnet
- Install the magnet based on the actual installation position of your Lock Pro. It's recommended that the top of the Lock Pro thumbturn and the magnet are aligned horizontally, and the distance between them is in the range of 20 to 40 mm.
- Peel off the tape liner on the back of the magnet, stick it to your door frame, and press and hold for 60 seconds or more to finish.


Please note:
- Place your magnet with the marked side facing your Lock Pro thumbturn. Failure to do so will result in your device unable to detect door opening and closing.
- Ifthe tape at the back of the magnet lacks adhesion, stick the Additional Double-sided Tape on the side marked. Then stick the magnet onto your door frame.
Tip: After installing and calibrating with the magnet, you can view your door's status, and use features like Auto-Lock in our app.

- Add Lock Pro to the SwitchBot app and calibrate
- Remove the battery isolation tab. Once Lock Pro is powered on, the LED indicator light on the front will flash blue slowly, indicating your device is in pairing mode.

- Open our app and tap the "+" icon located in the right-hand corner of the home page and select Add Device. Find the device icon and select. Then follow the instructions to add Lock Pro and complete the calibration procedure.
- Remove the battery isolation tab. Once Lock Pro is powered on, the LED indicator light on the front will flash blue slowly, indicating your device is in pairing mode.
- Apply Temporary Support Tape
- If you selected mounting bracket B to install your Lock Pro, you need to apply the Temporary Support Tape as the final step. As shown in the picture below, choose an angle and apply the Temporary Support Tape (blue) to your Lock Pro. Make sure the tape is pressing against Lock Pro and stays taut.
- After 48 hours, hold your Lock Pro and gently remove the tape. Your Lock Pro can be used normally within the 48 hours.


Congratulations! You are ready to go.
Precautions
- This product will fail to lock/unlock your door if the batteries run out. Please regularly check the remaining battery via the app or the LED indicator light and replace them when needed. Please also bring a key when leaving home to avoid being locked out.
- This product is for indoor use only.
- If you notice any product malfunction, please stop using immediately and contact our customer support team.
Quick Key
After Lock Pro is calibrated, you can lock or unlock your door by short pressing the Quick Key. Other settings or disabling the button can be done via our app.
LED Indicator Light
| LED Indicator Light | Description |
 Blue light flashes slowly Blue light flashes slowly | In pairing mode / Upgrading firmware |
 Blue and red light flashes slowly and alternately | Failed to be added / Failed to upgrade firmware |
 Green light stays lit up | Locked/unlocked successfully |
 Red light stays lit up | Low battery / Unusual activity |
Battery Replacement
When your device battery level drops to less than 20%, Lock Pro will emit sound and a red light every time you lock or unlock. When this happens, please replace the batteries as soon as possible.
How to replace batteries: Open the battery case cover, turn the two clip buckles following the marks, remove the battery holder, and replace with 4 new AA batteries.

Resetting Factory Settings
If you are not using Lock Pro, open our app, navigate to Lock Pro > Settings, and delete your device. Once deleted, all data related to your Lock Pro will be deleted and your device will be reset to factory settings. Please operate with caution. Please visit support.switch-bot.com for more details.
Find Out More
Please visit https://support.switch-bot.com/hc/en-us/sections/4408365198103 for more details.

Specifications
Color: Black
Material: Aluminium-magnesium alloys, PC + ABS
Size: 120 x 59 x 83.9 mm (4.7 x 2.3 x 3.3 in.)
Weight: 435 g (15.3 oz.) (with batteries)
Battery: 4 AA dry batteries (1.5 V 2900 mAh)
Working Environment: Indoor only
System Requirements: iOS 14.0+, Android OS 5.0+
Connectivity: Bluetooth 4.2 or later Operating Temperature: -10 ºC to 45 ºC
(14 ºF to 113 ºF)
Operating Humidity: 10% to 90% RH
Troubleshooting
For more information regarding troubleshooting your device, please visit support.switch-bot.com/hc/en-us/sections/4408365197079, or scan the QR code below.

Contact & Support
Setup and Troubleshooting: support.switch-bot.com
Support Email: support@switch-bot.com
Feedback: If you have any concerns or problems when using our products, please send feedback via our app through the Profile > Help & Feedback page.
Safety Information
- Keep this product away from heat and humidity, and make sure it does not come into contact with fire or water.
- Do not touch or operate the product with wet hands.
- This product is a precision electronic product, please avoid physical damage.
- Do not attempt to disassemble, repair, or modify the product.
- Do not use the product where wireless devices are not allowed.
Documents / Resources
References
Download manual
Here you can download full pdf version of manual, it may contain additional safety instructions, warranty information, FCC rules, etc.
Advertisement


Need help?
Do you have a question about the Lock Pro and is the answer not in the manual?
Questions and answers