Advertisement
Quick Links
Advertisement

Related Manuals for Audiovox FlexVision LCM641TV


Summary of Contents for Audiovox FlexVision LCM641TV
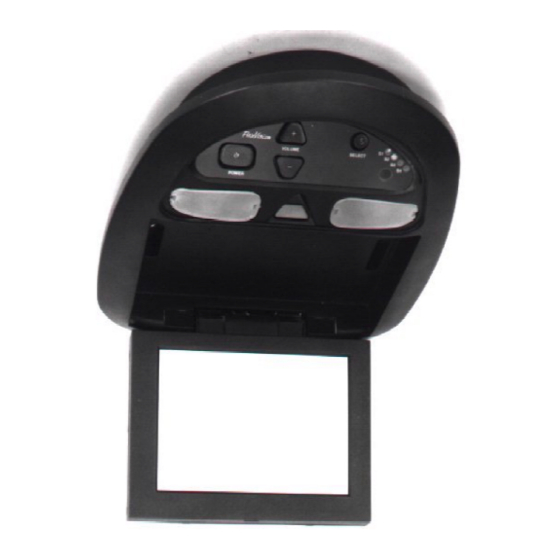
- Page 1 LCM641TV LCM641TVB Installation Manual (LCM641TV Shown) Flipdown LCD In-Vehicle Television Entertainment System US Patent # D 413,856 Audiovox Specialized Applications, LLC 23319 Cooper Drive Elkhart, IN 46514 219-264-3135 www.asaelectronics.com Page 1 of 11 P/N 8010845 Rev.F Nov. 00...
-
Page 2: Materials Included In This Package
Warning: It is unlawful in most jurisdictions for a person to drive a motor vehicle which is equipped with a viewer or screen that is located in the motor vehicle at any point forward of the back of the drivers seat, or that is visible, directly or indirectly, to the driver while operating the vehicle. -
Page 3: Rear Panel Features
Rear Panel Features: Figure 1 A – Shielded Tuner/ PCB Assembly B – Perimeter Screw Bosses Use these to affix the unit to various consoles/trim bezels. C – Mounting Screw Bosses Use these to secure the unit to the roof structure of the vehicle and/or console assembly (optional) General Installation Approach:... -
Page 4: General System Configurations
Tools Required: #2 Phillips Screwdriver #1 Phillips screwdriver Wire Strippers Utility Knife, or Shears Masking Tape Multimeter (to verify 12VDC and Continuity, do NOT use test light) Misc. electrical connectors (to connect to the vehicle power source… will vary from vehicle to vehicle). Marker Pen Electrical Tape Video Tape (to verify function of the system after installation) -
Page 5: Vehicle Preparation
Vehicle Preparation: 1) Locate vehicle power source. Generally this is found near the vehicle’ s fuse block, which is usually (though not always) under the steering wheel area. Locate an accessory hot circuit to tap into for video system power. Accessory hot means a circuit that is +12VDC when the ignition key is in either the “... - Page 6 Wiring Diagram Hook Up Procedure: Figure 3 1) Insert the circular mini-din connector of the source component harness through wire tie loop on Mini din connector the main PCB and into (Source Component mini-din connector on harness) main PCB (fig.3). 2) Pull wire tie loop tight and cut off excess.
- Page 7 Source Component Harness Hook-Up: Figure 5 A second VCP or other A/V component can be connected to video monitor system using a second source component harness (purchased separately, P/N 8010730). This second harness would plug into second Mini-Din connector on main PCB as in steps 1 and 2 above.
- Page 8 Mini Console Installation: This page only covers special installation considerations for the mini-console installation. If video pod is to be installed with a custom full sized overhead console, skip to page 9 now. If video pod is to be installed in a vehicle with mini-console (P/N 1181300), this console may need to be trimmed to fit the contour of the vehicle headliner.
- Page 9 Cut-Away view of Screw Bosses: Roof Structure Optional Spacers Screw Boss (ref "C", p3) Console Flange Note, If longer screws are substituted, care should be taken to Nylon spacers have prevent piercing the been supplied in kit roof, and be sure to place under that pan head Perimeter Screw Boss (Ref "B", p3)
- Page 10 $14.00 Unlike household electronics, all of our products have been specifically designed and tested for the mobile environment and are only available through ASA. To order any of these products, please contact Audiovox Specialized Applications at www.asaelectronics.com or 800-688-3135. *Prices subject to change...
- Page 11 For Installation Help, Call: Audiovox Specialized Applications, LLC 1-800-688-3135 M-F, 8:00AM – 5:00PM Page 11 of 11 P/N 8010845 Rev.F Nov. 00...
Need help?
Do you have a question about the FlexVision LCM641TV and is the answer not in the manual?
Questions and answers