Advertisement
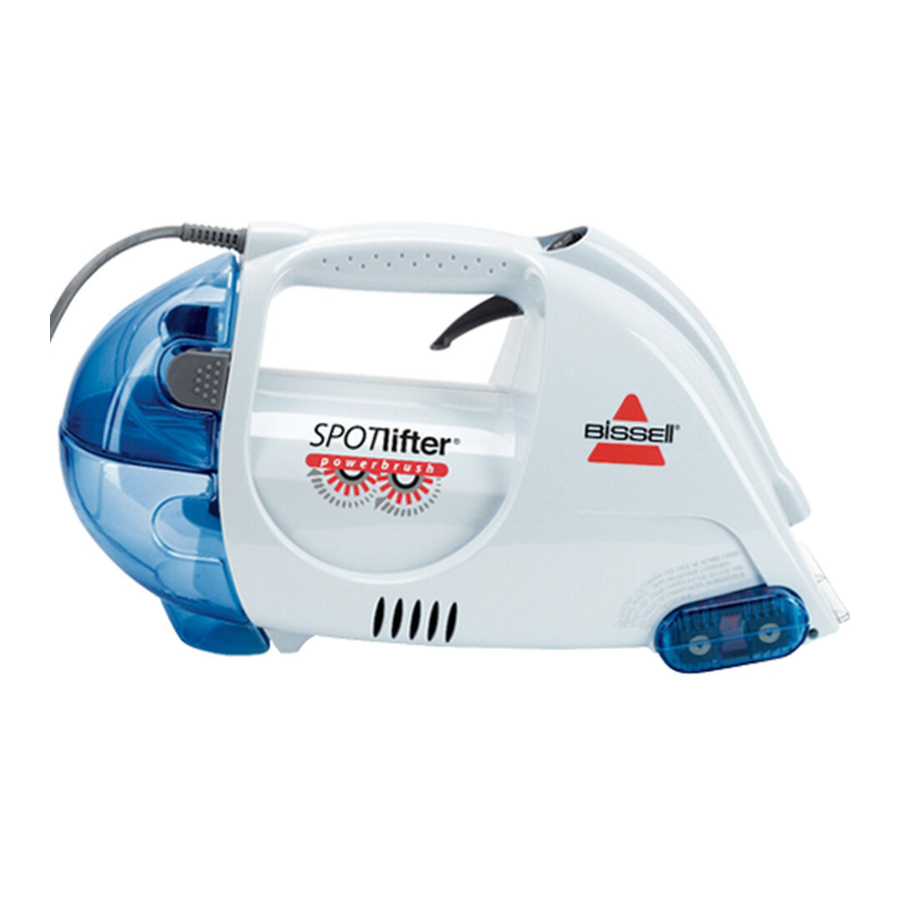
Product view


Only use one of BISSELL's advanced formulas for portable deep cleaning machines in your cleaner. Use of cleaning formulas which contain lemon or pine oil may damage this appliance and void warranty. Do not use chemical spot cleaners or solvent-based soil removers. These products may react with the plastic materials used in your cleaner, causing cracking or pitting.
Product features
Solution tank. Holds 2X Little Green® formula and water.
Collection tank. Collects dirty water and solution. You will need to remove the solution tank before you can remove the collection tank.
Spray trigger. Dispenses water and solution.
Solution tank release tabs. Gently press in to remove the clean/solution Tank.
Circuit Interrupting Device (C.I.D.).
Because you will be using this product in wet environments, such as bathrooms, we have equipped this unit with this added safety feature. The C.I.D. shuts off the product in potentially hazardous situations. The C.I.D. has test (white) and reset (red) buttons which should be operated each time the product is plugged in.
Removable brush cartridge with dual PowerBrushes.
Double the cleaning action to lift and remove stains and dirt. Removable for easy cleaning.

Do not use an extension cord with this product. The use of an extension cord may result in a severe electrical shock, particularly if the extension cord does not have an electrical rating higher than that of the product, OR if the extension cord does not have a three-prong grounding plug and if the extension cord is not plugged into a circuit box with a ground fault circuit interrupter. Safety precautions such as keeping all connections off the ground and dry will not eliminate the danger.
Operations
Filling the solution tank
- Remove the solution tank by gently pressing the quick release tabs on the solution tank and sliding the tank off of the unit.
![]()
![warning]() Open the tank by unscrewing and removing the cap. Add water and formula* to the indicated fill lines on the solution tank.
Open the tank by unscrewing and removing the cap. Add water and formula* to the indicated fill lines on the solution tank.
*NOTE: Your Spot Lifter PowerBrush includes an 8 oz. trial size formula.
![]()
- Replace the cap before placing the tank back on the unit.


Pre-treating
To aid in the removal of tough, stubborn stains, pre-treating the stain may be necessary.
- Hold the unit above the area to be cleaned. Using the manual trigger spray, apply a sufficient amount of water and solution to the stain.
- Wait 3-5 minutes before cleaning.
Cleaning
- Plug in the unit.
- While holding the Spot Lifter PowerBrush above the area to be cleaned, apply water and formula by pressing the manual trigger spray, dispensing fluid to the soiled/stained area.
![]()
- Turn the power switch to the "ON" position. ( I )
![]()
- Brushing and suction can be done separately, based on how you hold and use the unit.
To Use The Dual PowerBrushes Only:
Tilt the unit forward slightly, placing both brushes in contact with the carpet. The flat surface of the brush cartridge should be parallel to the surface being cleaned.
For Suction Only:
Tilt the unit forward, pressing the front of the Spot Lifter Powerbrush firmly against the surface area to be cleaned, lifting the brushes up off the surface. Pull toward you to remove the soil and cleaning solution.
![warning]() Note: Step #4 may be repeated until no more dirty water is removed or until the area to be cleaned meets your satisfaction.
Note: Step #4 may be repeated until no more dirty water is removed or until the area to be cleaned meets your satisfaction.


- Check the collection tank and empty the tank if it is full (See To empty the collection tank).
- If the Spot Lifter PowerBrush stops spraying, turn off the unit and check the cleaning solution level in the solution tank. Refill if needed. Never run the unit without water or cleaning solution.
 Tip: You may also spray water and formula, with the manual trigger spray, while the unit is turned on and you are using the dual PowerBrushes then suction to clean.
Spot cleaning upholstery
- Check manufacturer's tag before cleaning. "W" or "WS" on the tag means you can use your Spot Lifter PowerBrush. If tag is coded with an "S" (with diagonal strike-through) or states "Dry Clean Only", do not proceed.
- If manufacturer's tag is missing or not coded, check with your furniture dealer.
- If possible, check upholstery stuffing. Colored stuffing may bleed through fabric when wet.
Tip: When cleaning a vertical surface (ie: chair back, auto interior, etc.) begin with a completely empty collection tank.
Maintenance and care
Machine care
- Turn the power switch to the "OFF" position. ( O )
- Unplug the unit.
- Carry the Spot Lifter PowerBrush to the sink or drain.
To empty the collection tank
- Begin by removing the solution tank. Gently press the quick release tabs on the solution tank and slide the tank off of the unit.
![]()
- Grasp the collection tank and pull to remove.
![]()
- While at the sink, remove the tank cap by unscrewing and lifting out.
![]()
- Empty the tank. Rinse the collection tank with warm water.
- Replace cap by turning to the right, until snug.
- Slide the collection tank into the unit. Replace the solution tank.
![warning]() Note: If a significant amount of water and formula remains in the solution tank, you may leave it in the solution tank for your next cleaning task.
Note: If a significant amount of water and formula remains in the solution tank, you may leave it in the solution tank for your next cleaning task.


To clean the dual powerbrush
 NOTE: Make sure the Power Switch is in the "OFF" ( O ) position and the unit is unplugged.
- Firmly grasp the brush cartridge from the side of the unit and pull out from the unit.
![]()
- To remove any debris that may have collected around the dual PowerBrushes, rinse the brush cartridge under warm water.
![]()
- Replace the brush cartridge into the unit by gently guiding the cartridge in the unit. Once it is in place, firmly "snap" the brush cartridge in place.


NOTE: Do not attempt to remove or insert the brush cartridge while the unit is running. This will damage your unit.
Storage
Store in a dry area, at room temperature to avoid freezing.
To replace the powerbrush belt
Tip: If you do not have the Brush Cartridge in all the way, the Dual PowerBrushes will not rotate. Firmly push the cartridge in place, while listening for the "snap" to assure proper placement.
If the belt should break, to replace:
- Remove the screw in the belt cover using a Phillips Screwdriver.

- Remove the broken belt.
- Replace the new belt over the 2 belt gears.

To reduce the risk of fire, electric shock or injury, unplug from outlet before servicing.
Troubleshooting
Cleaner won't run
Possible causes
- Power cord not plugged in
- Blown fuse/tripped breaker
- C.I.D. needs to be reset
Remedies
- Check electrical plug
- Check/replace fuse or reset breaker.
- Reset C.I.D.
Reduced spray or no spray
Possible causes
- Spray nozzle clogged
- Solution tank empty
- Tank not inserted properly
Remedies
- Clean spray nozzle
- Check/refill tank
- Make sure tank is inserted properly
Deep cleaner won't pick up cleaning solution
Possible causes
- Collection tank is full
- Collection tank drain plug is loose
Remedies
- Empty collection tank
- Check plug for snug fit
Dual PowerBrushes are not rotating
Possible causes
- Removable cartridge not inserted properly/all the way
- Broken belt
Remedies
- Make sure to firmly "snap" the brush cartridge in place
- Replace belt.
Water coming out of vents
Possible causes
- Tank is past full line
- Unit may be tipped upright causing dirty water to leak from collection tank
Remedies
- Empty tank
- Empty collection tank
Other maintenance or service not included in the manual should be performed by an authorized service representative.
Services
If you should happen to need assistance during assembly or operation, for any questions or concerns
contact us directly at 1-800-237-7691.
BISSELL Consumer Services
Monday - Friday 8 a.m. — 10 p.m. ET
Saturday 9 a.m. — 8 p.m. ET
If you need information about repairs or replacement parts, or if you have questions about your warranty, contact BISSELL Consumer Services.
Or visit the BISSELL website -
www.bissell.com or
www.2Xbissell.com
Please register your new BISSELL product at www.bissell.com/productregistration
NOTE: Please keep your original sales receipt. It provides proof of date of purchase in the event of a warranty claim.
Replacement parts

| Item | Part No. | Part Name |
| 1 | 203-2557 | Solution tank w/cap |
| 2 | 203-2552 | Collection/solution tank cap |
| 3 | 203-2554 | Collection tank w/cap |
| 4 | 203-2514 | Brush cartridge |
| 5 | 203-2517 | Belt Cover |
| 6 | 203-2537 | Belt |
| 7 | 79B9 | 2X Little Green ® Formula 32 oz. |
| 8 | 79B9-1 | 2X Little Green ® Formula 16 oz. |
| 9 | 74R7 | 2X Pet Stain & Odor Formula 32 oz. |
| 10 | 74R7-1 | 2X Pet Stain & Odor Formula 16 oz. |
Earn Rewards Points!
To qualify you for discounts, rebates, and other BISSELL perks.
Visit www.bissell.com/rewards to learn more.
IMPORTANT SAFETY INSTRUCTIONS
When using an electrical appliance, basic precautions should be observed, including the following:
Read all instructions before using your Spot Lifter® Powerbrush
To reduce the risk of fire, electric shock, or injury:
- Do not use for any purpose other than described in this User's Guide.
- Use only BISSELL cleaning products intended for use in this appliance.
- Use only manufacturer's recommended attachments.
- Do not expose to rain, store indoors.
- Do not handle plug or appliance with wet hands.
- Do not leave Spot Lifter® PowerBrush when it is plugged in.
- Do not put any object into appliance openings or use with blocked openings. Keep free of dust, lint, hair, and anything that may reduce air flow.
- Do not expose hair, loose clothing, fingers or body parts to openings or moving parts.
- Be extra careful when cleaning stairs.
- Do not allow to be used as a toy. Close attention is necessary when used by or near children.
- Do not pick up hot or burning objects.
- Do not pick up flammable or combustible materials (lighter fluid, gasoline, kerosene, etc.) or use in the presence of explosive liquids or vapor.
- Do not pick up toxic material (chlorine bleach, ammonia, drain cleaner, gasoline, etc.).
- Do not use appliance in an enclosed space filled with vapors given off by oil base paint, paint thinner, some moth proofing substances, flammable dust, or other explosive or toxic vapors.
- Do not pull or carry by cord, use cord as a handle, close door on cord, pull cord around sharp corners or edges, run appliance over cord, or expose cord to heated surfaces.
- Do not use with damaged cord or plug.
- Do not immerse. Use only on surface moistened by cleaning process.
- Do not use Spot Lifter® PowerBrush if it has been dropped, damaged, left outdoors or dropped into water. Have it repaired at an Authorized Service Center.
- Turn off all controls before unplugging.
- Unplug from outlet when not in use and before conducting maintenance and troubleshooting.
- Unplug by grasping the plug, not the cord. Do not unplug by pulling on cord.
- Always connect to a properly grounded outlet; see grounding instructions.
- Do not modify the 3-prong grounded plug.
SAVE THESE INSTRUCTIONS
GROUNDING INSTRUCTIONS
This appliance must be connected to a grounded wiring system. If it should malfunction or break down, grounding provides a safe path of least resistance for electrical current, reducing the risk of electrical shock. The cord for this appliance has an equipment-grounding conductor and a grounding plug. It must only be plugged into an outlet that is properly installed and grounded in accordance with all local codes and ordinances.

Improper connection of the equipment-grounding conductor can result in a risk of electrical shock. Check with a qualified electrician or service person if you aren't sure if the outlet is properly grounded. DO NOT MODIFY THE PLUG. If it will not fit the outlet, have a proper outlet installed by a qualified electrician. This appliance is designed for use on a nominal 120-volt circuit, and has a grounding attachment plug that looks like the plug in the drawing above. Make certain that the appliance is connected to an outlet having the same configuration as the plug. No plug adapter should be used with this appliance.
This model is for household use only.
Documents / Resources
References
Download manual
Here you can download full pdf version of manual, it may contain additional safety instructions, warranty information, FCC rules, etc.
Advertisement


Need help?
Do you have a question about the Spot Lifter and is the answer not in the manual?
Questions and answers