Advertisement
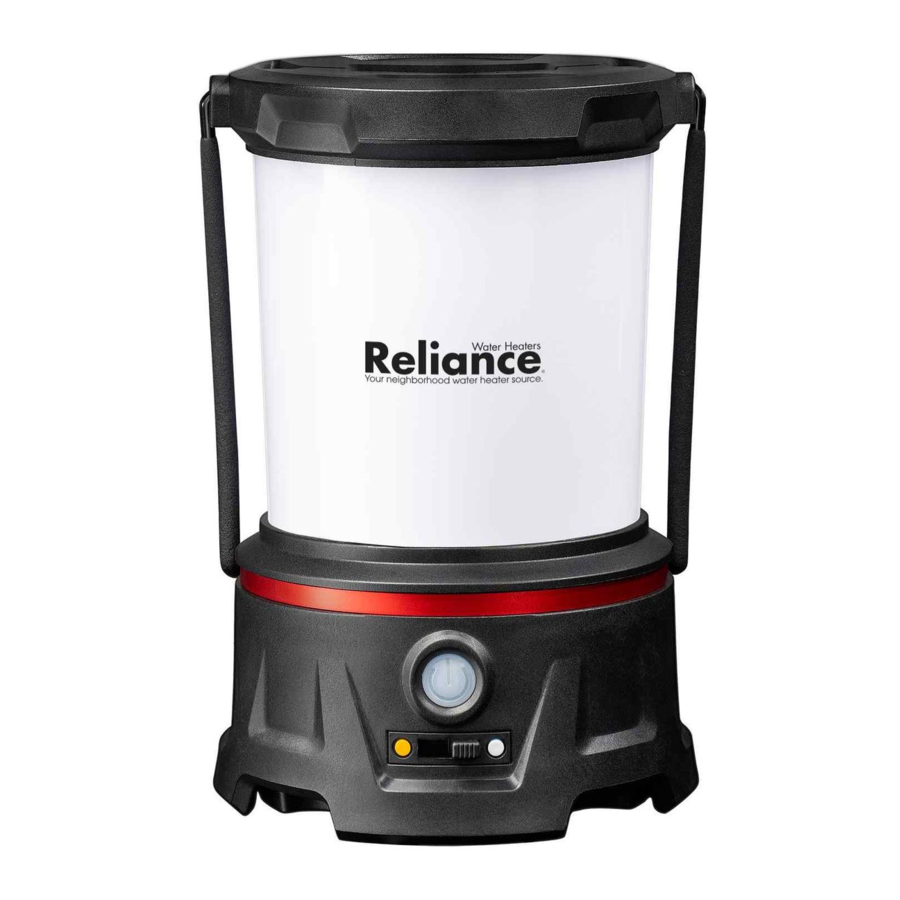
DEVICE OVERVIEW


LIGHT MODE
Use the power button to cycle through light modes. After 5 seconds in any light mode, pressing the power button will turn off the light.
 | LOW |
 | MEDIUM |
 | HIGH |
Press and hold the power button for 1 full second to switch between white and red light modes.
 | RED |
 | FLASHING RED |
COLOR SHIFT™
The Color Shift™ selector allows you to switch between warm and cool lighting options. Once in your preferred lighting color, use the power button to cycle through low, medium, and high light modes.

RECHARGEABLE PLUS™
The EAL40R can be powered by the included ZX740 rechargeable battery or 6 x AA alkaline batteries (sold separately). To access the battery compartment, unscrew the base plate on the bottom of the lantern.
Follow directional icons for proper battery installation.
Rechargeable battery orientation

Alkaline battery orientation

DIRECT CHARGING
Unscrew the base plate and remove the Zithion- X™ battery. Insert the USB-C charging cable into the USB-C charging port and plug into a power source.

Fully charge rechargeable battery before first use.
INTEGRATED CHARGING
Lift the charge panel cover on the rear of the light to reveal the USB-C charging port. Insert the USB-C charging cable into the IN port and connect to a power source. While charging, the charging indicator lights will progress from red to orange to green. When the final green light is illuminated, the battery is fully charged.

POWER BANK
Beneath the charge IN port on the charge panel are two USB-C charge OUT ports. These ports allow you to use the Zithion-X™ battery as a power bank.

Do not attempt to power the lantern with aftermarket rechargeable batteries.
Documents / Resources
References
Download manual
Here you can download full pdf version of manual, it may contain additional safety instructions, warranty information, FCC rules, etc.
Advertisement


Need help?
Do you have a question about the EAL40R and is the answer not in the manual?
Questions and answers