Elitech RC-5 Series, RC-5+ Series, RC-5+/TE Manual
- Instruction manual (13 pages) ,
- Operation instruction manual (7 pages) ,
- User manual (3 pages)
Advertisement
Overview
The RC-5 series are used to record the temperature/humidity of foods, medicines and other goods during storage, transportation and in each stage of the cold chain including cooler bags, cooling cabinets, medicine cabinets, refrigerators, laboratories, reefer containers and trucks.
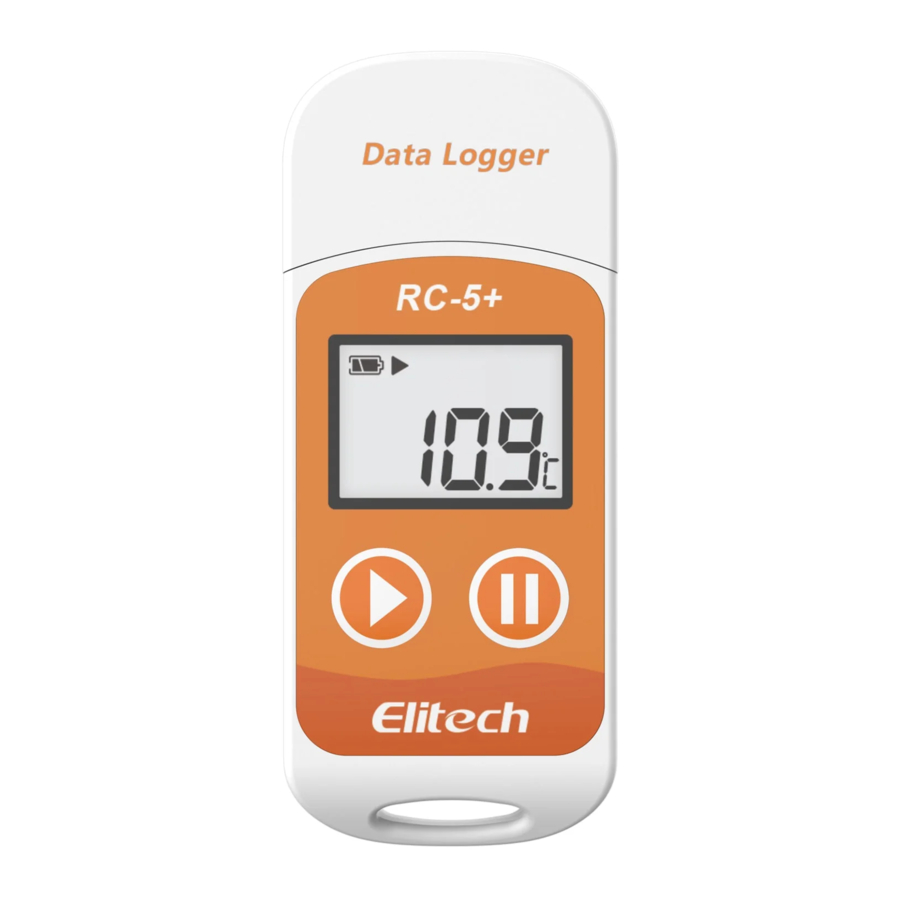
RC-5 is a classic USB temperature data logger used in a wide range of applications around the world. RC-5+ is an upgraded version that adds the functions, including automatic PDF reports generation, repeat start without configuration, etc.

- USB Port
- LCD Screen
- Left Button
- Right Button
- Battery Cover
Specifications
| Model | RC-5 | RC-5+/TE |
| Temperature Measurement Range | -30。C~+70。C (-22。F~158。F)* | |
| Temperature Accuracy | ±0.5。C/±0.9。F (-20。C~+40。C); ±1。C/±1.8。F (others) | |
| Resolution | 0.1。C/。F | |
| Memory | Maximum 32.000 points | |
| Logging Interval | 10 seconds to 24 hours | 10 seconds to 12 hours |
| Data Interface | USB | |
| Start Mode | Press button; Use software | Press button; Auto start; Use software |
| Stop Mode | Press button; Auto stop; Use software | |
| Software | ElitechLog, for macOS & Windows system | |
| Report Format | PDF/EXCEL/TXT** by ElitechLog software | Auto PDF report; PDF/EXCEL/TXT** by ElitechLog software |
| Shelf Life | 1 year | |
| Certification | EN12830, CE, RoHS | |
| Protection Level | IP67 | |
| Dimensions | 80 x 33.5 x 14 mm | |
| Weight | 20g | |
* At ultralow temperature, the LCD is slow but does not affect normal logging. It will be back to normal after the temperature rises.
** TXT for Windows ONLY
Operation
Battery Activation

- Turn the battery cover counterclockwise to open it.
- Gently press the battery to hold it in position, then pull out the battery insulator strip.
- Turn the battery cover clockwise and tighten it.
Install Software
Please download and install the free ElitechLog software (macOS and Windows) from Elitech US: www.elitechus.com/pages/download or Elitech UK: www.elitecheu.com/pages/software ; or Elitech BR: www.elitechbrasil.com.br.
Configure Parameters
First, connect the data logger to the computer via USB cable, wait until ![]() icon shows on the LCD; then configure via:
icon shows on the LCD; then configure via:
ElitechLog Software:
- If you do not need to change the default parameters; please click Quick Reset under Summary menu to synchronize local time before usage;
- If you need to change the parameters, please click the Parameter menu, enter your preferred values, and click the Save Parameter button to complete the configuration.

For first time user or after battery replacement:
To avoid time or time zone errors, please make sure you click Quick Reset or Save Parameter before usage to sync and configure your local time into the logger.
Start Logging
Press Button:
Press and hold the button for 5 seconds until the ![]() icon shows on the LCD, indicating the logger starts logging.
icon shows on the LCD, indicating the logger starts logging.

Auto Start (RC-5+/TE only):
Immediate Start: The logger starts logging after removed from the computer.
Timed Start: The logger starts counting after being removed from the computer; it will start logging automatically after the set date/time.
 Note: If the
 ![]() icon keeps flashing, it means the logger configured with start delay; it will start logging after the set delay time elapses.
icon keeps flashing, it means the logger configured with start delay; it will start logging after the set delay time elapses.
Mark Events(RC-5+/TE only)
Double click the right button to mark current temperature and time, up to 10 groups of data. After marked, it will be indicated by Log X on the LCD screen (X means the marked group).
Stop Logging
Press Button*: Press and hold the button for 5 seconds until the icon ![]() shows on the LCD, indicating the logger stops logging.
shows on the LCD, indicating the logger stops logging.

Auto Stop: When the logging points reach the maximum memory points, the logger will stop automatically.
Use Software: Open ElitechLog software, click Summary menu, and Stop Logging button.
Note: *Default stop is via Press Button, if set as disabled, the button stop function will be invalid; please open the ElitechLog software and click Stop Logging button to stop it.
Download Data

Connect the data logger to your computer via USB cable, wait until the icon ![]() shows on the LCD; then download via:
shows on the LCD; then download via:
- ElitechLog Software: The logger will auto-upload data to ElitechLog, then please click Export to select your desired file format to export. If data failed for auto-upload, please manually click Download and then follow the export operation.
- Without ElitechLog Software (RC-5+/TE only): Simply find and open the removable storage device ElitechLog, save the auto generated PDF report to your computer for viewing.
Reuse the Logger
To reuse a logger, please stopped it first; then connect it to your computer and use ElitechLog software to save or export the data.
Next, reconfigure the logger by repeating the operations in Configure Parameters*. After finished, follow Start Logging to restart the logger for new logging.
* To make space for new loggings, all previous logging data inside the logger will be deleted after re-configuration.
If you forgot to save/export data, please try to locate the logger in the History menu of ElitechLog software.
Repeat Start (RC-5+/TE only)
To restart the stopped logger, you may press and hold the left button to start logging quickly without reconfiguration.
Please backup data before restart by repeating Download Data - Download via ElitechLog Software.
Status Indication
Buttons
| Operations | Function |
| Press and hold the left button for 5 seconds | Start logging |
| Press and hold the right button for 5 seconds | Stop logging |
| Press and release the left button | Check/Switch interfaces |
| Press and release the right button | Back to the main menu |
| Double click the right button | Mark events (RC-5+/TE only) |
LCD Screen

| ① Battery Level | ⑦ Logging Points |
| ② Stopped | ⑧ No Alarm/Mark Success |
| ③ Logging | ⑨ Alarmed/Mark Failure |
| ②③ Not started | ⑩ Month |
| ④ Connected to PC | ⑪ Day |
| ⑤ High Temperature Alarm | ⑫ Maximum Value |
| ⑥ Low Temperature Alarm | ⑬ Minimum Value |
LCD Interface

Battery Replacement

- Turn the battery cover counterclockwise to open it.
- Install a new and wide-temperature CR2032 button battery into the battery compartment, with its + side facing upward.
- Turn the battery cover clockwise and tighten it.
What's Included
- Data Logger x 1
- User Manual x 1
- Certificate of Verification x 1
- CR2032 button x 1
|
 .
.Default Parameters
| Model | RC-5 | RC-5+ | RC-5+TE |
| Logging Interval | 15 minutes | 2 minutes | 2 minutes |
| Start Mode | Press Button | Press Button | Press Button |
| Start Delay | 0 | 0 | 0 |
| Stop Mode | Use Software | Press Button | Press Button |
| Repeat Start | Enable | Enable | |
| Circular Logging | Disable | Disable | Disable |
| Time Zone | UTC +00:00 | UTC +00:00 | |
| Temperature Unit | 。 C | 。 C | 。 C |
| High Temperature Limit | 60。C | / | / |
| Low Temperature Limit | -30。C | / | / |
| Calibration Temperature | 0°C | 0°C | 0°C |
| Temporary PDF | Enable | Enable | |
| PDF Language | Chinese/English | Chinese/English | |
| Sensor Type | Internal | Internal | External |
Documents / Resources
References
![www.elitechus.com]() Elitechlog Software, Analysis Your Data in Cold Chain – Elitech Technology, Inc.
Elitechlog Software, Analysis Your Data in Cold Chain – Elitech Technology, Inc.![www.elitecheu.com]() Elitech Software - Elitech UK — ElitechEU
Elitech Software - Elitech UK — ElitechEUElitech Brasil | Datalogger, Termômetros, Manifolds e Equipamentos para Refrigeração

Download manual
Here you can download full pdf version of manual, it may contain additional safety instructions, warranty information, FCC rules, etc.
Advertisement


Need help?
Do you have a question about the RC-5 Series and is the answer not in the manual?
Questions and answers