Advertisement
Video Setup Guide
We want to provide the quickest and best experience for all our customers. That's why we have created an easy-to-follow online guide that shows you how to get connected. Please scan the QR code below to access the short video guide. Alternatively, you can use the link below. If you need further assistance, please contact our Operations team or visit our Help and Support page.

www.hometelecom.co.uk/broadband_connection/
Specialist Video Support
If you're struggling with your set-up, and would like to request a set-up specialist to assist you, we have an application that allows us to access the rear camera of your mobile phone. Don't worry, this is completely secure and we cannot access anything within your mobile. It's very similar to Facetime, or a video call. This will allow our specialists to see exactly where you are within the process of your router installation and supply you with the assistance you need to get your services working.
- If you wish to use this service, simply visit our website 'www.hometelecom.co.uk' and talk with one of our 1 agents via our web chat service. This can be accessed via the "Talk to us Online" button, found at the bottom right of the site.
- Once you've opened web chat insert your details and select the option 'Router Set-up Support', one of our agents will then send you an SMS to your mobile number with a link to our service.
- Now you'll switch over to video, follow the specialists instructions and you will be set-up in no time.
*Please ensure that you have a strong 4G/5G connection before using this service.
What's required?

Connections
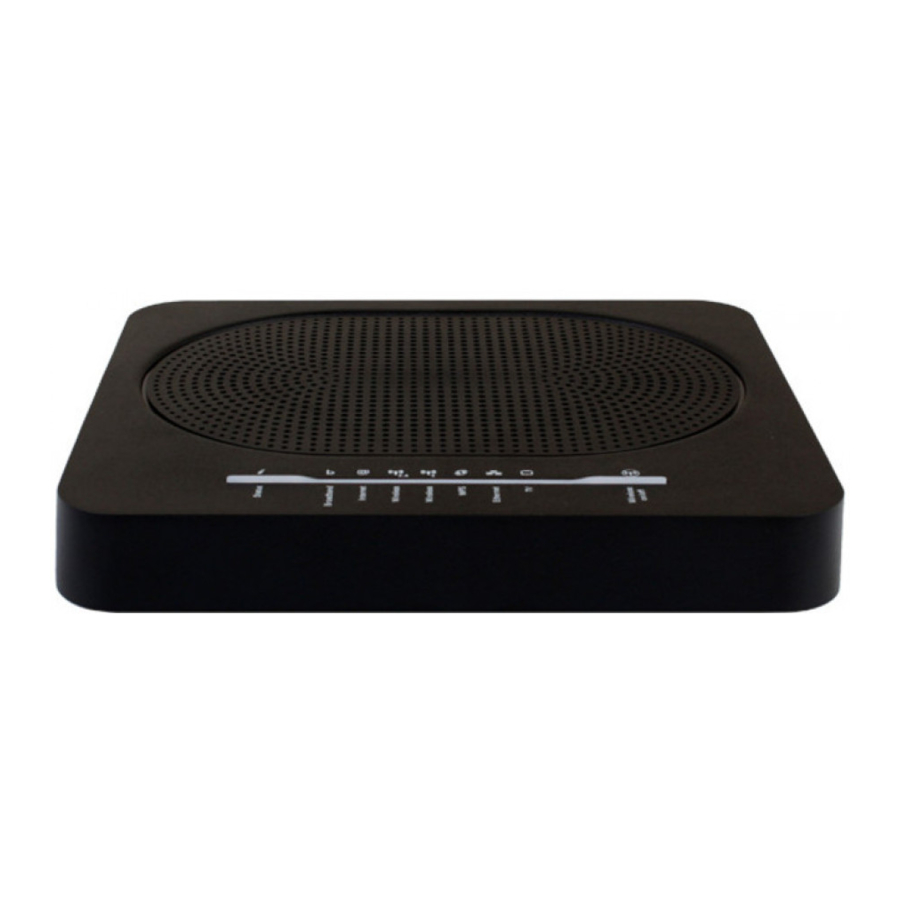
Let's get you connected The following guide has been created to assist you with the initial set-up of your Home Telecom service. Depending on your connection, please review the below and turn to the relevant page.
Connecting broadband | Dual Socket
Please follow this set-up if you have a dual Master Socket.

- Connect one end of the grey DSL cable (C) into the internet port of the Master socket (please note that this must not be an extension socket, and this should say Openreach on it). Connect the other end of the cable into the grey port (DSL) on the back of your router (A).
- If you are using a house phone, connect this in to the bottom part of the Openreach master socket.
- Next, plug the power cable into your electricity supply, switch on, the connect the other end into the round power socket on the back of your router. Switch on your router by pressing the on/off button located on the back of the router.
- Switch on your router by pressing the on/off button located on the back of the router. The power light will initialy blink red, after a few minutes this will turn solid green. Please allow 10 minutes for the router to fully power up, and all lights turn solid green or flashing green.
Connecting broadband | Single Socket
Please follow this set-up if you have a single Master Socket.

- Connect the microfilter (B) into the master telephone socket (this should say Openreach on it).
- Connect one end of the grey DSL cable into the microfilter. Connect the other end of the cable into the grey port (DSL) on the back of your router.
- If you are using a house phone, connect this into the phone socket on the microfilter.
- Next, plug the power cable into your electricity supply, switch on, connect the other end into the round power socket on the back of your router.
Switch on your router by pressing the on/off button located on the back of the router. The power light will turn orange, after a few minutes this will turn solid green. Please allow 10 minutes for the router to fully power up, and all lights turn solid green or flashing green.
Connecting to FTTP

- Plug the yellow Ethernet cable into the red port labelled WAN.
- Plug the other end of the Ethernet cable into your port 1 on your Optical Network Terminal (ONT).
Connecting wirelessly
- Find your routers Network name / SSID and wireless key (located on the sticker at the bottom of your router).
![]()
- Search for available wireless networks on your chosen device and select the one that matches the Network Name / SSID.
![]()
- When prompted for the password, input the wireless key into your chosen device and connect.
![]()


Connecting via cable

- Connect one end of the Ethernet cable (the one with the yellow ends) to one of the yellow ports in the back of your router.
- Then connect the other end of this cable into the Ethernet Port on your chosen device (e.g. Desktop PC).
Managing your account
Great news! You are now connected and can start using your fast and reliable broadband immediately!
We will send you a monthly bill and handle your payment automatically by direct debit - it's that easy! You can also access previous bills via our website.
www.hometelecom.co.uk
Operations Team
If you need extra support with your setup or would like to speak with us directly, please do not hesitate to contact our operations team. They can help you with:
- Technical queries
- Support Plus setup
- Enhanced care
- Achieving better broadband speed
- Any other general enquiries
Opening Hours:
Mon - Thursday 9am - 5.30pm | Friday 9am - 5pm Saturday 9am - 1pm
Call us: 01403 216133
E-mail us: customer.care@hometelecom.co.uk
For more technical support question, please visit: https://www.hometelecom.co.uk/faqs/
FOLLOW US:
 @hometelecomuk
 @hometelecomuk
 @hometelecomcare
Documents / Resources
References
Download manual
Here you can download full pdf version of manual, it may contain additional safety instructions, warranty information, FCC rules, etc.
Advertisement


Need help?
Do you have a question about the DGA0122 and is the answer not in the manual?
Questions and answers