Advertisement
Quick Links
Advertisement

Related Manuals for LEGRAND neat


Summary of Contents for LEGRAND neat
- Page 1 BED/CHAIR Bed/Seat Sensor Alarm NE41 17025-02 v2.5...
- Page 2 Information in this user manual is subject to change without notice. NEAT Electronics AB reserves the right to change or improve their products and to make changes to the content without obligation to notify any person or organization of such changes or improvements.
- Page 3 Parts in the system Installation General procedure Sensor installation Connecting the control unit Control unit location Installing multiple sensors Programming Neat Programming Unit (NPU) and BED programmer Programmer software 4.2.1 Reading from the PCU unit Configuration options 4.3.1 Inputs 4.3.2 Allow user out of pad 4.3.3...
- Page 4 Document revision history Date Version Revision details 2019-10-19 Updated format and layout. Release of v2.0 2019-12-20 Minor updates and changes. 2020-06-16 Function and firmware updates. NE41 17025-02 v2.5 BED/CHAIR - User manual...
- Page 5 • Do not clean the device with harsh chemicals, solvents or other corrosive substances. Disposal • Dispose of properly. The worn out product must be returned to a recycling facility for proper disposal or returned to NEAT Electronics. BED/CHAIR - User manual NE41 17025-02 v2.5...
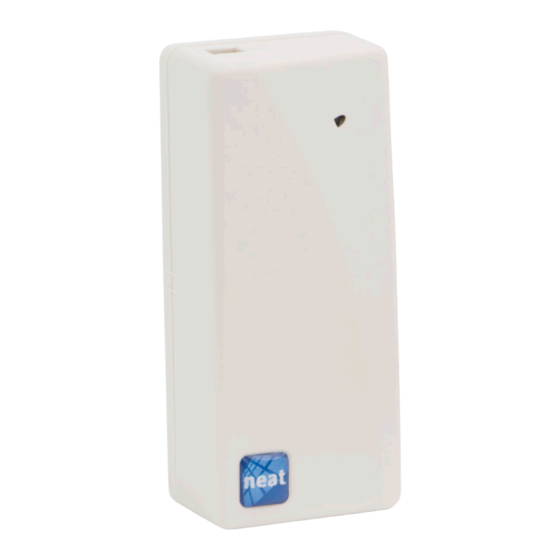
- Page 6 Parts in the system Before turning on the control unit to verify its proper operation, the system must be fully installed by following the steps outlined in this installation guide. The system consists of the following parts. Picture Part Control unit BED/CHAIR Sensor BED/CHAIR Elastics BED/CHAIR Sensor cable...
- Page 7 Installation General procedure For proper operation, it is important to follow the steps below! 1. Mount the sensor on the bed/chair (the examples in this user manual is for BED Sensor). 2. Connect the cable to the sensor and the control unit. 3.
- Page 8 Connecting the control unit Connect the cable to the corresponding terminals. Picture 8. Connection of control unit cable. Connect the control unit to the sensor cable. Make sure the two arrows on the con- tacts are aligned with each other and press the two contacts at the same time. Screw the cap onto the threads and tighten firmly.
- Page 9 Installing multiple sensors In order to cover larger areas i.e. for users likely to move around in the bed, there is the possibility to connect up to three sensors to the same control unit. With the installation of two sensors, the risk of false alarms in this type of installations is drastically reduced.
- Page 10 Picture 13. NPU connection cable. Programmer software The software can be obtained from your NEAT distributor. Install as administrator and run. The picture below is the programmer main screen. Picture 14. Programmer screen. NE41 17025-02 v2.5...
- Page 11 4.2.1 Reading from the PCU unit Select the menu Communication and then Read from device in the drop down list. Picture 15. Communication drop down menu. Configuration options 4.3.1 Inputs Picture 16. Inputs section. There are three sub-sections in the Inputs area: 1.
- Page 12 BED/CHAIR in a NOVO/NEO system For NOVO/NEO systems, different radio codes are used in order to differentiate be- tween actions/alarms that can be carried out from the unit, for example On pad and Out of pad alarms. 4.3.2 Allow user out of pad This function monitors if the user leaves the bed, e.g.
- Page 13 4.3.4 Alarm delay Out of pad delay Some users might move in such a way that they temporarily are out of contact with the sensor. To avoid false alarms, e.g. to avoid the activation of the night light in the previous example, because of an irregular moving pattern, set the Out of pad delay parameter to 7 seconds (this is the minimum allowed delay).
- Page 14 Technical Alarms Technical alarms provide possibility to simply monitor the BED alarm. Radio Test Alarm The PCU will automatically send an auto test alarm according to the indicated time. In this way, it is possible to know if the device is operational through the services and records of technical alarms in the software applications D-TECT ALARM and D-SERV- ER.
- Page 15 2G unit etc., a certain number of packet transmissions are sent. Default value is 3 short and 3 long transmissions and is the recommended setting for all NEAT devices. In addition, the program allows enabling or disabling ACK (Ignore receiving ACK).
- Page 16 Change Radio Codes in device To change the radio codes of the unit click on the tab Communication and select Change Radio Codes in device. Picture 31. The menu item Change Radio Codes in device. After making the changes, click on the option Write to device. Picture 32.
- Page 17 Appendix A Technical Data Control unit measures(WxHxD) 35 x 80 x 28 mm Weight (incl. batteries) 64 g Power supply AA battery (LR06) x 2 869.2 MHz, Social alarms, Category 1 Frequency - EU 866.2, 868.2, 906.2, 916.2 921.2 MHz Frequency - Non EU* 10 mW (EIRP)
- Page 18 neat-group.com...
Need help?
Do you have a question about the neat and is the answer not in the manual?
Questions and answers