Advertisement
Quick Start Guide
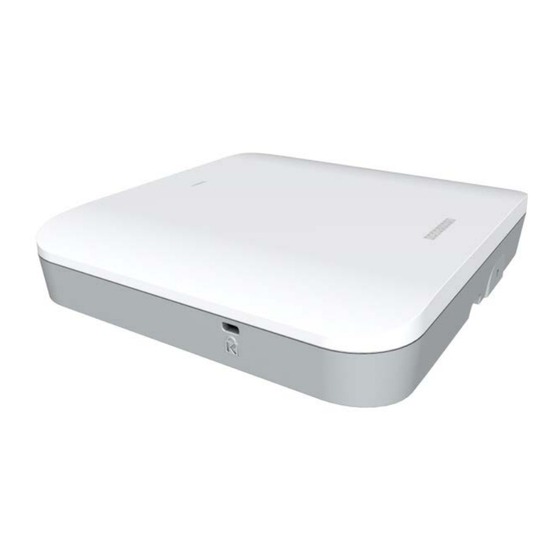
Wi-Fi 7 Access Point
EAP105
Edgecore
1.
EAP105 access point
2.
Mounting bracket accessory
3.
Ceiling plate
3
2
1
1
Mount the AP
a. Mounting on a Wall
1
1.
At the installation location on the wall, use the mounting bracket to
mark four holes for the wall plugs and screws (included in the screw
kit).
Drill four holes for the wall plugs, and then insert the plugs and tap
them flush with the wall surface.
Note:
Drill 2.5 mm (±0.2 mm) holes for M3 self-tapping
screws, or 4.5 mm (±0.2 mm) holes for nylon wall plugs.
Use the four screws to secure the bracket to the wall.
2.
With its ports facing down, place the AP over the bracket flanges
and then slide it down until it snaps into its secured position.
3.
Use the bracket's thumb screw to secure the AP to the bracket.
www.edge-core.com
1
2
4
5
6
2
3
Package Contents
3
4.
2 x Mounting bracket security screws
5.
Screw kit—4 screws and 4 plugs
6.
QR code label
Overview
1.
USB PD 3.0 15–20 VDC input
2.
Uplink (PoE) Port: 5GBASE-T, 802.3at PoE
3.
LAN Port: 10/100/1000BASE-T
4.
Restart/Reset button:
A quick press restarts the system.
Press and hold for 5 seconds resets to factory defaults.
5.
System LED Indicator:
Green: On (power OK), Blinking (boot up)
Blue: On (cloud managed)
Purple: Blinking (uplink activity in cloud-managed mode)
Orange: Blinking (uplink activity in stand-alone mode)
6.
Kensington lock slot
Installation
b. Mounting on a Suspended Ceiling T-Bar
1.
Slide the bracket accessory onto the base of the AP and secure it
using the bracket's thumb screw.
2.
Use the two included security screws to completely secure the
bracket to the AP.
3.
Position the ceiling-mount clip holders on either side of the T-bar,
and then turn the AP until the two clips lock it to the T-bar.
Note:
suspended ceiling T-bars. The position illustrated above is for
15 mm bars. Use the position at a 90 degrees angle for
24.5 mm bars.
– 1 –
4
5
3
1
2
2
3
The AP mounting supports two different sizes of
6
E012025-CS-R01
Advertisement
Table of Contents

Related Manuals for Edge-Core EAP105


Summary of Contents for Edge-Core EAP105
- Page 1 Quick Start Guide Wi-Fi 7 Access Point EAP105 Edgecore Package Contents EAP105 access point 2 x Mounting bracket security screws Mounting bracket accessory Screw kit—4 screws and 4 plugs Ceiling plate QR code label Overview USB PD 3.0 15–20 VDC input Uplink (PoE) Port: 5GBASE-T, 802.3at PoE...
-
Page 2: Connect Cables
Quick Start Guide c. Mounting on a Ceiling Without T-Bars Connect Cables a. Connect LAN Cables At the installation location on the ceiling, use the mounting bracket to mark and drill four holes for the screws (included in the screw kit). Place the ceiling plate on the top side of the ceiling surface. - Page 3 Quick Start Guide Continue with the Setup Wizard to make other settings: Cloud-Managed Mode: Select the country of operation. EWS-Series Controller Mode: Complete the CAPWAP setup, use the default wireless network setting or customize the network name, then set a password (the default user name is “admin”...
-
Page 4: Safety And Regulatory Information
Quick Start Guide Industry Canada This device contains licence-exempt transmitter(s)/receiver(s) that comply Safety and Regulatory Information with Innovation, Science and Economic Development Canada’s licence- exempt RSS(s). Operation is subject to the following two conditions: FCC Class B (1) This device may not cause interference. This equipment has been tested and found to comply with the limits for a (2) This device must accept any interference, including interference that Class B digital device, pursuant to Part 15 of the FCC Rules. -
Page 5: Warnings And Cautionary Messages
Quick Start Guide Warnings and Cautionary Messages The device is restricted to indoor use only when operating in the 5150 to 5350 MHz frequency range. Warning: This product does not contain any serviceable user All operational modes: parts. Warning: Installation and removal of the unit must be carried 2.4 GHz: 802.11b, 802.11g, 802.11n (HT20), 802.11n (HT40), out by qualified personnel only. -
Page 6: Hardware Specifications
Quick Start Guide Hardware Specifications Safety Low Voltage Directive IEC 62368-1:2014;and/or EN 62368-1:2014+A11:2017; and/or BS 62368-1:2014+A11:2017 AP Chassis CNS 14336-1 IEC/EN 62368-1, IEC/EN 60950-1 Size (WxDxH) 195 x 179 x 35 mm (7.48 x 7.05 x 1.38 in.) Taiwan RoHS CNS 15663 Weight 0.907 kg (1.99 lb)
Need help?
Do you have a question about the EAP105 and is the answer not in the manual?
Questions and answers