Advertisement
Quick Links
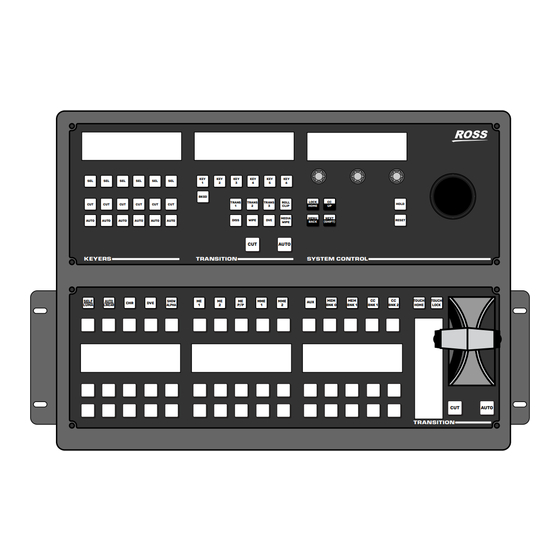
Panel Ports and Connectors
NOTICE
The information in this guide applies to the
TouchDrive panel 4882AR Series (AMD Ryzen™).
Monitor
Power
Power
CPU
POWER
Power Switch
Monitor Ports and Connectors
(VESA MIS-D, 75 and 100, C)
Touchscreen
Monitor
USB
Monitor
Power
Display
Port
© 2024 Ross Video Limited. Ross®, MiniME™, TouchDrive™ and any related marks are trademarks or registered trademarks of Ross Video Limited. All other trademarks are the property of their respective
companies. PATENTS ISSUED and PENDING. All rights reserved. No part of this publication may be reproduced, stored in a retrieval system, or transmitted in any form or by any means, mechanical,
photocopying, recording or otherwise, without the prior written permission of Ross Video. While every precaution has been taken in the preparation of this document, Ross Video assumes no responsibility
for errors or omissions. Neither is any liability assumed for damages resulting from the use of the information contained herein.
Caution:
Before you set up and operate your switcher, see the
"Important Safety Instructions" in your User manual.
NOTICE
Only connect certified Ross equipement
with Ross provided cables to the Monitor Power port.
RESET
DISPLAY
4 3 2 1
PORT
FPGA
5V
CPU
Network
VESA-100 Mount
Notes:
• There is an additional USB 3.0 port on the side of the
Control Panel CPU
backsplash on some panels. The ports on the back of the panel
are all USB 2.0.
• The ports on the TD1C are in a different position, but have the
same function.
• Only a single USB drive can be mounted at a time.
Cabling
CAUTION!
Only use the cable provided to
connect power to your Touchscreen display from
the 12V Monitor port.
NOTICE
Only the Touchscreen provided by Ross Video
is
supported. Non-touchscreen displays can be used
with a mouse and keyboard.
To
Ethernet
Switcher
Additional
DashBoard
Clients
(optional)
Note:
It is recommended that you
always connect
the AC Power Adapter to the device before
Mains
connecting to Mains Power.
Power
QuickStart
Specifications
NOTICE
The Touchscreen must be connected to the
control panel before you power up the control
Touchscreen Control
Note:
Display Port monitor
only. An active converter is
required for an HDMI
RESET
CPU
4 3 2 1
DISPLAY
POWER
FPGA
5V
CPU
PORT
Max Power Consumption
TD1C
97W 6.47A 15V
TD1
102W 6.80A 15V
TD2
123W 8.20A 15V
TD2S
138W 9.20A 15V
TD3S
173W 11.53A 15V
TD3
220W 14.66A 15V
TDx3
220W 14.66A 15V
TD4
250W 16.66A 15V
TDx4
260W 17.33A 15V
Input Voltages
All
100 - 120V~
220 - 240V~
47-63Hz
panel.
Power
monitor.
Video
4880DR-200-12
Advertisement

Related Manuals for Ross TouchDrive TD1C


Summary of Contents for Ross TouchDrive TD1C
- Page 1 Power © 2024 Ross Video Limited. Ross®, MiniME™, TouchDrive™ and any related marks are trademarks or registered trademarks of Ross Video Limited. All other trademarks are the property of their respective companies. PATENTS ISSUED and PENDING. All rights reserved. No part of this publication may be reproduced, stored in a retrieval system, or transmitted in any form or by any means, mechanical, photocopying, recording or otherwise, without the prior written permission of Ross Video.
- Page 2 Caution: Before you set up and operate your switcher, see the “Important Safety Instructions” in your User manual. In-Desk Mounting TD1C Rack Mounting Note: A set of Module Extration Tools are located in the Desk Mounting Kit. Keep these in a safe place in case Note: The Rack Mounting option is only available for the you need to replace a module in the future.
Need help?
Do you have a question about the TouchDrive TD1C and is the answer not in the manual?
Questions and answers