Advertisement
Advertisement
Table of Contents

Related Manuals for Kogan KACDRYVT90A


Summary of Contents for Kogan KACDRYVT90A
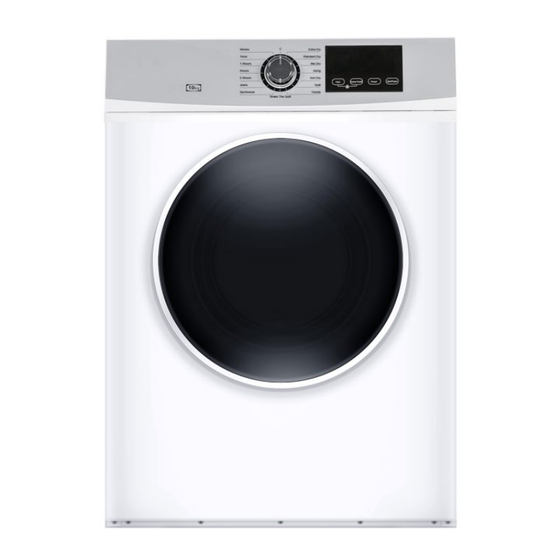
- Page 1 9KG VENTED DRYER KACDRYVT90A...
-
Page 3: Safety And Warnings
SAFETY & WARNINGS • Do not use the dryer if industrial chemicals have been used for cleaning. • The lint trap must be cleaned frequently. • Do not allow lint to accumulate around the dryer. • Adequate ventilation must be provided to avoid the back flow of gases from appliances burning other fuels, including open fires. - Page 4 • The electrical outlet and the grounding wire must be installed by a qualified electrician to prevent incorrect installation or use of the outlet and to guarantee the safety of use of electricity. • If the power cord is damaged, cease use immediately and contact help.Kogan.com for support.
- Page 5 • The power cord of the dryer employs Y connection. Do not connect the grounding wire with the neutral wire, otherwise the cabinet will be charged, which is likely to cause the danger of electric shock. • Clothes with the following markings should not be dried in this dryer. Do not tumble Hang dry Drip dry...
- Page 6 OVERVIEW Program Knob Display Screen Reset Button Top Cabinet Drum Control Panel Door Lock Power Plug Door Filter Cabinet...
-
Page 7: Installation
INSTALLATION Space Requirements • Place the dryer in a ventilated area with no less than 10cm distance from the wall. • If placed in a room such as a bathroom, it is suggested that there are no obstacles within 1.5m of the front of the dryer and it is kept ventilated. •... -
Page 8: Operation
OPERATION Step 1: Before Drying • Ensure clothes are washed and spun dry before placing them in the dryer. • Group similar types of clothes together when drying. • Sort your laundry into loads that require similar drying times, such as separating heavier items from lighter ones. - Page 9 Reference weight of dry clothing: Mixed-fabric clothing Jacket (approx. 800g Jeans (approx. 800g) (approx. 800g) cotton) Cotton towel (approx. Single bedsheet (approx. Workwear (approx. 900g) 600g cotton) 1120g) Cotton long sleeve shirt Cotton short sleeve shirt Sleepwear (approx. 200g) (approx. 300g) (approx.
- Page 10 Step 5: Control Panel Heat (Full, Half, Airing) Crease Guard Preset Start/Pause Program • Lint Filter Reminder: When the ‘Filter’ indicator illuminates on the display screen, it's a prompt to clean the lint filter. After cleaning, close the door, press the Start/Pause button, and the indicator will turn off.
- Page 11 Programs: Max volume of Program Max dry time Clothing type dry clothing Wool clothes and Extra Dry 8.0kg 150min sheets. Wool clothes and Standard Dry 6.0kg 90min sheets. Wool and synthetic Mix Dry 6.0kg 90min clothes. Iron Dry 7.0kg 80min Unheated, deodorising.
- Page 12 6. End of the Program At the end of the program, the buzzer will sound as a reminder to take the clothes out of the dryer. 7. Disconnect the Power Cord If the dryer no longer in use, disconnect the power cord. 8.
-
Page 13: Cleaning And Care
CLEANING & CARE It is advised to clean the filter and drum after each use. Cleaning the Filter The lint filter is located in the door opening. Remove the lint filter and open it. Wipe the filter with a damp cloth to clean. Once the filter is dry, re-fit the filter to the door opening. -
Page 14: Troubleshooting
TROUBLESHOOTING Problem Possible Cause Solution Power cut. Wait for power to restore. Check the electrical outlet Power plug not correctly and ensure the plug is connected. connected. Dryer won't start. Remove clothes and check Dry clothes exceed dampness. The max. volume maximum volume. - Page 15 No Heat If there is no heat coming from the dryer, press the ‘Reset’ button at rear of the dryer to activate the thermostat to reheat the element. Sound • Excessive noise of vibration due to heavy wet clothes turning and bumping. •...
- Page 16 Need more information? We hope that this user guide has given you the assistance needed for a simple set-up. For the most up-to-date guide for your product, as well as any additional assistance you may require, head online to help.kogan.com...
Need help?
Do you have a question about the KACDRYVT90A and is the answer not in the manual?
Questions and answers