Table of Contents
Advertisement
Quick Links
Advertisement
Table of Contents

Related Manuals for Kogan KA6VDRYERA


Summary of Contents for Kogan KA6VDRYERA
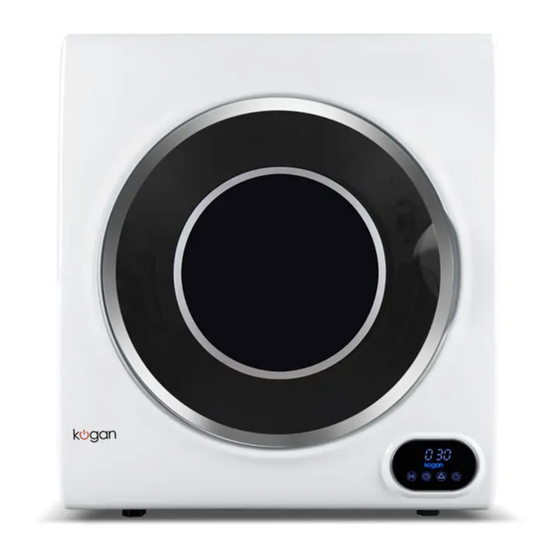
- Page 1 6KG VENTED TUMBLE DRYER KA6VDRYERA...
-
Page 3: Safety And Warnings
Do not attempt to repair this product yourself. If the product or its power supply experiences any malfunction or damage, cease use immediately and contact Kogan.com for support. • This appliance is not intended for use by persons (including children) with reduced... - Page 4 Do not allow lint to build up around the tumble dryer. • The power cord should only be replaced by a service agent authorised by Kogan.com in order to avoid a hazard. • Should the appliance need to be moved, it must be transported vertically.
- Page 5 Usage conditions and restrictions This appliance is intended for indoor household use only. It is not intended for industrial, commercial or trade use. Do not use it outdoors. Do not use it for anything other than its intended purpose (drying domestic quantities of washing) and only use it as described in this manual.
- Page 6 This appliance contains no user-serviceable parts. If it suffers any failure or damage, cease immediately and contact Kogan.com for support after consulting the Troubleshooting section of this user guide.
- Page 7 OVERVIEW Door gasket Door Drum Air intake Window shroud Control panel Exhaust vent Casing Rear cover...
- Page 8 ASSEMBLY Remove all packaging from the rear of the tumble dryer prior to first use. • Place the dryer in a well-ventilated area away from heat and direct sunlight. • If not wall-mounting, install on firm and stable ground. Leave at least 15cm between dryer and walls.
-
Page 9: Wall Mounting
WALL MOUNTING Wall Mounting Kit Wall Brackets (x2) Spacers (x2) Exhaust Connector 12mm Screws (x4) 25mm Screws (x4) Tools Required ⌀ Drill & 3mm drill bit Phillips head 12x50 Timber screws screwdriver (x4) Note: It is highly recommended to seek the assistance of a second person to help lift the dryer on onto the wall bracket. - Page 10 Mounting the Dryer Determine the location for installation and mark the wall. If installing above a top loader washing machine, leave sufficient space to open the lid. WARNING: The dryer must be mounted to the wall studs and not the plaster.
- Page 11 Use the x4 25mm screws to attach the x2 wall brackets to the timber slat (Figure 2). Wall Bracket 25mm long screws Timber (not included) Figure 2 Align wall brackets and fasten screws tightly. Orient and attach the exhaust connector to the connector base. Turn the exhaust connector clockwise until it locks into the groove (Figure 3).
- Page 12 Using the x4 12mm screws, attach the x2 spacers to the dryer (Figure 4). Spacers 12mm screws Figure 4 With assistance, carefully mount the dryer onto the wall brackets (Figure 5). Figure 5...
-
Page 13: Operation
OPERATION Loading It is recommended to place items in the dryer one at a time. This ensures they do not become tangled, which results in uneven drying. When closing the dryer door, ensure items are not jammed. Tips Before Drying Do not use this appliance to dry garments if they have one of the following indications: Dry flat Dry in the Shade... - Page 14 Control Panel Remaining time display (minutes) Indicator Start/pause Time Program Power Functions Power button: Press the power button to turn the dryer on and off. Program button: Selects different drying programs. Set time can be altered depending on size of load. •...
-
Page 15: Cleaning And Care
CLEANING & CARE Disconnect the appliance from the power outlet before you perform any cleaning or maintenance. Cleaning Interior & Exterior of Dryer • Do not clean the dryer by directly spraying water onto it. • Do not clean using benzene, thinner, alcohol or acetone as this may cause discoloration, deformation, damage, electric shock or fire. - Page 16 Step 2. Cleaning filter • Separate the shroud, lint filter and exhaust filter. • Clean using a soft brush or vacuum cleaner, taking care not to damage any of the components. Brush or Lint filter Lint Exhaust vacuum filter Step 3. Reinstalling •...
- Page 17 Cleaning the Air Intake Filter Note: Ensure the air intake filter is cleaned at least once a month. • Remove the air intake filter shroud by pulling it in an outward direction • Carefully separate the filter from the shroud and clean using a soft brush before reassembling.
-
Page 18: Troubleshooting
TROUBLESHOOTING Issue Possible cause Solution • • Mains plug is not plugged in. Plug in at socket. • • Loading door is open. Close loading door. Dryer not turning on • • Have you pressed the Press the button button? again. - Page 19 NOTES...
- Page 20 Need more information? We hope that this user guide has given you the assistance needed for a simple set-up. For the most up-to-date guide for your product, as well as any additional assistance you may require, head online to help.kogan.com.
Need help?
Do you have a question about the KA6VDRYERA and is the answer not in the manual?
Questions and answers