Nuna KLIK plus (CF05702, IF05702) Manual
- Instructions for installation manual (15 pages) ,
- Instructions for use manual (12 pages)
Advertisement
- 1 Introduction
- 2 Quick Reference
- 3 Features
- 4 Correct Child Size
- 5 Correct Shoulder Strap Height
- 6 Crotch Strap Position
- 7 Securing Child in the Restraint
- 8 Canopy
- 9 Accessories
- 10 Seat Cover Removal
- 11 Infant Insert
- 12 Carry Handle
- 13 The Next Restraint
- 14 Use with Strollers
- 15 Cleaning and Maintenance
- 16 Documents / Resources
Introduction

- KEEP THIS INSTRUCTION BOOKLET IN THE PLACE PROVIDED ON THE CHILD RESTRAINT
- Before installation and use of this child restraint check that it is suitable for the size of your child.
This is a rear facing child restraint. Do not face forward.

DO NOT USE THIS CHILD RESTRAINT UNTIL YOU HAVE READ AND UNDERSTOOD THE INSTRUCTIONS IN THIS USER GUIDE AND IN YOUR VEHICLE OWNERS MANUAL
Quick Reference
After reading this Quick Reference read the following instructions carefully.

This Child Restraint is suitable for children up to approximately 12 months of age. See "Correct Child Size" for more detailed information.
WARNINGS
- Use the restraint exactly as shown in the instructions.
- Supervision of children is needed because they may be able to undo buckles.
- To ensure that baby's back is evenly supported, do not put more than one nappy on the baby and make sure the nappy is not folded thickly at the back.
- Fit the harness firmly to the child.
- A loose harness or restraint is dangerous.
- Do not harness an infant wrapped in a blanket or swaddled. Any blanket or wrap must only be placed over the harness and infant.
- Do not allow the restraint to come into contact with polishes, oils, bleach and other chemicals.
- Only use this restraint with the base it was supplied with. If a second or replacement base is required it must be a matching model number.
- DO NOT USE THIS RESTRAINT WITHOUT THE COVER.
- DO NOT USE A REAR FACING CHILD RESTRAINT WHERE AN AIRBAG IS FITTED IN FRONT OF THE SEATING POSITION.

DO NOT LEAVE CHILDREN UNATTENDED IN THE CAR
 NOTE: The warnings on these pages are those required by the Australian and New Zealand Standard AS/NZS 1754 for this type of child restraint. Other warnings specific to this particular child restraint will be found throughout these instructions.
ADDITIONAL WARNINGS
This Child Restraint is:
To be used only in a rearward-facing position until the infant's shoulders reach the shoulder height marker (approximately 12 months of age).
Continue to use this infant restraint until the child reaches this limit.
Infants are at risk of serious injury if they face forward too early.
Ensure that children have adequate ventilation and shade when in the vehicle.
Aftermarket accessories (i.e. items not provided in the box with the child restraint), may not have been tested for use with this child restraint and if used, may lower the level of protection offered possibly leading to injury or death.
Any aftermarket accessory used should be compliant with AS/NZS 8005 (Accessories for child restraints for use in motor vehicles) and stated as suitable for use with this child restraint.
Always check child restraint to base connection.

When baby is in the restraint, ALWAYS secure the harness and adjust to a firm fit.
Always check buckle and other parts for hot surfaces. A child restraint left uncovered in the sun could burn a child. Cover with blanket if leaving in car.
Fall hazard: Child's movement can slide carrier. NEVER place child restraint near edges of countertops, tables or other high surfaces. Always stay within arms reach whenever child restraint is not on floor/ground.
Suffocation hazard: child restraint can roll over on soft surfaces and suffocate child. Never place child restraint on beds, sofas, or other soft surfaces.
Strangulation hazard: Child can strangle in loose child restraint straps. Always use harness. Never leave child in the child restraint when straps are loose or undone.
Never place the child restraint on top of a shopping cart. The child restraint will not be properly secured and could fall.
Do not use the child restraint if it is damaged or broken.
Only use with Nuna strollers or appropriate Nuna adapters designed for use with other strollers.
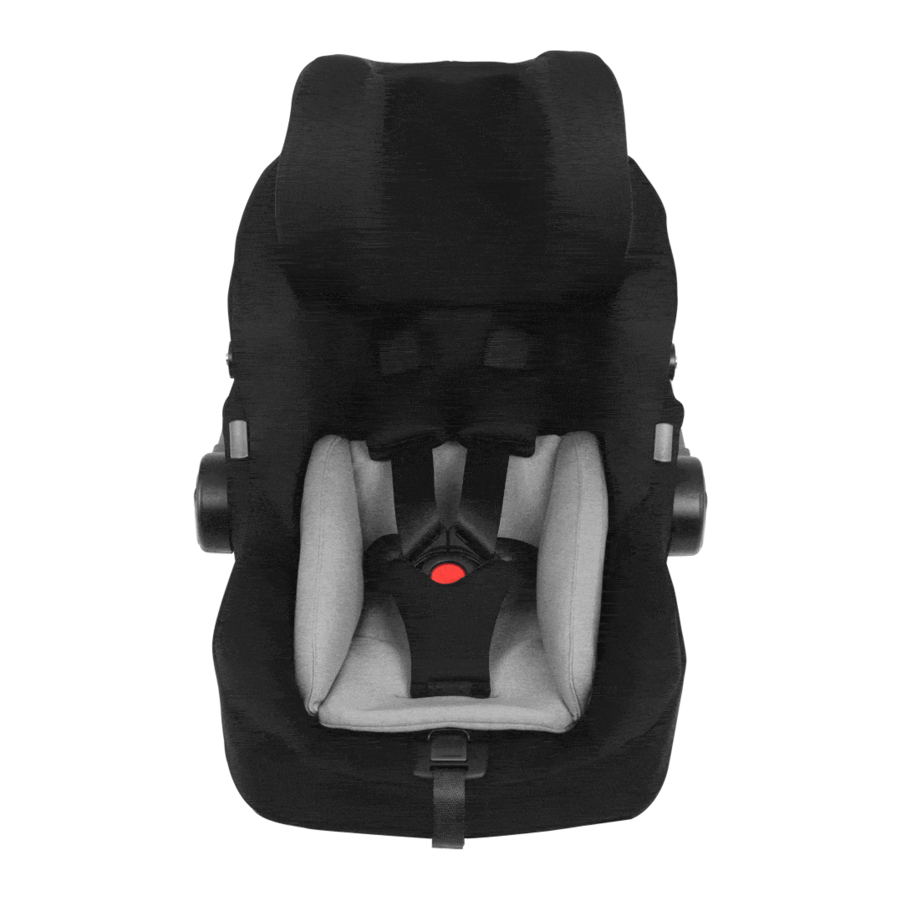
Features

- Carry Handle
- Headrest
- Infant Insert
- Shoulder Pads
- Buckle and Crotch Belt
- Harness Adjuster Button
- Harness Adjuster Strap
- Canopy
- Carry Handle Lock
- Harness Straps
- Seat Cover
- Stroller Release Handle
- Base Attachment Bars
Correct Child Size
This restraint has a shoulder height level label. Use this to know when your child is too big for the restraint.

Once your child's shoulders reach the dotted line, it is time to move to a bigger restraint. See "The Next Restraint".

Correct Shoulder Strap Height
Correct positioning of the shoulder straps is essential for your baby's safety.
Requirement:
The shoulder strap slots must be in the first adjustment position above the child's shoulders, and not lower than the child's shoulders.
TO CHECK
- With child placed in the restraint, note where the shoulder straps are relative to the child's shoulders.

- Refer to the requirements above.


TO ADJUST
- The shoulder straps move with the headrest. Adjust the headrest height by squeezing the release lever at the back of the headrest and raising or lowering it as required.


Always adjust the height of the shoulder straps as the child grows
Crotch Strap Position
There are two positions available for the crotch strap.
The rear position is recommended for normal use and the front position with a bigger child. The steel buckle must be fully through the slot.

After changing the strap position pull firmly upward on the crotch strap to check the buckle is securely fitted.
Securing Child in the Restraint
First check shoulder strap height and adjust if necessary.
- Loosen harness by pressing on adjuster button while pulling on the harness straps.

- Press button to open the quick release buckle. Spread harness straps apart.

- Place child in restraint in seated position. Child's back must be firmly against both the back and bottom of the restraint.

- Place buckle tongues into the quick release buckle.
![]()
Both buckle tongues should "CLICK" into place. If they do not click, try again or try cleaning the buckle.

- Tighten harness by pulling on the adjuster strap at the front of the restraint.


Note: you may need to pull excess shoulder strap webbing through the Quick Release Buckle Tongues upward towards the child's shoulder and then pull on the adjuster strap.
This may need to be repeated several times to get the webbing fitting snugly.
DO NOT LEAVE CHILDREN UNATTENDED IN THE CAR
CHECK
- Strap tension: Put finger under strap and pull out.

- harness is snug around the child's waist and shoulders.

- Shoulder Straps must not be twisted.


Child must be dressed in clothing that allows the harness to firmly secure them.
Blankets
Never use blankets or clothing that interfere with the harness as a poorly secured child can come out of the restraint during a crash. Only place blankets over child AFTER harness has been properly tightened.
Swaddling
Infants need to be securely held by the harness. An infant wrapped in a blanket or swaddled will not be securely held and may be ejected and killed in an accident
Do not bind or wrap the infants arms or legs together.
Canopy
To remove the canopy, release the press studs, and press the buttons in the canopy mounts. Then pull the canopy bow out.
To replace simply plug the canopy bows in until they click. Then fasten the press studs.

Accessories
DO NOT add accessories, toys, padding or other items to the child restraint unless provided by Nuna.
Aftermarket accessories (i.e. items not provided in the box with the child restraint), may not have been tested for use with this child restraint and if used, may lower the level of protection offered possibly leading to injury or death.
Any aftermarket accessory used should be compliant with AS/NZS 8005 (Accessories for child restraints for use in motor vehicles) and stated as suitable for use with this child restraint.
Dream Drape (out of vehicle use only)
- Unzip the zipper behind the front canopy bow.
- Pull the dream drape out of the compartment.

- Attach the magnets on each corner to the corner to the front of the restraint.


Do not use the Dream Drape in a vehicle as it will interfere with the tether strap.
Seat Cover Removal
- Pull the fastening pieces underneath the edge of the seat out.

- Remove the seat cover from the adjustment button as shown.

- Remove the seat pad from the stroller release button as shown.
Lift cover off seat starting from the back.


 VERY IMPORTANT: Only replace the cover with a Nuna supplied replacement cover with identical shoulder height markers or a replacement cover meeting AS/NZS 8005.
Extra Padding
Shoulder pads and crotch strap pad are removable and are not necessary for safety.

Infant Insert
The infant insert can be used to provide a snug fit for smaller babies.
Only use the infant insert for smaller babies.

When the child is bigger and the headrest is moved up remove the Insert.
Carry Handle
The carry handle can be adjusted to 3 positions.
- To adjust the handle position, squeeze handle buttons on both sides and rotate.

- Rotate handle until it clicks into any of the 3 positions.


The carry handle can be used in a vehicle in any locked position.
Be sure handle is locked in the carry position before lifting carrier by handle. An unlocked handle could move unexpectedly, causing injury to child.
The Next Restraint
This restraint is suitable for a baby up to approximately 12 months of age.
When the baby's shoulders are level with the shoulder height marker they should move to a bigger restraint.
The next category of restraint is forward facing and has a six point harness and will be suitable for the child until they are approximately 4 years of age.

if the baby's neck muscles are unable to support their head, they should remain rear facing.
Use with Strollers
This child restraint can attach to Nuna strollers using adapters. Instructions are included with the adapters, which are sold separately.
Cleaning and Maintenance
Seat Cover
Wash with cold water and mild detergent.
Do not iron.
Do not bleach or dry clean.
Do not twist the soft goods to dry with great force. It may leave the seat cover with wrinkles.
Hang dry the seat cover in the shade.
Plastic and Metal Parts
Use only mild detergent, water and a soft cloth to clean the car seat shell, handle and harness straps. Air dry.
Do not use undiluted detergent, or other solvents to clean - these may cause damage.
Harness Buckle
To clean the buckle: rinse using warm water. DO NOT use any soaps, solvents or lubricants. Using anything other than water can cause the buckle to malfunction. Air dry.
When the buckle is operating correctly the tongues will push in easily and will CLICK when they latch into place.
If the buckle does not appear to be working correctly get it checked or replaced by contacting the retailer from where it was purchased.
Harness Straps
Spot clean. If damaged contact the retailer from where the restraint was purchased to have them replaced.
Storage
Remove the child restraint from the vehicle seat if not in use for a long period of time. Put the child restraint in a cool, dry place and somewhere your child cannot access it.
Documents / ResourcesDownload manual
Here you can download full pdf version of manual, it may contain additional safety instructions, warranty information, FCC rules, etc.
Advertisement


Need help?
Do you have a question about the KLIK plus and is the answer not in the manual?
Questions and answers