Advertisement
Table of Contents
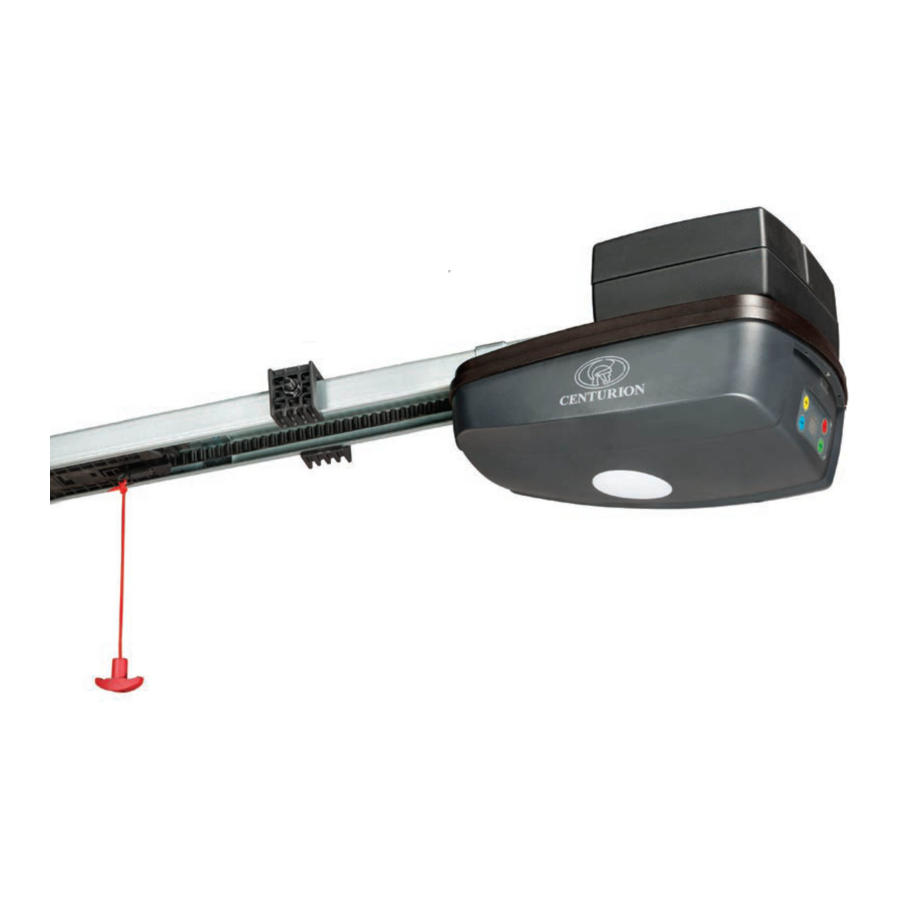
Centurion SD04 Manual
Bill of materials
| 1 x Shelly Plus Uni |  |
| 1 x Roll of double-sided tape |  |
| 1 x Set of magnetic door contacts |  |
| 1 x Meter duct tape |  |
| 5 x Meters 2 core solid white – Ripcord alarm cable |  |
| Electrical wire crimp connectors |  |
Basic wiring diagram
 NOTICE
Shelly Plus Uni inputs are different from the previous Shelly Uni ones.

We will be making use of the following Fig 1 wiring diagram to connect the Shelly Plus Uni to the SD04 Garage door motor.
Fig1.

- Disconnect the battery from the motor for safety and before attempting any wiring. Open the SD04 garage door motor's cover to gain access to the connection terminals. Attach the Shelly Plus Uni to the inside of the motor using double sided tape.
- Connect the Shelly's VAC1 and VAC2 wires to the Garage door terminals and GND and IN1 to the magnetic door contacts using the rip cord alarm cable and connectors as per the Fig 1 wiring diagram. Please take care to ensure the correct polarity.
- Connect the OUT 1 wires as per the Fig 1 wiring diagram. This triggers the door motor to open and close, when the button is pressed in the Shelly Smart Control App.
- Attach the magnetic door contacts with double sided tape to the garage door motor's rail or door allowing movement with the door opening or closing the read switch. This will indicate that the door is in the Open or Closed position.
- Connect the solid core rip cord cable as per the Fig 1 wiring diagram and secure the cable using duct tape to the rail or door.

- Reconnect the battery terminals to power the Shelly Plus Uni.
- Using your phone connect the Shelly Plus Uni to the Wi-Fi as per instruction manual supplied with the device.
- App configuration is especially important for the door to open and close correctly. In the Shelly Smart Control App -> Select the Plus UNI -> Settings.

- Select the Input/Output settings. Select Switch -> Set relay type as Set Shelly device to be in" Detached" switch mode – switch is separated from relays.
Set relay power on default -> Configure Shelly device to Turn OFF, when it has power -> Scroll down -> Click Save. This is to ensure the door does not operate when the Shelly turns ON. - In the App navigate back to settings and select Enable Input -> Enable.

- Navigate to Application settings -> Input state display -> Add input state identifier to the power button. This allows you to see if the door is open or closed by looking at the green or red indicator on the power button in the App.
- Navigate to Timer -> Auto off -> Enable When on, turn off after 1 seconds. -> Enter 1 -> Click Save. This is to ensure the OUT 1 only triggers momentarily.

- You are now ready to test. Press the power button in the App. The door should operate normally and open and close as you press the button.


Congratulations your Garage Automation Project is now complete!
Documents / ResourcesDownload manual
Here you can download full pdf version of manual, it may contain additional safety instructions, warranty information, FCC rules, etc.
Advertisement


Need help?
Do you have a question about the SD04 and is the answer not in the manual?
Questions and answers