Table of Contents
Advertisement
Quick Links
Advertisement
Table of Contents

Subscribe to Our Youtube Channel
Related Manuals for Proteco DOLLY 600


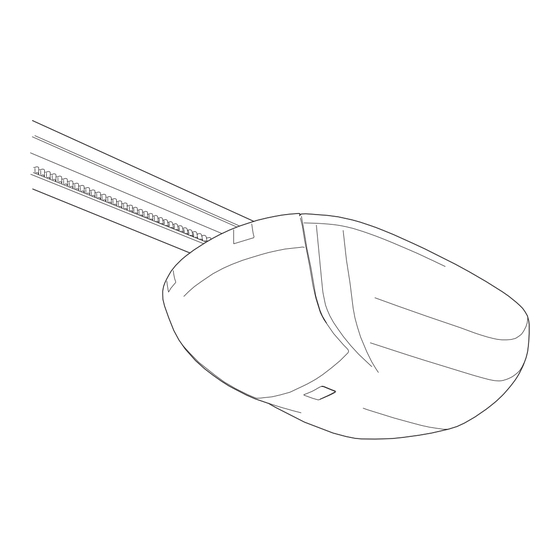
Summary of Contents for Proteco DOLLY 600
- Page 1 DOLLY GARAGE DOOR OPENER Installation Manual...
-
Page 3: Table Of Contents
TABLE OF CONTENTS SAFETY PRECAUTIONS TECHNICAL SPECIFICATIONS DIMENSIONS BOX CONTENTS OPENER PACK RAIL PACK STANDARD SETUP INSTALLATION Assembling the rail Fitting the belt tensioner Fixing the wall bracket and the rail Fitting the motor to the rail Assembling tow brackets Fixing the door bracket COUNTER-WEIGHTS BALANCED OVERHEAD DOORS MANUAL RELEASE... -
Page 4: Safety Precautions
Make sure to hand over to the end user all the operating manuals with particular reference to chapter 12. INSTRUCTIONS FOR END USER Proteco Srl may change the contents of this manual at any time and without notice. DOLLY - rev. 01_2024... -
Page 5: Technical Specifications
TECHNICAL SPECIFICATIONS DIMENSIONS DOLLY 600 DOLLY 1000 DOLLY 1200 Power supply 230V-50/60Hz 230V-50/60 Hz 230V-50/60Hz Motor voltage 24V dc 24V dc 24V dc Maximum power 200 W 245W 260W Maximum traction force 600 N 1000 N 1200 N Rated force... -
Page 6: Standard Setup
2 FLASHING LIGHT 24V DC (OPTIONAL) 3 KEY-SWITCH 4 PHOTOCELLS (RX/TX TYPE) The illustration shows an example of standard 5 OPENER automation system, using Proteco components 6 MAINS PLUG INSTALLATION Please keep in mind that installing an automatic opener does not •... -
Page 7: Assembling The Rail
Assembling the rail 4) Slide the belt tensioner from rail segment B to the opposite end of rail segment C (next to the fixed bracket). 1) Cut away the plastic protection of the pulley (Fig. 2) at the end of rail segment B (Fig. 1). Pay attention not to lose the motor adapter inside the pulley. - Page 8 The length of the rail depends on the garage door opener model you have: check your model to detect the right quote. DOLLY 600 (3005 mm) = 2200 mm / 2600 mm DOLLY 1000 (3205 mm) = 2350 mm / 2770 mm DOLLY 1200 (3505 mm) = 2570 mm / 3030 mm Fig.
-
Page 9: Fitting The Motor To The Rail
Fig. 21 11) Bring the rail end and the ceiling bracket down again and cut away the exceeding part of the ceiling bracket (as shown in Fig. 19). Repeat the procedure for the other ceiling bracket. 12) Fix one of the ceiling bracket to the point previously marked on the ceiling (step 9). -
Page 10: Assembling Tow Brackets
Fig. 30 Assembling the tow brackets Check the distance between the wall bracket and the upper edge of the door (please refer to Fig. 10 in paragraph 5.3 of this manual. If the distance between the wall bracket and the upper edge of the door is 15 cm or less, use the curved tow arm only to connect he trolley to the door bracket. -
Page 11: Manual Release
PROGRAMMING MANUAL RELEASE This garage door opener is equipped with an emergency release Setting the door opening and closing position. system (Fig. 34) to allow the user to open manually the door in case Auto-setting of the lifting force of breakdown or power-cut. Pull the release cord down to disengage the clutch. -
Page 12: Reset To Factory Settings
Reset to factory settings Auto-closing Press and hold the “SET” key browsing the menu until the display Press the “UP” key and hold until the current pause time before shows the letter “A” and then release the key. auto-closing (factory setting is 0 = auto-closing function OFF) and release. -
Page 13: Troubleshooting
TROUBLE-SHOOTING ERROR PROBLEM POSSIBLE CAUSES RECOMMENDED CHECKS CODE Motor encoder - Motor encoder is not well connected - Check wiring between motor encoder and the control unit (see picture E1) Secondary encoder - Secondary encoder is not well connected - Check wiring between secondary encoder and the control unit (see picture E2) - Disconnect the control unit from mains and power back again Secondary encoder prevails... -
Page 14: Instructions For End User
INSTRUCTIONS FOR END USER 12.2 EMERGENCY RELEASE Please read carefully the following instructions as they‘re essentials to your personal safety, to safeguard your properties and for Fig. 40 compliance to applicable laws. Store this manual in a safe place for future reference. 12.1 WARNINGS Keep all automation controls out of reach for... -
Page 15: Maintenance Records
12.3 MAINTENANCE RECORDS DATE NOTE INSTALLER’S SIGNATURE END USER SIGNATURE DOLLY - rev. 01_2024... -
Page 16: Warranty Terms
Other components (electronic boards, batteries, etc.) may instead Under no circumstances and in no way Proteco Srl will be liable for contain polluting substances: you must therefore be remove them and damages, loss of profits, savings or other accidental or indirect deliver to companies authorized for their recovery and disposal.
Need help?
Do you have a question about the DOLLY 600 and is the answer not in the manual?
Questions and answers