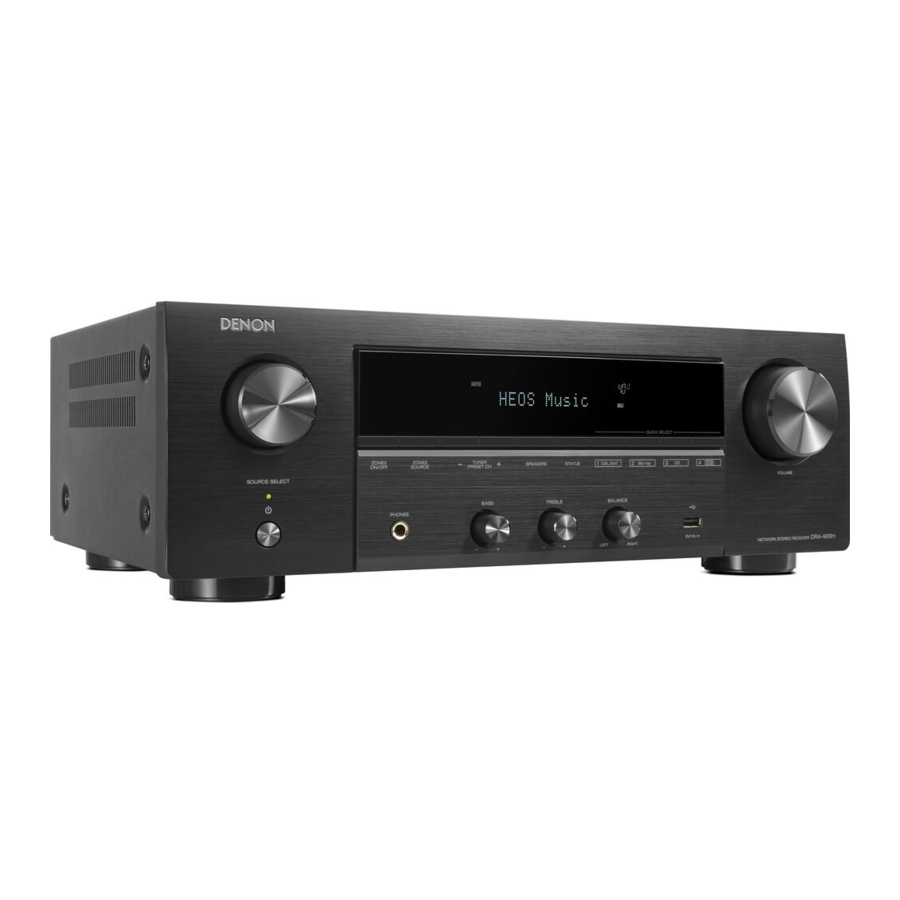
Denon DRA-900H Manual
- Quick start manual (24 pages) ,
- Owner's manual (215 pages) ,
- Diagnostics and troubleshooting manual (55 pages)
Advertisement
Before you begin
Required for setup

Optional


- When connecting this unit to a device that is compatible with the Deep Color, 4K and ARC functions, use a "High Speed HDMI cable with Ethernet" that displays the HDMI logo.
- When connecting this unit to a device that is compatible with BK and 4K 120Hz video, use a certified "Ultra High Speed HDMI cable". If you use a different HDMI cable, the video may not display or other problems may occur.
What's in the box

Setup by connecting to TV
- Rotate the antennas
Rotate the antenna upwards for the best possible reception.


![information]() The antennas are required for both Bluetooth and Wi-Fi functions.
The antennas are required for both Bluetooth and Wi-Fi functions.
Optional
If you are connecting the receiver to a wired network, connect ![]() an Ethernet cable (not included) between the receiver and your router. Do not connect the Ethernet cable if you are connecting the receiver to a wireless network.
an Ethernet cable (not included) between the receiver and your router. Do not connect the Ethernet cable if you are connecting the receiver to a wireless network.

- Connect the power cord
Place the receiver near your TV and connect the power cord.

- Connect the receiver to your TV
Using a high quality HDMI cable*, connect one end to the HDMI port labeled "ARC" on your TV. Connect the other end to the HDMI OUT TV port on your receiver.


What is ARC?
Audio Return Channel or "ARC" sends audio back to the receiver using the same HDMI cable that sends video from your receiver to your TV. This allows your receiver to process the sound from your TV's built-in tuner and apps.
* For 4K TVs, we recommend using an HDMI cable labeled "High Speed" and "with Ethernet".
* For 8K TVs, we recommend using an HDMI cable labeled "Ultra High Speed".
- Turn on the TV

- Select the appropriate HDMI input on your TV

- Install batteries in the receiver remote control
![]()
![information]() Batteries can be taken out in reversed order.
Batteries can be taken out in reversed order.
- Turn on the receiver
Press![]() on the remote control.
on the remote control.

- Verify the connection
Verify that you can see this screen on your TV.
If this screen is not displayed, please go back and retry the steps again in the recommended sequence.

-
![information]() In case the unit was already setup back in time the Setup Assistant won't start automatically and you only see the Denon logo on screen. In such case you can access the Setup Assistant by pressing SETUP on the remote control and selecting Setup Assistant from the menu.
In case the unit was already setup back in time the Setup Assistant won't start automatically and you only see the Denon logo on screen. In such case you can access the Setup Assistant by pressing SETUP on the remote control and selecting Setup Assistant from the menu.
-
- Follow the on-screen Setup Assistant
The TV is now connected to the receiver.
The Setup Assistant will walk you through connecting and configuring your speakers and components to your Denon receiver. Use the remote control and follow the instructions on the TV screen to complete the receiver settings using the Setup Assistant.


 on the remote control.


Firmware update

If you see this screen after completing Setup Assistant, select Update Now to make sure your new receiver is up to date with the latest firmware and features.
Setup without connecting to TV
- Connect your speakers

- Connect your source device
Ex.) Connect to CD player

- Connect to antennas of tuners

- Rotate the antennas
Rotate the antenna upwards for the best possible reception.

![information]() The antennas are required for both Bluetooth and Wi-Fi functions.
The antennas are required for both Bluetooth and Wi-Fi functions.


Optional
If you are connecting the receiver to a wired network, connect an Ethernet cable (not included) between the receiver and your router. Do not connect the Ethernet cable if you are connecting the receiver to a wireless network.
- Connect the power cord

- Install batteries in the receiver remote control
![]()
![information]() Batteries can be taken out in reversed order.
Batteries can be taken out in reversed order.
- Turn on the receiver
Press![]() on the remote control.
on the remote control.

- Cancell on-screen Setup Assistant
- On the display of "Setup on TV", use
![]() to select "No", then press ENTER.
to select "No", then press ENTER.
On-screen Setup Assistant is cancelled and the receiver is available to use. In addition, the receiver is able to be set up from Setup Menu whenever you want.
![]()
- On the display of "Setup on TV", use
- Start "Wi-Fi Setup"
- Press SETUP on the remote control.
![]()
- Press SETUP on the remote control.


 on the remote control.
 to select "No", then press ENTER.

You can see the following on the display.

![information]() It may take approximately one minute for the display to switch to "Audio" after pressing SETUP while "Starting Up... " is displayed.
It may take approximately one minute for the display to switch to "Audio" after pressing SETUP while "Starting Up... " is displayed.
![]()

- Use
![]() to select "Network", then press ENTER.
to select "Network", then press ENTER.
![]()
- Use
![]() to select "Connection", then press ENTER.
to select "Connection", then press ENTER.
![]()
- Select "Connect: Wi-Fi".
![]()
![information]() If "Connect: Wired" is displayed, press ENTER, use
If "Connect: Wired" is displayed, press ENTER, use ![]() to select "Wi-Fi" and press ENTER.
to select "Wi-Fi" and press ENTER.
- Use
![]() to select "Wi-Fi Setup", then press ENTER.
to select "Wi-Fi Setup", then press ENTER.
![]()
 to select "Network", then press ENTER.


 to select "Wi-Fi" and press ENTER.
- Connect wireless LAN
Choose one of the following wireless setup options.


The display of inputting characters and how to input
The display is showed as below when the input of SSID or password is required.

- Shows a current selected character.
- Shows current input text.
- How to input
The characters are arranged as shown in the below tables. The Upper case / Lower case is switched by selecting [#$%] can also be selected to switch to symbol input.- Use
![]() to select the character to be input.
to select the character to be input. - Press ENTER to input the selected character.

- Use
 to select the character to be input.

Example
Input the "A".
- Press
![]() four times.
four times.
[1] is changed to [a/A]
![]()
- Press ENTER.
Character table is switched.
![]()
- Press
![]() three times.
three times.
[a/A] is changed to [A].
![]()
- Press ENTER.
"A" is input.
![]()
 four times.

 three times.

- Network Control setting
Setting the Network Control to on enabled to control your receiver using smartphone apps, home automation system, Apple AirPlay or Amazon Alexa voice service.- Press SETUP on the remote control.
![]()
- Press SETUP on the remote control.

You can see the following on the display.

- Use
![]() to select "Network", then press ENTER.
to select "Network", then press ENTER.
![]()
- Use
![]() to select "Network Control", then press ENTER.
to select "Network Control", then press ENTER.
![]()
- Press ENTER, then use
![]() to set the Network Control setting, after that press ENTER again.
to set the Network Control setting, after that press ENTER again.
 to select "Network", then press ENTER.

 to set the Network Control setting, after that press ENTER again.
Select "NetCtrl" (Network Control) to "Always" to control your receiver from your smartphone, use Bluetooth/Apple AirPlay/HEOS app/Amazon Alexa voice service and maintain constant network access. Power consumption during standby power will be slightly higher.

Select "NetCtrl" (Network Control) to "Off" to reduce the power consumption during standby. You can not turn on your receiver from your smartphone or use Bluetooth/ Apple AirPlay/HEOS app/ Amazon Alexa until your receiver is powered on manually and connects to your network.
- Press SETUP to exit the setup menu.
Download the mobile apps
Download both the "HEOS" app and the "Denon AVR Remote" app for the full home entertainment experience. The HEOS app is required to access on line music through your stereo receiver.


HEOS app
The HEOS app allows you to explore, browse, and play music from many on line streaming services or from your own music library.


Denon AVR Remote
Control your new stereo receiver with the latest Denon AVR Remote app.


Please do not return this product to the store. If you need help...
Scan the QR code or visit support.denon.com/ for setup help, technical support, warranty assistance, or customer support contact information.

www.denon.com
Documents / Resources
References

Download manual
Here you can download full pdf version of manual, it may contain additional safety instructions, warranty information, FCC rules, etc.
Advertisement


Need help?
Do you have a question about the DRA-900H and is the answer not in the manual?
Questions and answers