Advertisement
Introduction
CrystalSkyTM is designed specifically for aerial photography and can display a clear image under different lighting conditions with built-in light-sensitive sensor. Support DJI MAVICTM, OSMOTM series (Osmo Mobile excluded), INSPIRETM series, PHANTOMTM 4 series, Phantom 3 series (Phantom 3 Professional, Phantom 3 Advanced) and MATRICETM series.*
Use the built-in DJI GOTM/DJI GO 4 app to control the gimbal, camera and other features of your flight system. The app also comes with a map, a store, and a user center for configuring your aircraft and sharing your content.
* Support for DJI devices will be added as testing and development continues. Visit the DJI CrystalSky product page on dji.com for a complete list.
In the Box
CrystalSky Monitor ×1
Intelligent Battery ×2 (CS785/CS785U) or ×1 (CS550)
Intelligent Battery Charging Hub (WCH2) ×1
CrystalSky User Guide ×1
Intelligent Battery Safety Guidelines ×1
Mounting Bracket (Optional) ×1
Hood (Optional) ×1
* Optional parts can be purchased separately at the official DJI Online Store.
Overview
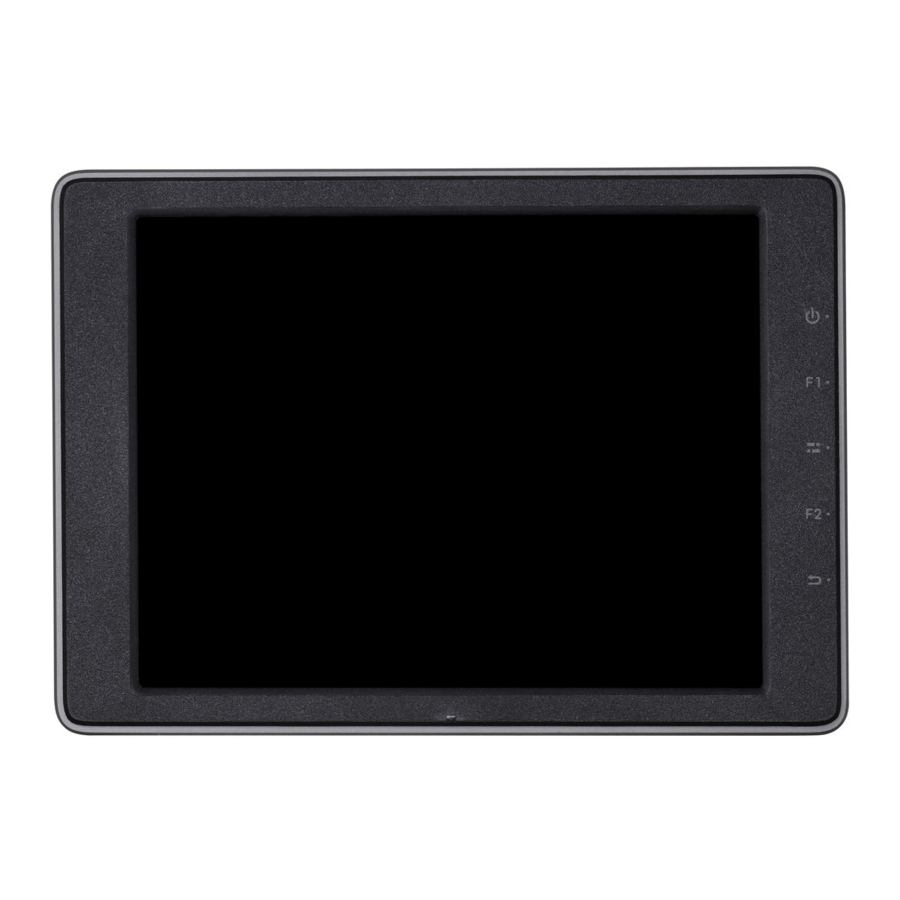
CrystalSky Monitor
CS785 (Highlight version) / CS785U (Ultra-bright version)

CS550

- HDMI Port Output HDMI video signal.
- USB Port Supported extended device, e.g. U disk.
- Micro SD Card Slot Provides extra storage space for the display device, maximum card size is 128 GB.
- Micro USB Port Use a Micro USB cable to connect to the remote controller when in use, or to the PC to configure parameters via DJI ASSISTANT™ 2. To update aircraft firmware, please use the USB OTG cable.
- Headphone Jack
- Mounting Screw Hole
- Light-sensitive Port Built-in light-sensitive sensor.
- Type-C USB2.0 HS Port
- Built-in GNSS
- Power Button
- Custom Button
- Setting Button
- Custom Button
- Back Button
- Battery Release Button
- Battery Slot
Usage
Charging the Battery
Use the Inspire 2 charger for illustration.*
Place the battery into the standard charging hub, and connect connector B of the battery charger to the charging hub, then connect the battery charger to a power outlet (100-240V, 50/60Hz). The Charging Hub will intelligently charge batteries in sequence according to battery power levels from high to low. The buzzer will begin beeping when charging is complete. Remove the battery or turn off the Buzzer Switch to stop it.
The Status LED blinks green when charging and turns solid green when fully charged.

*Use the CrystalSky CS785 for installation illustration.
 DO NOT charge the Intelligent Flight battery together with the Intelligent Battery when using the Inspire 2, Phantom 4 charger or Inspire 2 CarCharger.

- USB power supply port can be used to charge a mobile device of 5V/2A.
- Refer to the Charging Hub (WCH2) User Guide for more details.
Mounting the Battery
Put the battery into the Battery Slot, then slide it to the end until you hear a click.

Press the Battery Level Button once to check the battery level.
- Press the Battery Release Button before removing the battery.
- The Intelligent Battery can charge the built-in battery after mounting, which may reduce the operation time of the Intelligent Battery. The built-in battery can keep the monitor standby for a short period without the Intelligent Battery, so you can start the monitor fast once get the Intelligent Battery mounted.
Mounting the Monitor
- Mount Part A of the Mounting Bracket's to the Monitor.
![]()
- Mount Part B to the Remote Controller.
![]()
- Ensure that Part B is unlocked. Install Part B into Part A.
![]()
- Lock the Mounting Bracket.
![]()
- Use a coin to adjust the tightness of the pitch axis.


DO NOT obstruct the built-in GNSS during use.
Connect the Monitor
When using the Mounting Bracket, plug the connector on the Mounting Bracket to the remote controller USB port.

When using without the Mounting Bracket, connect the Monitor to the remote controller via a Micro USB cable.

DO NOT use the Type-C USB 2.0 HS port and Micro USB ports as the Micro USB port will not work.
DJI GO/GO 4 App
Press the Power Button until the Monitor powers on, then enter the DJI GO/GO 4 app. Use the built-in DJI GO/DJI GO 4 app to control the gimbal, camera and other features of your flight system. The app also comes with a map, a store, and a user center, for configuring your aircraft and sharing your content.

* This image is for reference only. Please refer to the actual user interface.
Specifications


* To comply with local regulations, the operation frequencies of both 5150-5250MHz and 5725-5850MHz are not available in some countries.
** All Mavic and Osmo series products require a Mounting Bracket (purchased separately from the official DJI Online Store) to be compatible with CrystalSky. Note that only CS550 is compatible with Mavic and Osmo series products..
*** The 57 W battery charger does not supply enough power to charge batteries and other devices connected to the USB port simultaneously. DO NOT use the USB port to charge another device when charging batteries.
Warning
- The Charging Hub is only compatible with the DJI specified Charger. DO NOT attempt to use the Charging Hub with any other battery charger.
- The Charging Hub is only compatible with the DJI specified Intelligent Battery. DO NOT attempt to use the Charging Hub with any other battery.
- Ensure to press the Battery Release Button before remove the battery.
- DO NOT attempt to touch the metal terminals on the Power Adapter.
- Clean the metal terminals with a dry, clean cloth if there is any noticeable buildup of dirt.
Documents / Resources
References
Download manual
Here you can download full pdf version of manual, it may contain additional safety instructions, warranty information, FCC rules, etc.
Advertisement


Need help?
Do you have a question about the CrystalSky and is the answer not in the manual?
Questions and answers