Table of Contents
Advertisement
Quick Links
Advertisement
Table of Contents

Related Manuals for dji CRYSTALSKY CS785


Summary of Contents for dji CRYSTALSKY CS785
- Page 1 CRYSTALSKY CS785/CS785U/CS550 User Manual V1.0 2018.08...
-
Page 2: Table Of Contents
Usage Charging the Battery Mounting the Battery Mounting the Monitor Connect the Monitor DJI GO/GO 4 App Specifications Appendix Mounting the Remote Controller Bracket for Mavic/Spark Mounting the CrystalSky Monitor Hood (For CS785/CS785U) Mounting the CrystalSky Monitor Hood (For CS550) -
Page 3: Disclaimer
* Support for DJI devices will be added as testing and development continues. Visit the DJI CrystalSky product page on dji.com for a complete list. -
Page 4: In The Box
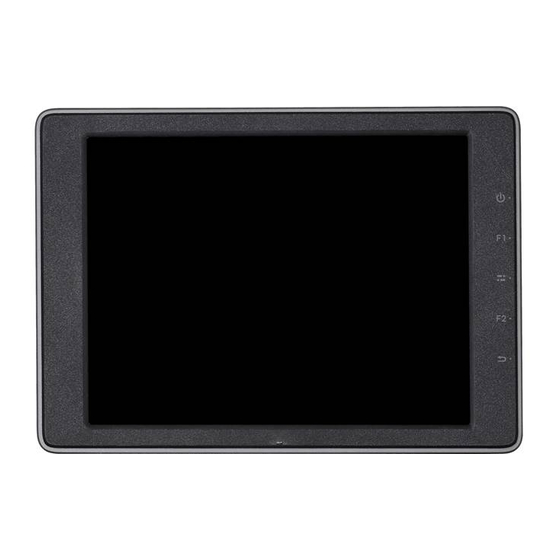
Intelligent Battery Charging Hub (WCH2) ×1 CrystalSky User Guide ×1 Intelligent Battery Safety Guidelines ×1 Mounting Bracket (Optional) ×1 Hood (Optional) ×1 * Optional parts can be purchased separately at the official DJI Online Store. Overview CrystalSky Monitor 1. HDMI Port Output HDMI video signal. -
Page 5: Usage
Intelligent Battery. The built-in battery can keep the monitor standby for a short period without the Intelligent Battery, so you can start the monitor fast once get the Intelligent Battery mounted. *Use the CrystalSky CS785 for installation illustration. -
Page 6: Mounting The Monitor
Mounting the Monitor Mount Part A of the Mount Part B to Ensure that Part B is Mounting Bracket’s the Remote Controller. unlocked. Install Part to the Monitor. B into Part A. Lock the Use a coin to adjust the Mounting Bracket. -
Page 7: Dji Go/Go 4 App
DJI GO/GO 4 App Press the Power Button until the Monitor powers on, then enter the DJI GO/GO 4 app. Use the built-in DJI GO/DJI GO 4 app to control the gimbal, camera and other features of your flight system. The app also comes with a map, a store, and a user center, for configuring your aircraft and sharing your content. - Page 8 5725-5850MHz are not available in some countries. ** All Mavic and Osmo series products require a Mounting Bracket (purchased separately from the official DJI Online Store) to be compatible with CrystalSky. Note that only CS550 is compatible with Mavic and Osmo series products..
-
Page 9: Appendix
* For Spark, a USB OTG cable (not included) is required for connection. Mounting the CrystalSky on to the Remote Controller A DJI Mavic remote controller and CrystalSky 5.5 inch monitor have been used in the illustration below as an example. -
Page 10: Mounting The Crystalsky Monitor Hood (For Cs785/Cs785U)
Ensure that Part B is unlocked. Lock the Mounting Bracket. Mount Part B to Part A. Mounting the CrystalSky Monitor Hood (For CS785/CS785U) This hood shields your CrystalSky monitor screen from direct sunlight to give you a clearer view. 1. Install the CrystalSky Monitor Hood onto the monitor making sure it fits and attaches to the screen correctly. -
Page 11: Mounting The Crystalsky Monitor Hood (For Cs550)
3. Open the cover to access the screen. 4. Close the cover after use. Mounting the CrystalSky Monitor Hood (For CS550) This hood shields your CrystalSky monitor screen from direct sunlight to give you a clearer view. 1. Install the CrystalSky Monitor Hood onto the monitor making sure it fits and attaches to the screen correctly. - Page 12 2. Open the cover to access the screen. 3. Close the cover after use. 4. The monitor hood must be open before you remove it. Apply gentle force in the direction of the arrows below when removing the monitor.
- Page 13 DJI Support http://www.dji.com/support If you have any questions about this document, please contact DJI by sending a message to DocSupport@dji.com. CrystalSky and DJI are trademarks of DJI. Copyright © 2018 DJI All Rights Reserved. Printed in China.
Need help?
Do you have a question about the CRYSTALSKY CS785 and is the answer not in the manual?
Questions and answers