Eastron SDM630MCT (ADW300W) Manual
- User manual (33 pages) ,
- Installation manual (6 pages) ,
- Quick manual (5 pages)
Advertisement
Solution
Three-phase inverters can fill the requirement of zero export function with a smart meter and three CTs. The system can implement data-driven decisions to control the inverter's output.
The system configuration diagram below illustrates zero export function and how it works.
The inverter's three phase outputs are balanced, and the output will be determined based on the phase which has the minimum power owing through among the three phases. For example, if the load is 1kW/2kW/3kW for phase A/B/C respectively, then the limit power for the inverter is 1kW each phase. The rest of required power will be drawn from the grid.

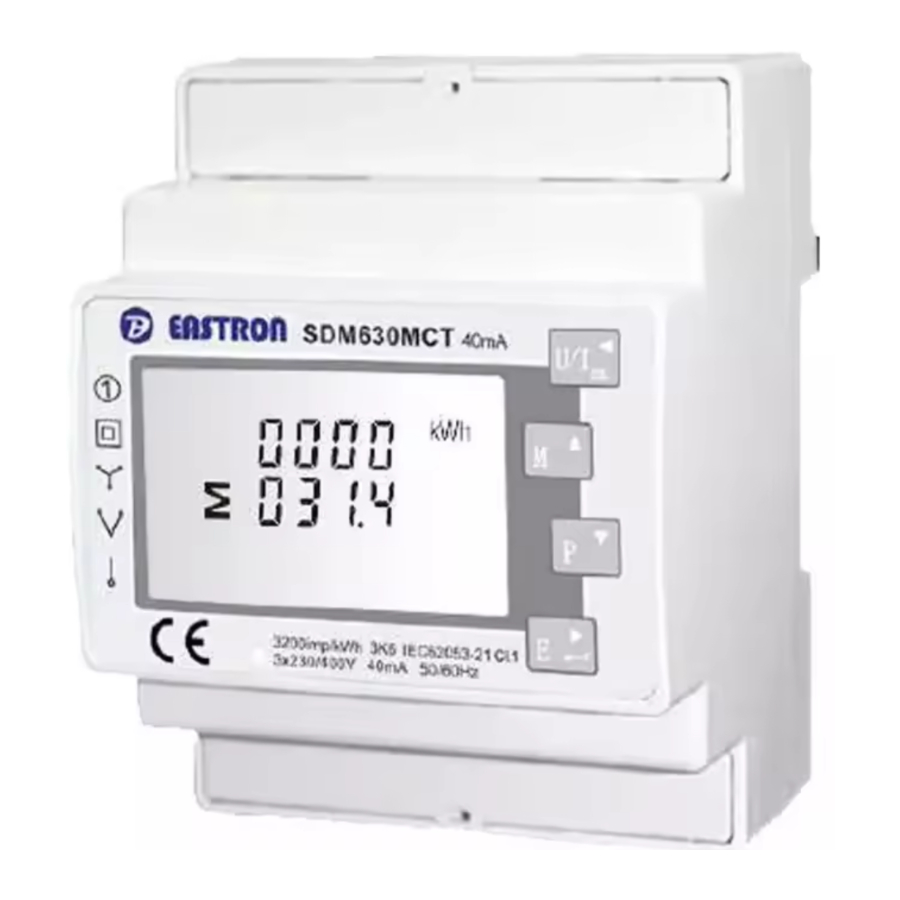
Meter & CT Installation

① Pull to release the retaining clip.
② Mount the Meter on the DIN track and push the retaining clip up (a click sound indicates it is installed well).

① The current should be consistent with the direction of the arrow, which is from the inverter to the grid.
② Buckle the CT in the direction of the arrow.
ADW300W Wiring Connection

- Ensure CT and corresponding supply cable are connected to the same phase.
 Incorrect connection or direction will cause incorrect data and may damage the meter.
SDM630MCT-40mA Wiring Connection

- Ensure CT and corresponding supply cable are connected to the same phase.
Incorrect connection or direction will cause incorrect data and may damage the meter.
Inverter Setting
After wiring connection, all the setting can be done on the inverter. It means there is no need to set the meter. Setting steps of set meter mode and zero export function are as follows:

- Return Button: Escape from current interface or function, another function is to enter the setting interface.
- Up button: Move cursor to upside or increase value.
- Down Button: Move cursor to downside or decrease value.
- ENTER Button: Confirm the selection. Press ENTER to enter the selected menu.
step1:

Press Return button to enter user setting interface. Then select the"1.SETUP" menu item and conrm your selection with the Enter button. (Press Up button or down button to select different options)
→
step1(2):

Before entering the setup interface, enter the password "00000" and confirm the entry by pressing the Enter button.(Press Up button or down button to change the number, and press Enter button to input the next number)
step 2:

Select the"1.SYS SETTING"and confirm the entry by pressing the Enter button.
step 3:

Press Down button to find the option "12:CT OR METER" and confirm the entry by pressing the Enter button.
step 4:

After entering "CT OR METER", press Down button to find the option "2:METER" and confirm the entry by pressing the Enter button.
step 5:

Select the correct meter type "Estron" or "Acrel"or"Rayleigh".The meter type is screen printed on the meter.
Zero Export Setting
step 1:

Press Return button to enter user setting interface. Then select the"1.SETUP" menu item and conrm your selection with the Enter button. (Press Up button or down button to select different options)
→
step1(2):

Before entering the setup interface, enter the password "00000" and confirm the entry by pressing the Enter button.(Press Up button or down button to change the number, and press Enter button to input the next number)
step 2:

Select the"1.SYS SETTING"and confirm the entry by pressing the Enter button.
step 3:

Press Down button to find the option "3:ZERO EXPORT" and confirm the entry by pressing the Enter button.
step 4:

After entering "ZERO EXPORT", press Down button to find the option "1: ENABLE" and confirm the entry by pressing the Enter button. Changethe settings to Enable or Disable as required. Note that the "POWER" in step 5 can not be changed if this setting is "DISABLE".
step 5:

Press Down button to find the option "2: POWER" and confirm the entry by pressing the Enter button. Set the power using the up and down keys. Note that the minimum power is 10w.
Distributeur: VDH Solar Groothandel B.V.
Finlandlaan 1, 2391 PV Hazerswoude-Dorp, Holland
+31 (0)172 235 990 | info@vdh-solar.nl | www.vdh-solar.nl
Documents / Resources
References
Download manual
Here you can download full pdf version of manual, it may contain additional safety instructions, warranty information, FCC rules, etc.
Advertisement


Need help?
Do you have a question about the SDM630MCT and is the answer not in the manual?
Questions and answers