Table of Contents
Advertisement
Quick Links
Advertisement
Table of Contents

Summary of Contents for Energizer eZCRT324-300
- Page 1 USER MANUAL...
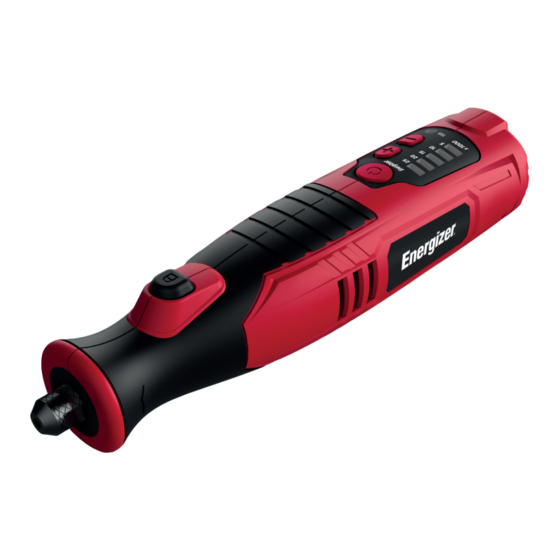
- Page 3 Thank you for purchasing your Energizer ® Lithium Rotary Tool This manual will show you the great features of Energizer ® eZCRT324-300...
-
Page 4: Table Of Contents
INDEX CONTENTS 1. DESCRIPTION PARTS 2. SAFETY GUIDELINES 3. SYMBOLS 4. SAFETY RULES FOR ROTATY TOOLS 5. USING THE ROTARY TOOL 6. PUTTING ACCESSORIES IN TOOL 7. TECHNICAL SPECIFICATIONS 8. MAINTENANCE 9. ACCESSORIES 10. EXPLODED VIEW AND SPARE PART LIST 11. -
Page 5: Description Parts
1. This manual contains important safety and operating instructions: 2. Be sure that any a achments are recommended or solid by Energizer; use of a achments by other manufacturers may not meet the same requirements and can result in fire, electric shock, or injury. -
Page 6: Work Area Safety
WORK AREA SAFETY • Keep your area well lit and clear of clu er that can invite accidents. • Operate your tools in a safe area free of the presence of flammable liquids, gases, dust or potentially explosive atmospheres. Power tools can create sparts which can combust. •... -
Page 7: Specific Safety Rules
may a ect the tools operation. If damaged, have the tools serviced before using. Many accidents are caused by poorly maintained tools. g. Use only accessories that are recommended by the manufacturer for your model. Accessories that may be suitable for one tool, may become hazardous when usef on another tool. h. -
Page 8: Symbols
WARNING: Marking shall include: This device complies with Part 15 of the FCC Rules. Operation is subject to the following two conditions: 1. This device may not cause harmful interference, and 2. This device must accept any interference received, including interference that may cause undesired operation. - Page 9 power tool. Incorrectly sized accessories cannot be adequately guarded or controlled. f. The arbor size of wheels, flanges, backing pads or any other accessory must properly fit the collet of the power tool. Accessories with arbor holes that do not match the mounting hardware of the power tool will run out of balance, vibrate excessively and may cause loss of control.
-
Page 10: Vibration Safety
Keep the charger out of bad elements, such as rain and snow. d. Be sure that any a achments are recommended or sold by Energizer; use of a achments by other manufacturers may not meet the same requirements and can result in electric shock, or injury. -
Page 11: Using The Rotary Tool
should the outer seal get broken and the leakage touches your skin: 1. Immediately wash with soap and water. 2. Neutralize with a mild acid such as lemon juice or vinegar. 3. In case the ba ery liquid gets in your eyes, brush your eyes with clean water for a minimum of 10 minutes and seek immediate medical a ention. -
Page 12: On/Off Button
(A) Ha lock bu on Collet wrench Collet nut To tighten To loosem COLLETS Two di erent size collets (1/8” and 3/32”) to accommodate di erent shank sizes are available for your Rotary Tool. To install a di erent collet, remove the collet nut and remove the old collet. Insert the unslo ed end of the collet in the hole in the end of the tool sha . -
Page 13: Putting Accessories In Tool
Certain materials, however, (some plastics and precious metals, for example) require a relatively slow speed because at high speed the friction of the accessory generates heat and may cause damage to the material. Slow speeds (15000 rpm or less) usually are best for polishing operations employing the felt polishing accessories. - Page 14 For best results wire brushes should be used at speeds not greater than 15000 rpm. Refer to operating speeds section for proper tool speed se ing. The three shapes come in three di erent materials: stainless steel, brass and carbon wire. The stainless steel perform well on pewter, aluminum, stainless steel, and other metals, without leaving “a er-rust”.
-
Page 15: Technical Specifications
Using the drum sander. To replace a band on the drum sander, loosen the screw without removing it to contract the drum. Slide the old band o & slide the new band on. Expand the drum to tighten the band by turning the screw again. -
Page 16: Accessories
To maintain the best performance of your rechargeable ba ery, protect it from overheating, both from overcharging and during storage. Occasionally charge the ba ery for 3-4 hours. The ba ery may also benefit from a full discharge from time to time. IMPORTANT: to assure product safety and reliability, all maintenance, repairs or adjustments (other than those mentioned in this manual) should be performed by authorized repair centers using identical replacement parts. -
Page 17: Exploded View And Spare Part List
10. EXPLODED VIEW AND SPARE PART LIST 1. Collet nut (1) 2. Collet (1) 3. LED light cover (1) 4. LED light (1) 5. Driver sha (1) 6. Bearing (1) 7. Sha lock bu on (1) 8. Sha lock spring (1) 9. -
Page 18: Warranty
WARRANTY Product model Date of sale Company Serial number Client's signature Username Please read and agree to the terms of the warranty. The manufacturer warrants the product against faulty materials and workmanship for a period of 1 year from the date of first purchase to the original purchaser. The warranty is applicable when the product is used in a “home owner”... - Page 19 ©2021 Energizer. Energizer, Energizer Character and certain graphic designs are trademarks of Energizer Brands, LLC and related subsidiaries and are used under license by GBR Corporation Ltd.


Need help?
Do you have a question about the eZCRT324-300 and is the answer not in the manual?
Questions and answers