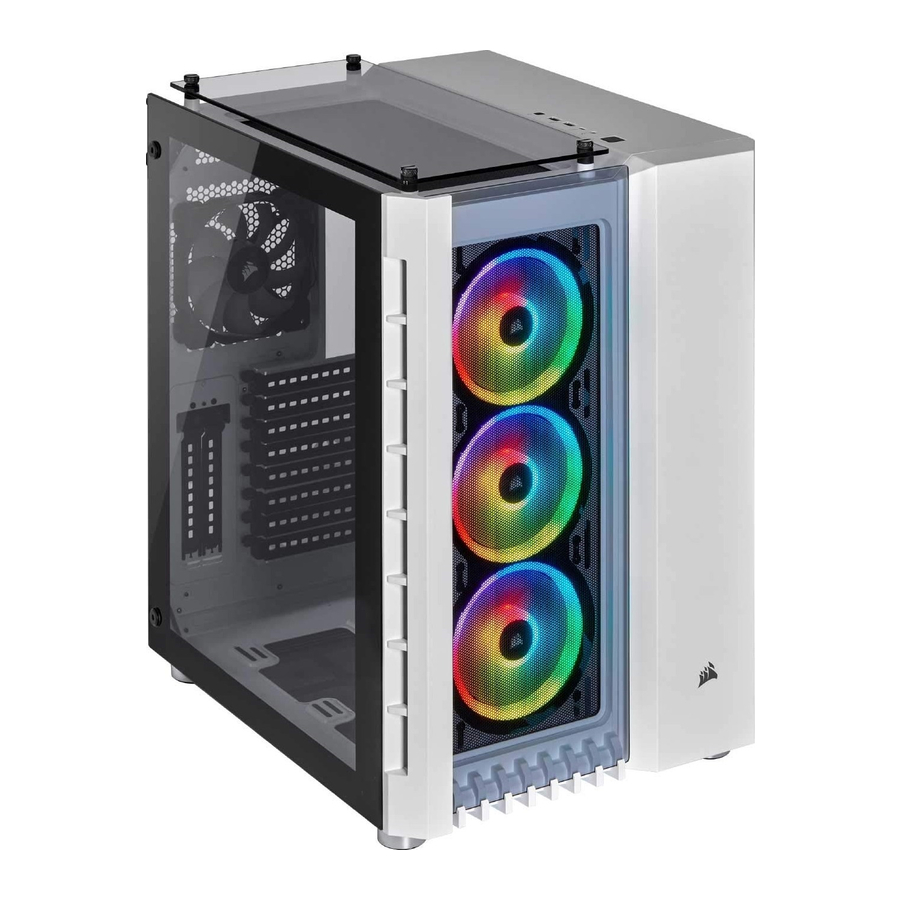
Corsair Crystal 680X RGB - Pc Case Manual
- Manual (51 pages) ,
- Manual (29 pages) ,
- Replacement manual (8 pages)
Advertisement
Introduction
This guide will walk you through replacing the front I/O panel on a Corsair Crystal 680X RGB computer case.
I have written this short guide to help fill in a gap I found when asking for help from Corsair's support team. I needed to replace the front I/O panel on my computer case, but wasn't sure how to access it for replacement. The support representative I spoke with tried to get additional information from a case specialist, but all they could supply me with was the same diagram as the one in the user manual. The diagram shows that it is possible to remove the top bezel to access the front I/O panel, but not how.
Figure 1. An exploded diagram of the case from the user manual. Circled in red is the top bezel, while the arrow points to the front I/O panel.

Tools & Supplies
Removing the top bezel itself requires no tools. You will need the following tools for other steps:
- Phillips screwdriver
- Chopsticks or long screwdriver
- Cup or other receptacle for temporarily storing screws
Prepare the Case
Before removing the top bezel, you will need to prepare the case. There are two separate chambers in this computer case:
- The Power Chamber: this section of the case contains the power supply, hard drives, front I/O panel, and all of the wiring for the computer.
- The Main Chamber: this section of the case contains all of the main components, such as the motherboard, video card, etc. This is the side with the tempered glass panel.
I'll be using these names throughout the rest of the guide.
- Turn the computer off.
- Switch the power supply off.
 Tip: The switch should be in the "O" position when off.

Failure to turn the power supply off increases the risk of electrostatic discharge (ESD), which could damage your computer's components.
- Unplug the computer.
- Move the computer to a flat work surface.
- Open both side panels.
Tip: Loosen the thumbscrews with a Phillips screwdriver if necessary.
- Ground yourself to the case.
You can ground yourself by doing the following:- Wear an ESD wrist strap connected to a metal portion of the case.
- Use an ESD mat and connect it to a metal portion of the case.
- Touch a grounded metal object, such as a metal portion of the case.
![]()
Some computer components can hold an electric charge after the computer is powered-down. Please ensure the power supply is turned off to reduce the chance of electric shock injury.
- Remove the front I/O connectors from the motherboard.
- Pull the front I/O wires to the power chamber.

Remove the Top Bezel
You must remove the top bezel before you can access the front I/O panel.
- Locate the top bezel tabs inside the main chamber.
![information]() Tip: The tabs are long pieces of plastic with hooked ends. You can find them at the top of the inside of the case. In the main chamber, some of these tabs are in pairs. Please refer to Figure 2 for the locations of all the tabs.
Tip: The tabs are long pieces of plastic with hooked ends. You can find them at the top of the inside of the case. In the main chamber, some of these tabs are in pairs. Please refer to Figure 2 for the locations of all the tabs.

Figure 2. Encircled in green are all of the top bezel tabs. Push the tabs in the direction of the arrows to unlock. - Release the tabs by pushing in the direction opposite the hook.
- Repeat steps 1 and 2 to release the tabs in the power chamber.
![information]() Tip: If you can't reach the tab located behind the hard drive cage, use a long screwdriver or a chopstick to push the tab.
Tip: If you can't reach the tab located behind the hard drive cage, use a long screwdriver or a chopstick to push the tab.
There are 13 tabs to release before you can take the top bezel off. Once you have released all of the tabs, you are now ready to remove the top bezel.

- Pry the top bezel away from the rest of the case.
![information]() Tip: It is easier to start from a corner and then work your way around the case.
Tip: It is easier to start from a corner and then work your way around the case.
![]()
Make sure you've released the tabs all the way. The hooks at the end of the tabs are easy to break if you remove the top bezel through force.
Replace the Front IO Panel
You can now access the front I/O panel and replace it.
- Remove the four screws securing the front I/O panel to the case.

Figure 3. A top view of the front I/O panel from. - Lift the front I/O panel up and out of the slot.
![]()
Be careful not to pull any other wires loose as you're removing the front I/O panel wires. - Thread the new front I/O panel wires through the slot.
- Push the new front I/O panel into place.
- Screw the front I/O panel to the case.
- Reconnect the front I/O panel connectors to the motherboard.
![information]() Tip: At this point, you may want to plug your computer back in, switch the power supply on, and test the new front I/O panel. This will save you from having to remove the top bezel again if something isn't working.
Tip: At this point, you may want to plug your computer back in, switch the power supply on, and test the new front I/O panel. This will save you from having to remove the top bezel again if something isn't working. - Snap the top bezel back into place.

You have replaced the front I/O panel on your Corsair Crystal 680X RGB case! You can now move your computer back to its original location, plug it in, and turn the power supply back on.
Documents / Resources
References
Download manual
Here you can download full pdf version of manual, it may contain additional safety instructions, warranty information, FCC rules, etc.
Advertisement


Need help?
Do you have a question about the Crystal 680X RGB and is the answer not in the manual?
Questions and answers