Table of Contents
Advertisement
Quick Links
Advertisement
Table of Contents

Related Manuals for Corsair AIR240


Summary of Contents for Corsair AIR240
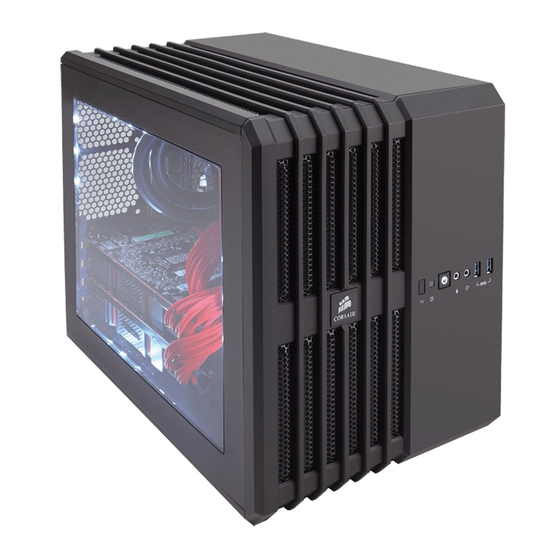
- Page 1 CARBIDE SERIES® SMALL FORM FACTOR PC CASE INSTALLATION GUIDE...
-
Page 2: Table Of Contents
SMALL FORM FACTOR PC CASE Installing PCI-E/GPU: ............................8 Installing Front Fans: ............................9 Length: ...................... 397mm Rotating the Corsair Logo/Case Orientation: ..................9 Width: ....................... 260mm Installing Top Fans: .............................10 Feet Installation and Case Orientation: .....................10 Height: ...................... 320mm Weight: ...................... - Page 3 Air240 Accessory Kit Contents Case Features Windowed Side Panel HDD Cover Mesh Side Panel x3 SSD Trays Front Fascia SSD Drive Cage Top Panel 3.5" HDD and SSD Trays Bottom Panel 3.5" Drive Cage x2 120mm Fans Magnetic Dust Filter...
-
Page 4: Removing The Side Panels
Before lowering the motherboard into the case, the motherboard mount holes and the case’s hex-shaped AIR240 STEP1 standoffs (spacers) must align AIR240 STEP3 accordingly. The stand-offs are pre-mounted inside. You can twist and remove them if needed. -
Page 5: Installing Ssds
Reinsert the cage. Keep the case top off if you later plan to install fans here. AIR240 STEP6 (circle) 5. Installing HDDs Remove the top left fan grill and access the rear 3.5" HDD tray enclosure. Insert your HDD (or 2.5"... -
Page 6: Installing Front Fans
Align front panel and push it back into the case. 8. Rotating the Corsair Logo/ Case Orientation 10. Feet Installation and Case Orientation You can remove and rotate For enhanced stability, peel... - Page 7 Air240 11. Installing the Front I/O Connectors Frequently Asked Questions After locating your 3 or 4 pin fan headers on 1. Does the polarity matter with the I/O panel’s power and reset your motherboard (see your motherboard’s header? manual for fan header locations), plug in the No, only the LED headers.
Need help?
Do you have a question about the AIR240 and is the answer not in the manual?
Questions and answers