Advertisement
1
重点
项目
校对项
库
文件名
A
1.版面尺寸
2.材质标注
3.物料编码
B
4.颜色标注
5.客户型号
6.产品名称
C
7.重量标注
8.电压功率
D
9.说明书装
订要求
10.警语/认证
标志高度
E
11.档位、
控制面板
一致性
F
1.文字图案印刷颜色为:
2.该说明书的幅面大小为:
3.该说明书的装订方式为:
4.说明书警语及认证标志应满足CE/UL标准,CE:警语部分大写字母高度不低于3mm,CE标志不低于5mm,WEEE标志不低于7mm;
UL:大写字母字高不小于1/12"(2.11mm),小写字母字高不小于1/16"(1.6mm),"IMPORTANT SAFEGUARDS","SAVE
THESE INSTRUCTIONS"等词,其字高不小于3/16"(4.8mm),IMPORTANT SAFEGUARDS 必须在最前面。
5.产品应符合QMG-J53.021《产品说明书技术条件》的有关要求。
6.有ROHS指令要求的物料应符合美的企业标准QML-J11.006《产品中限制使用有害物质的技术标准》。
G
增加保修/田龙飞/22.8.17
标 记 处 数 更 改 文件 号
H
制 图
设 计
校 对
会 签
1
2
单色
,印刷字体需清晰可见,文字不能粘到一起;
A5
钉装
签 字
日 期
颜雅丽
审 核
李艳
- -- - -
标准化
李海棣
古广君
- -- - -
审 定
2021-06-24
日 期
--- - -
2
3
封面
技术要求(版本号:B,2020-01)
,未注直线尺寸公差应符合GB/T1804-v;
70P以下为钉装,70P以上为胶装(特殊要求除外)
;[
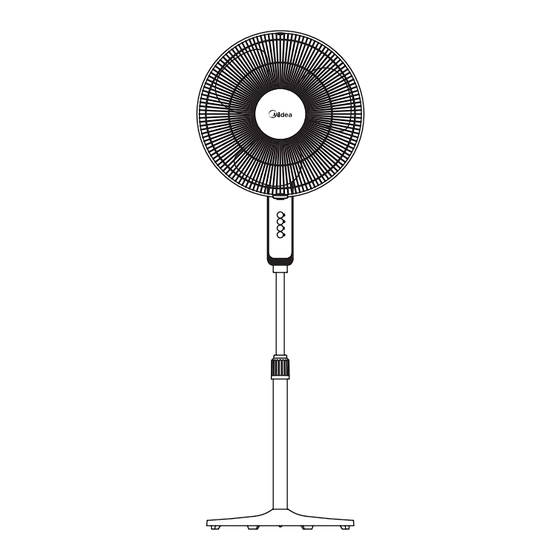
电风扇
说明书
K
1
3
4
5
]
说明书 MIDEA-FS40-19K(FS40-19K)-
0502 RoHS 单黑 钉装 145x210mm
4张8页 80g双胶纸 双面印刷
竖版 电风扇
1:1
广东美的生活电器制造有限公司
1
5
4
6
A
B
C
D
E
F
G
16161000A17458
H
6
Advertisement
Table of Contents

Related Manuals for Midea FS40-19K


Summary of Contents for Midea FS40-19K
- Page 1 3.该说明书的装订方式为: 钉装 4.说明书警语及认证标志应满足CE/UL标准,CE:警语部分大写字母高度不低于3mm,CE标志不低于5mm,WEEE标志不低于7mm; UL:大写字母字高不小于1/12”(2.11mm),小写字母字高不小于1/16”(1.6mm),“IMPORTANT SAFEGUARDS”,“SAVE THESE INSTRUCTIONS”等词,其字高不小于3/16”(4.8mm),IMPORTANT SAFEGUARDS 必须在最前面。 5.产品应符合QMG-J53.021《产品说明书技术条件》的有关要求。 6.有ROHS指令要求的物料应符合美的企业标准QML-J11.006《产品中限制使用有害物质的技术标准》。 16161000A17458 电风扇 说明书 MIDEA-FS40-19K(FS40-19K)- 0502 RoHS 单黑 钉装 145x210mm 4张8页 80g双胶纸 双面印刷 增加保修/田龙飞/22.8.17 竖版 电风扇 说明书 标 记 处 数 更 改 文件 号 签 字 日 期 颜雅丽...
-
Page 2: Stand Fan
OWNER’S MANUAL Stand Fan MODEL:FS40-19K READ AND SAVE THESE INSTRUCTIONS Attention: Pictures in the IM are for reference only. -
Page 4: Rules For Safe Operation
CAUTION Read Rules for Safe Operation and Instructions Carefully. WARNING 1. If the supply cord is damaged, it must be replaced by manufacturer or its service agent or a similarly qualified person in order to avoid a hazard. 2. Indoor use only. 3. -
Page 5: Installation Instructions
INSTALLATION INSTRUCTIONS Name of components Motor Considerate Hint: If you choose to install the pole, Install by it will become the Stand Fan. aligning If you choose to install the connector,it will become the Table Fan. Tighten Rear grill Base Installation knob Align the column with the groove on the base and... -
Page 6: Front Grill
Front and Rear Guard Installation Align Catch of the Front Guard Press guards sequentially Self-Catch Installation. with the illustrated position of with both hands. the Rear Guard. Guard Catch Front grill Lock nut of blade Lock nut of blade anticlockwise, and then install the front fan cover. - Page 7 INSTRUCTIONS FOR USE Instructions for operation of body Height Adjustment Turn counterclockwise and loosen for performing height adjustment. Height Adjustment Key Body Key...
-
Page 8: Maintenance Instruction
MAINTENANCE INSTRUCTION The fan requires little maintenance. Do not try to fix it by yourself. Refer it to qualified service personnel if service is needed. 1. Before cleaning and assembling, fan must be unplugged. 2. To ensure adequate air circulation to the motor, keep vents at the rear of the motor free of dust. - Page 9 Proudly Distributed in Fiji By ELECTOMECH PTE LIMITED Lot 2, Kings Road Yalalevu, Ba,Fiji Islands PH:(679)667 0049 FAX:(679)667 3200 E-mail:sales@electomech.com...
Need help?
Do you have a question about the FS40-19K and is the answer not in the manual?
Questions and answers