Advertisement
Advertisement
Table of Contents

Related Manuals for Midea FS40-11NR


Summary of Contents for Midea FS40-11NR
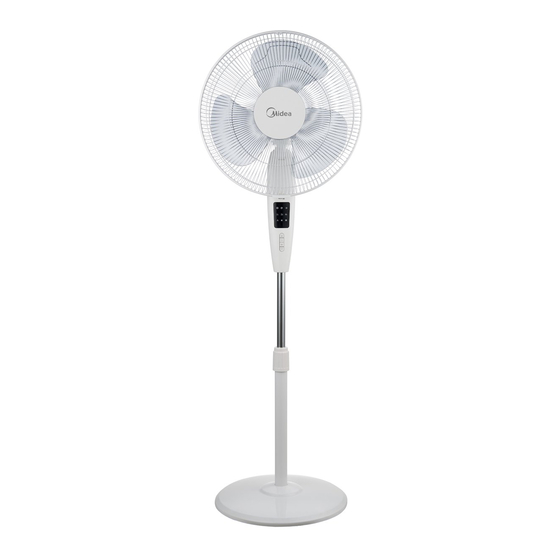
- Page 1 ELECTRIC FAN OWNER’S MANUAL 16" Stand Fan MODEL: FS40-11NR READ AND SAVE THESE INSTRUCTIONS GD Midea Environment Appliances MFG.CO.,Ltd. Attention: Pictures in the IM are for reference only. Midea Industrial Park, Dongfu Road, Dongfeng Town, Zhongshan, Guangdong, 528425, P.R.China...
- Page 2 CAUTION Read Rules for Safe Operation and Instructions Carefully. WARNING 1. If the supply cord is damaged, it must be replaced by manufacturer or its service agent or a similarly qualified person in order to avoid a hazard. 2. To protect against the risk of electrical shock, do not immerse the unit, cord or plug in water or other liquid.
- Page 3 PART FIGURE Clutch knob Motor [01]x1 [06]x1 housing [02]x1 Thumb Front Grill Rear Grill Motor Blade screw shaft Internal Pole Spinner Plastic Nut Grill Circlip [07]x1 [03]x1 Height Clip adjustment ring [04]x1 Extension Pole Chassis [05]x1 [08]x1 7-shape Bolt Note: All the pictures in this manual are for explanation purpose only. Any discrepancy between the real object and the illustration in the drawing shall be subject to the real subject.
- Page 4 Fig.1 Fig.2 Fig.3 Fig.4 Mounting hole Thumb screw Loose e n Annular groove GRILL & FAN BLADE ASSEMBLY 1. Unscrew the spinner clockwise (or take the spinner out from the bag) and the plastic nut counterclockwise to remove both of them. Fix the rear grill to the motor then tighten the plastic nut again.
- Page 5 OPERATING INSTRUCTION I. Remote Controller (Fig.8) a. KEY INSTRUCTION 1. “ ” KEY The “ ” key is for switching on the fan .The fan will be started at breeze step. Press the “ ” key if the fan needs to switch off. 2.
- Page 6 b. BATTERIES Fig.10 (battery not included in the packing) (1) Slide the battery compartment Cover. (2) Insert the batteries, and make sure that the batteries are placed as shown in the Fig.10. (3) Slide back the battery cover. NOTES: Use size “AAA” manganese or alkaline batteries.
- Page 7 MAINTENANCE INSTRUCTION The fan requires little maintenance. Do not try to fix it by yourself. Refer it to qualified service personnel if service is needed. 1. Before cleaning and assembling, fan must be unplugged. 2. To ensure adequate air circulation to the motor, keep vents at the rear of the motor free of dust.
Need help?
Do you have a question about the FS40-11NR and is the answer not in the manual?
Questions and answers
Can you buy parts for the base of the fan