Table of Contents
Advertisement
Advertisement
Table of Contents

Related Manuals for Midea FS40-15AR


Summary of Contents for Midea FS40-15AR
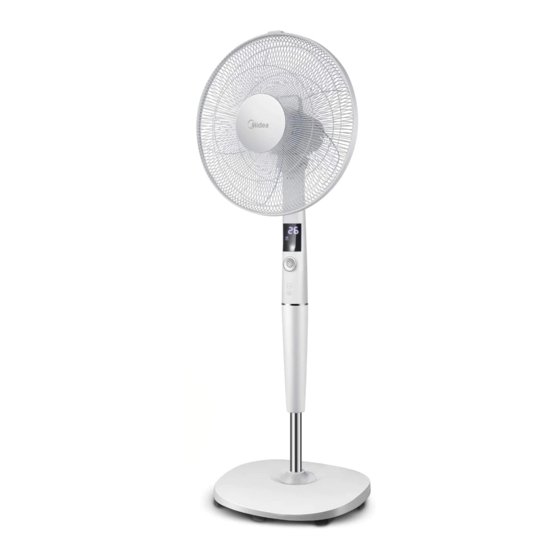
- Page 1 ELECTRIC FAN OWNER’S MANUAL 16" STAND FAN MODEL: FS40-15AR READ AND SAVE THESE INSTRUCTIONS GD Midea Environment Appliances MFG.CO.,Ltd. Midea Industrial Park, Dongfu Road, Dongfeng Town, Zhongshan, Guangdong, Attention: Pictures in the IM are for reference only. 528425, P.R.China...
- Page 2 CAUTION Read Rules for Safe Operation and Instructions Carefully. WARNING 1. If the supply cord is damaged, it must be replaced by manufacturer or its service agent or a similarly qualified person in order to avoid a hazard. 2. To protect against the risk of electrical shock, do not immerse the unit, cord or plug in water or other liquid.
- Page 3 PART FIGURE Front Grill Blade Rear Grill Circlip Plastic Nut Motor Shaft Center Piece Display Window Fan Body Clip Control Part Power Cord Screw Tighten Pole Loosen Spinner Female Terminals Column Cover Base Butterfly Screws For Fixed Base Note: All the pictures in this manual are for explanation purpose only. Any discrepancy between the real object and the illustration in the drawing shall be subject to the real subject.
- Page 4 Fig.1 Fig.2 Positioned fixed rope Positioned fixed gap Fig.3 Fig.4 Position logo GRILL & FAN BLADE ASSEMBLY 1. Unscrew the spinner clockwise (or take the spinner out from the bag) and the plastic nut counterclockwise to remove both of them. Fix the rear grill to the motor then tighten the plastic nut again.
- Page 5 OPERATING INSTRUCTIONS Plug in the power adapter, after a "beep" tone, the fan is on standby. I. Remote Controller (Fig.8) “ ” ON/OFF KEY Press this button under standby mode,the fan starts at memorial speed which it worked last time.Press this button when the fan is working,it will be turned off to standby state.
- Page 6 When set a time, 5 seconds without any operation, the timing on the display flashes twice and beep to refer successfully settings, if there is any button operation in five seconds (except for on/off button), the time is successfully set and the fan returns to current state immediately, "Timing"...
- Page 7 V. Pivoting Angle Adjustment When adjust the pivoting angle, fix the guards with hands and reverse the head of fan. Note: Do not forcibly twist the fan in order to avoid damage to the fan. VI. Screen-off Function Press the “On/Off" button for three seconds, the screen will turn off and the fan is still running.
- Page 8 MAINTENANCE INSTRUCTION The fan requires little maintenance. Do not try to fix it by yourself. Refer it to qualified service personnel if service is needed. 1. Before cleaning and assembling, fan must be unplugged. 2. To ensure adequate air circulation to the motor, keep vents at the rear of the motor free of dust.
Need help?
Do you have a question about the FS40-15AR and is the answer not in the manual?
Questions and answers
RE: FS40-15ARpedestsl fan Where can I get the circlip part that holds the back and front grills together? The plastic has broken.