
Related Manuals for RP LIGHTING Arctic II


Summary of Contents for RP LIGHTING Arctic II
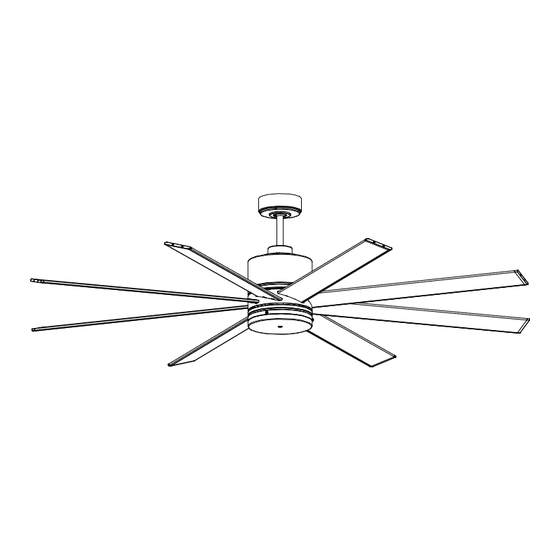
- Page 1 Ceiling Fan INSTALLATION MANUAL READ AND SAVE THESE INSTRUCTIONS Model: 1086W fan net weight: 13.9 kgs(30.58 lbs)
-
Page 2: Table Of Contents
IMPORTANT SAFETY INFORMATION TOOLS REQUIRED / UNPACKING FAN INSTALLING MOUNTING BRACKET DOWNROD ASSEMBLY HANGING THE FAN MOTOR ASSEMBLY WIRING THE FAN & WALL CONTROL CANOPY ASSEMBLY BLADES INSTALLATION ATTACHING SWITCH HOUSING & CAP INSTALLING LIGHT KIT(optional) OPERATING YOUR FAN OPERATING INSTRUCTIONS TROUBLESHOOTING INSTALLING WALL CONTROL... -
Page 3: Important Safety Information
Read all instructions and safety information carefully before installing your fan and save this manual. All electrical connections must be in accordance with the National Electrical Code ANSI/NFPA70 and local electrical code. If you are unfamiliar with wiring or are in doubt, consult a qualified electrician. -
Page 4: Package Contents
PACKAGE CONTENTS x2 Switch box screws x3 Wire Nuts x2 Wallplate Screws (1 extra) Security J-hook Balance kit 1 set Wall Control... - Page 5 Ceiling Joist 30in (76cm)
-
Page 6: Installing Mounting Bracket
INSTALLING MOUNTING BRACKET Turn off circuit breaker and wall switch to fan supply line leads. WARNING: Failure to disconnect the power supply prior to installation may Security J-Hook result in serious injury. Fan-rated To reduce the risk of electric shock, Metal Outlet Box the fan must be installed with an isolating wall switch. -
Page 7: Downrod Assembly
DOWNROD ASSEMBLY Loosen the ground screw on downrod ball and Safety Cable set screw to free the lock pin. Ground Wire Remove the ground screw, green ground wire Lock Pin Canopy and downrod ball from downrod and set them aside for later use. Set Screw Insert the downrod through the canopy cover, canopy screw cover and coupling... -
Page 8: Hanging The Fan Motor Assembly
HANGING THE FAN MOTOR ASSEMBLY Carefully lift the fan motor assembly onto the mounting bracket that was attached to the outlet box. For added security, attach the safety cable from the fan to the security hook in outlet box, tighten the safety cable. Make sure that when the safety cable is fully extended the lead wires are longer than the cable and no stress is placed on... -
Page 9: Wiring The Fan & Wall Control
WIRING THE FAN and WALL CONTROL Connect household supply and fan lead wires according to the diagram and following steps. Make sure to use wire nuts provided with this fan to secure all wiring connections. Connect the Green ground wire from the motor, mounting bracket and hanging ball to the Bare/Green ground wire from outlet box. -
Page 10: Canopy Assembly
CANOPY ASSEMBLY Locate two(2) screws on the underside of the mounting bracket. Attach canopy cover to the mounting bracket by placing screws into the Canopy Screw Cover keyhole slots. Rotate the canopy so that screws slide into the narrow ends of the slots.Tighten the screws firmly. -
Page 11: Attaching Switch Housing & Cap
ATTACHING SWITCH HOUSING & CAP Remove three(3) screws from the switch housing mounting plate. Attach the switch housing to the mounting plate using these 3 screws. Switch Housing Mounting Plate Switch Housing Loose 3 screws, rubber washers and flat washers in the side of the switch housing cap, and secure the cap to switch housing with these screws, rubber washers and flat... -
Page 12: Operating Your Fan
OPERATING YOUR FAN A slide reverse switch located on the top of the motor assembly which is covered by a coupling cover, controls the direction of blade rotation. SUMMER MODE: The reverse switch shall be in the left(SUMMER) position to make the fan rotate in an anticlockwise direction. -
Page 13: Troubleshooting
are tight. -
Page 14: Installing Wall Control
INSTALLING WALL CONTROL Turn off the power Ensure the power is off at the outlet box and wall switch location before proceeding with installation. WARNING: To avoid the risk of fire and personal injury, read and follow all instructions thoroughly by referring to the installation instructions included with the wall control before installing the ceiling fan control. - Page 16 RP-06122023...
Need help?
Do you have a question about the Arctic II and is the answer not in the manual?
Questions and answers