Table of Contents
Advertisement
Quick Links
Advertisement
Table of Contents

Related Manuals for RP LIGHTING 1021-PC


Summary of Contents for RP LIGHTING 1021-PC
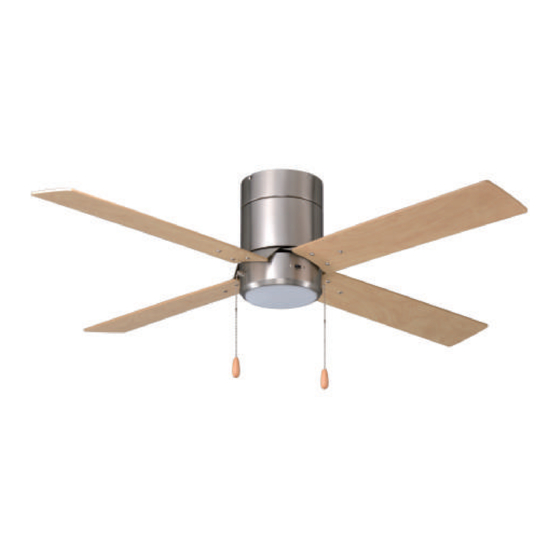
- Page 1 Installation Guide For Models: 1021-PC / 1022-PC 1023-PC / 1024-PC...
-
Page 2: Table Of Contents
TABLE OF CONTENTS SAFETY RULES TOOLS REQUIRED UNPACKING FAN MOUNTING OPTIONS HANGING THE FAN MAKING ELECTRICAL CONNECTIONS ATTACHING THE FAN BLADES INSTALL THE LIGHT KIT OPERATION YOUR FAN TROUBLESHOOTING CARE OF YOUR FAN... -
Page 3: Safety Rules
SAFETY RULES 8. Wooden blades are not intended for storage or installation in spaces that are not temperature controlled. To avoid issues with blade warping do not store or install ceiling fans in areas without air conditioning. shock and fire, do not use this fan with any solid-state fan speed control device. -
Page 4: Tools Required
TOOLS REQUIRED ·Wire Strippers .Ladder ·Phillips Screwdriver ·Pliers UNPACKING FAN Unpack your fan and check the contents. You should have the following items: #1023 &1024 Blade set Mounting bracket Fan motor assembly LED light kit Blade bracket set Glass shade #1021 &1022 Blade set Mounting bracket... -
Page 5: Mounting Options
MOUNTING OPTIONS If there isn't an existing UL listed mounting box, Fig.1 then read the following instructions. Disconnect the power by removing fuses or turning off circuit Ceiling joists breakers. Secure the outlet box directly to the building structure. Use appropriate fasteners and building materials. The outlet box and its support must be able to fully support the moving weight of the fan (at least 50 lbs). -
Page 6: Hanging The Fan
HANGING THE FAN Remember to disconnect the power. Follow the steps below to connect the fan to your Outlet box household wiring. Use the wire connecting nuts supplied with your fan. Secure the connectors with electrical tape. Make sure there are no loose strands or connections. -
Page 7: Making Electrical Connections
MAKING ELECTRICAL CONNECTIONS Input Power 120VAC 60Hz Connect the ground wire attached on mounting bracket and fan groud wire to outlet box ground wire. Secure the connection with a wire nut provided. Refer to wiring diagram making correct wire connections. NOTE: This fan must be installed by a licensed electrician. -
Page 8: Attaching The Fan Blades
ATTACHING THE FAN BLADES Attach the blade to the blade bracket, align the holes in the blade and the blade bracket, secure with screws and fiber washers as provided in screw bag. Tighten each screw securely starting with the center screw. Make sure the blade is straight. -
Page 9: Operation Your Fan
OPERATION YOUR FAN Connect the wood tassel to the pull chains located in switch housing. Reverse Switch 1 pull = High Speed 2 pulls = Medium Speed 3 pulls = Low Speed 4 pulls = Off Light pull chain - It controls the light on or off. To change airflow direction Note: Turn the fan off and let it come to a complete stop before changing setting. -
Page 10: Troubleshooting
TROUBLESHOOTING WARNING: Failure to disconnect power supply prior to troubleshooting any wiring issues may result in serious injury. Problem Solutions Fan will not start. - Check circuit fuses or breakers. - Check line wire connections to the fan and switch wire connections in the switch housing. Fan sounds noisy. - Page 11 Fan Size Model# Number of blade Weight 42” 1021-PC 15.8 lbs (7.2kgs) 52” 1022-PC 18 lbs (8.2kgs) 42” 1023-PC 16.7 lbs (7.6kgs) 52” 1024-PC 19 lbs (8.7kgs)
- Page 12 RP-102519...
Need help?
Do you have a question about the 1021-PC and is the answer not in the manual?
Questions and answers