Advertisement
Quick Links
How Does the Dexcom G7 Work?
Accuracy
Dexcom G7 readings and meter values may not be the same and that's okay. The Dexcom
G7 and a meter measure glucose from two different types of body fluids: interstitial fluid
and blood. Readings can be different and still be considered accurate.
Receiver Navigation
To scroll faster hold down the Scroll button. To move to next field, use the Select button.
Scroll Up
Go Back
Dexcom G7 Receiver
• Displays a glucose reading
up to every 5 minutes
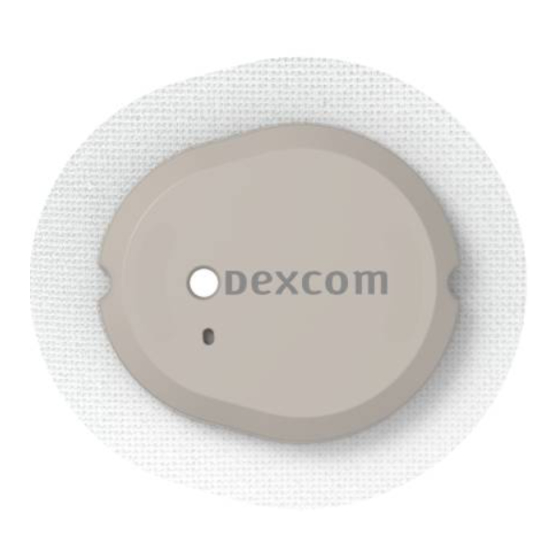
Applicator with built-in Sensor
• Applicator inserts the sensor under
your skin
• Sensor gets glucose information
• Wear sensor for up to 10 days
• Sensor sends glucose information
to the receiver
Select
Scroll Down
Advertisement

Subscribe to Our Youtube Channel
Summary of Contents for Dexcom G7
- Page 1 Accuracy Dexcom G7 readings and meter values may not be the same and that’s okay. The Dexcom G7 and a meter measure glucose from two different types of body fluids: interstitial fluid and blood. Readings can be different and still be considered accurate.
- Page 2 Dexcom G7 CGM System. If you don’t, you may have inaccurate sensor readings, missed alerts, and might miss a severe low or high glucose event. Dexcom, Dexcom Clarity, Dexcom Follow, Dexcom G7, Dexcom Share, and any related logos and design marks are either registered trademarks or trademarks of Dexcom, Inc.
-
Page 3: Receiver Setup
(type 1, type 2, gestational) diabetes in people age 2 years and older where self-monitoring of blood glucose (SMBG) is indicated. This is abbreviated instruction. For detailed, step-by-step instructions on how to use the Dexcom G7 Continuous Glucose Monitoring (CGM) System, please refer to the instructions for use. -
Page 4: Step 1: Set Up Receiver
Step 1: Set Up Receiver To turn the receiver on press and hold the Select button for 3-5 seconds. Select Next on the Welcome Screen. Select Accept Terms of Use. Pick time format. Enter date and time. View mini tutorial on safety, treatment decisions, Insert your sensor. -
Page 5: Step 2: Insert Sensor
Step 2: Insert Sensor Age 7 years and older: Use abdomen or back of upper arm Age 24 months - 6 years: Use abdomen, upper buttocks, or back of upper arm Before you begin, wash and dry your hands; then clean the sensor site with alcohol. Unscrew Cap. - Page 6 Step 4: Pair and Start Warmup Wait for your sensor Begin sensor Find pairing code; Enter pairing code. to pair. warmup. located on applicator. Understanding Your Trend Screen and Arrows Your trend screen shows your sensor glucose reading, trend graph, and trend arrow. Trend arrows show the speed and direction that your glucose is heading.


Need help?
Do you have a question about the G7 and is the answer not in the manual?
Questions and answers