Advertisement
Quick Links
Thank you for purchasing this quality product. Be sure to check all packing materials carefully for small parts,
which may have come loose inside the carton during shipment. Identify and count all items and compare with
the parts list and/or hardware list shown below.
Cautions :
(1) Do not fully-tighten the nut or nut bolts initially until all nuts or bolt is ready assembled.
(To avoid causing damages to the thread, do not over-tighten the nuts or bolts.)
(2) Keep all hardware part out of reach of children.
PARTS LIST
NO
DESCRIPTION
SEAT FRAME
A
WITH CUSHION
LEFT SIDE
FACING (LSF)
B
LEG
RIGHT SIDE
FACING (RSF)
C
LEG
D
STRETCHER
B
L
LSF Leg (B) has a sticker
L
for identification.
ASSEMBLY INSTRUCTIONS
Item No :
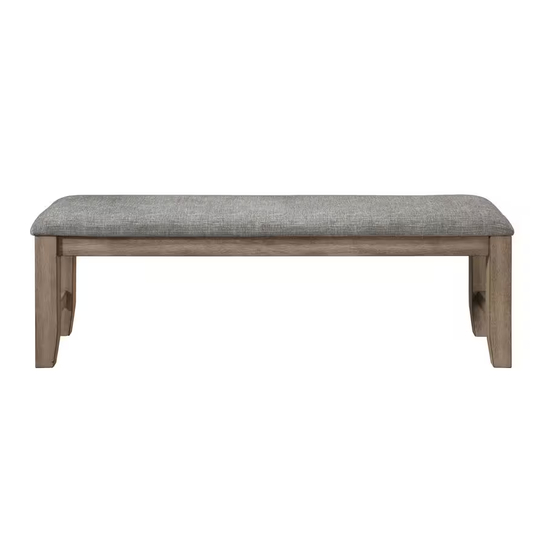
D3412-25
Harrisburg Bench
(1PC PER CARTON)
QTY
SKETCH
1 PC
1 PC
1 PC
2 PCS
C
R
D
LSF Leg (C) has a sticker
for identification.
R
HARDWARE LIST
NO
DESCRIPTION
BOLT
1/4'' X 2 3/8''
1
WITH LOCK WASHER
& WASHER
PAN HEAD SCREW
2
3/16'' X 1 1/4''
3
ALLEN KEY
A
C
D
R
SKETCH
LSF Left (B) has a sticker
L
for identification.
B
L
Created Date : 26/03/2024
QTY
8 PCS
4 PCS
1 PC
Page 1 of 4
Advertisement

Related Manuals for New Classic Furniture Harrisburg Bench D3412-25


Summary of Contents for New Classic Furniture Harrisburg Bench D3412-25
- Page 1 ASSEMBLY INSTRUCTIONS Item No : D3412-25 Harrisburg Bench (1PC PER CARTON) Thank you for purchasing this quality product. Be sure to check all packing materials carefully for small parts, which may have come loose inside the carton during shipment. Identify and count all items and compare with the parts list and/or hardware list shown below.
- Page 2 STEP 1 : Place the seat frame with cushion (A) upside down on a clean flat surface. Then place one of the LSF Leg (B) and the RSF Leg (C) into position with the seat frame with cushion (A). STEP 2 : Place the stretchers (D) to the LSF Leg (B) and the RSF Leg (C).
- Page 3 STEP 3 : Install the other RSF leg (C) and the LSF leg (B) to the seat frame with cushion (A) and stretcher (D). Then assemble all legs (C & B) to the seat frame with cushion (A) by using Allen Key (3) with hardware (1). STEP 4 : Assemble the streachers (D) to the all the legs (C &...
- Page 4 COMPLETED ASSEMBLY. Page 4 of 4 Created Date : 26/03/2024...
Need help?
Do you have a question about the Harrisburg Bench D3412-25 and is the answer not in the manual?
Questions and answers