
Related Manuals for EGO HTX5300-PA


Summary of Contents for EGO HTX5300-PA
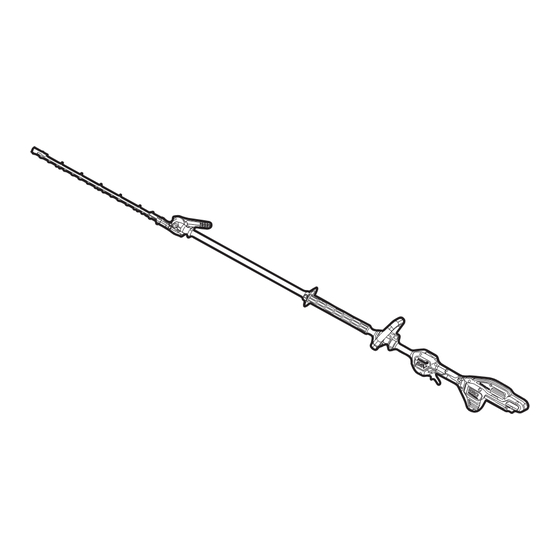
- Page 1 REPAIR GUIDELINE HTX5300-PA EGO COMMERCIAL HEDGE TRIMMER Version: A Issue Date: 8/25/2023 CopyRight©2022.Chervon Holdings Ltd., All rights reserved. CopyRight©2023.Chervon Holdings Ltd., All rights reserved.
-
Page 2: Table Of Contents
Contents Page Troubleshooting Tool List Replace the PCBA Replace the Motor Replace the Gear Case Replace the LCD Assembly CopyRight©2023.Chervon Holdings Ltd., All rights reserved. -
Page 3: Troubleshooting
Troubleshooting Problem Possible cause Fault Position Test & Solution Page Faulty battery or faulty battery contacts Battery Test with a healthy battery. The cables that connect to motor are loose or disconnected Cables check the cable connection with Motor & PCBA from motor. -
Page 4: Tool List
Tool List for Repair Tool list SPEC Remark Socket wrench Torx screwdriver T10&T15&T20 Inner hex spanner Screwdriver 2.5 mm CopyRight©2023.Chervon Holdings Ltd., All rights reserved. -
Page 5: Replace The Pcba
Replace the PCBA PCBA CopyRight©2023.Chervon Holdings Ltd., All rights reserved. - Page 6 Replace the PCBA Use trox screwdriver(T20&T15&T10) loosen the 16 screws securing the housing and open the housing. Loosen the screw securing the shaft. Unplug the terminal between motor and PCBA. Then remove the shaft and motor. Replace the PCBA. Terminal CopyRight©2023.Chervon Holdings Ltd., All rights reserved.
- Page 7 Replace the PCBA Please refer to photos for wire routing. CopyRight©2023.Chervon Holdings Ltd., All rights reserved.
-
Page 8: Replace The Motor
Replace the Motor Motor CopyRight©2023.Chervon Holdings Ltd., All rights reserved. - Page 9 Replace the Motor Follow the steps to loosen all the screws as shown. Then open the housing. Loosen the screw where fix the shaft and motor. And unplug the terminal between motor and PCBA. Replace the Motor. Terminal Screw CopyRight©2023.Chervon Holdings Ltd., All rights reserved.
-
Page 10: Replace The Gear Case
Replace the Gear Case Gear case assembly CopyRight©2023.Chervon Holdings Ltd., All rights reserved. - Page 11 Replace the Gear Case & Bevel Lever 1. Use torx screwdriver to loosen 3 screws securing the shaft, then remove the shaft. 2. Use hex wrench to loosen 4 screws on the Lower gear case cover and remove it. 3. Loosen the screws securing the blade set and remove blade set. 4.
-
Page 12: Replace The Lcd Assembly
Replace the Blade Assembly Blade Assembly CopyRight©2023.Chervon Holdings Ltd., All rights reserved. - Page 13 Replace the Blade Assembly 1. Use hex wrench to loosen 4 screws on the Lower gear case cover and remove it. 2. Loosen screws securing the blade set and remove blade set. Lower gear case cover Screws CopyRight©2023.Chervon Holdings Ltd., All rights reserved.
- Page 14 Replace the Blade Assembly 1. Please pay attention to the care of the bushing and gasket during disassembly. 2. Use the socket wrench and hex wrench to loosen the screw on the blade. It is recommended to loosen the screw on the blade this way CopyRight©2023.Chervon Holdings Ltd., All rights reserved.
- Page 15 CopyRight©2023.Chervon Holdings Ltd., All rights reserved.
Need help?
Do you have a question about the HTX5300-PA and is the answer not in the manual?
Questions and answers