Advertisement
Quick Links
RV Toilet Service Parts for
Notes:
•
Read all instructions before beginning work.
•
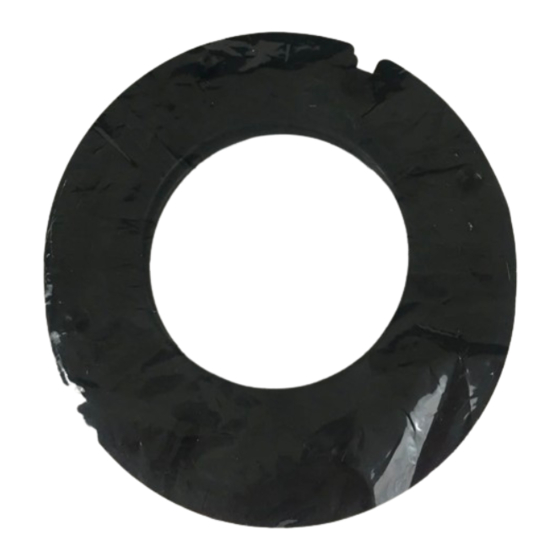
Spacer(s) must be used if distance from top of Closet
Flange to floor is less than 7/16". Add Spacer(s) to reach
exactly 7/16" (not greater) (Fig. A).
•
Spacer orientation does not matter.
Fig. A
Tools needed
•
Drill with 3/16-Inch Drill Bit
•
Flat-blade screwdriver • 7/16-Inch Wrench
•
Silicone Sealant
•
1/2-Inch Ceramic Drill Bit with Locking Ring (available at a lo-
cal hardware store) if mounting on Ceramic Tile (see Special
Section)
To Add New Spacer
(replacing an existing toilet with a new Aria)
1. Turn off RV water supply per RV Owner's Manual.
2. Disconnect Water Supply Line from existing toilet per its
Owner's Manual. Remove toilet from floor.
3. Remove old Closet Flange Seal if found in floor at Closet
Flange. Discard.
Fig. B
Form #19646
Aria Deluxe II
Note: See Special Section now if installing Aria
on Ceramic Tile.
4. Apply a generous bead of silicone sealant (not supplied) around
underside(s) of Spacer(s). Affix Spacer(s) to floor Flange.
To Mount Aria To Floor
1. Secure new Closet Flange Seal, lip side down, to Aria.
2 Position Aria over floor Flange/Spacer(s). Pilot drill holes with
3/16" bit. Screw Closet Lag Screws into wood sub-flooring until
Toilet is totally secure.
3. Connect Water Supply
Line (Fig. B).
4. Connect 12-volt power
supply.
5. Secure Bolt Caps.
6. Turn on RV's water
supply. Press toilet flush
button to close blade
and to flush test.
Special Section:
Spacer(s) Installation on Tile
1. Position new Aria over center of Closet Flange. Confirm
that Aria is lined up/centered properly by looking through
Blade opening.
2. Mark Lag Screws drill locations on floor. Remove Aria.
3. Measure Tile thickness. Set locking ring on Drill Bit to that
dimension to assure that you drill only through Tile and
not wood sub-flooring.
Water sup-
ply hookup
4. Drill holes on both sides.
5. Completely clean (and dry) flooring installation area.
6. Pick up with No. 4 under To Add New Spacer Section.
Power supply
connector
Spacer Kit
Part #19629
(Refer to Fig. C)
Fig.C
9-1/8"
Ceramic tile
removed for
hex screws
approx. 1"
square
Closet
Flange
10" Max.
Rev. 7/15/03
Advertisement

Summary of Contents for Thetford 19629
- Page 1 Spacer Kit Part #19629 Aria Deluxe II RV Toilet Service Parts for Note: See Special Section now if installing Aria Notes: on Ceramic Tile. • Read all instructions before beginning work. 4. Apply a generous bead of silicone sealant (not supplied) around • Spacer(s) must be used if distance from top of Closet underside(s) of Spacer(s). Affix Spacer(s) to floor Flange. Flange to floor is less than 7/16”. Add Spacer(s) to reach To Mount Aria To Floor (Refer to Fig. C) exactly 7/16” (not greater) (Fig. A). 1. Secure new Closet Flange Seal, lip side down, to Aria.


Need help?
Do you have a question about the 19629 and is the answer not in the manual?
Questions and answers