Advertisement
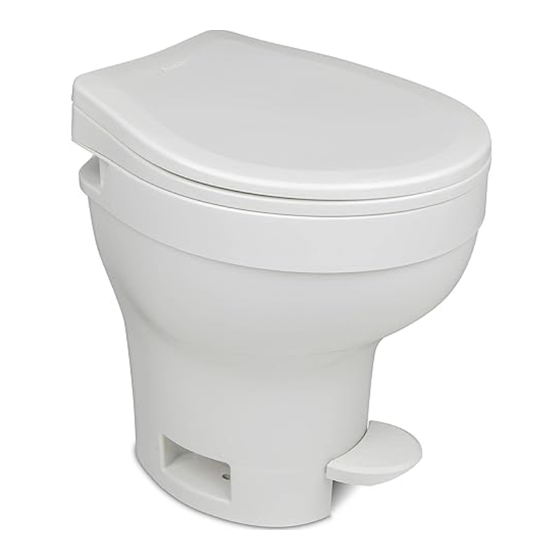
RV Toilet Service Parts for
Tools Needed
• 7/16" wrench
• Adjustable wrench
• Flat-blade screwdriver
• Phillips screwdriver
• Short Phillips screwdriver
• Pliers
• Towels
Note
• Read all instructions before beginning work.
• Avoid contact with human waste by wearing protective items
such as gloves, glasses, long sleeves and nose/face mask.
Wash toilet area you will be working on.
• To reduce holding tank odor: Rinse toilet with at least 1 gal-
lon of water. Drain Holding Tank. Add appropriate dose of
Thetford Holding Tank Deodorant.
Remove Toilet
1. Turn off RV water supply per RV Owner's Manual.
2. Pry off Bolt Caps with flat-blade screwdriver. Use wrench to
remove 7/16 -inch Lag Screws.
3. Disconnect Water Supply Line with adjustable wrench.
4. Place an old towel or soft cloth on work surface. Remove Toilet
from floor and place upside down, with back facing you, on
work surface. Instructions below (left, right, etc.) will assume
this orientation.
5. Remove old Closet Flange Seal (may be found in Toilet or in
floor at Closet Flange). Discard.
6. Cover Holding Tank opening to contain odor.
To Remove Blade Seal
1. Loosen Clamp closest to Mechanism to remove Mounting
Flange, Mounting Bushings, Outfall Tube (high-profile units
only) and Hub Seal (Fig. A).
2. Using Phillips screwdriver, remove three screws (without
washers) attaching Mechanism to Mechanism Plate (Fig. B).
3. Using short Phillips screwdriver, remove Standoff Screw
securing Mechanism to Mechanism Plate (Fig. C, lower).
4. Disengage left-side Cable Sheath Fitting from Mechanism
Plate (Fig. C, lower).
5. Lift Mechanism out, turn it over, and pull Blade Seal out of
groove in bowl side of opening.
To Install New Blade Seal
1. Install new Blade Seal in Mechanism so that it snaps into the
Form No. 19842 Rev. 11/22/04
Aria CLASSIC
Mechanism Blade Seal
Fig. A
Mounting
Bushing
Connector
Seal
Mechanism
Fig. B
Mechanism
Plate
Cable Sheath
in Slot
Cable
End
Elbow
11
Part No. 19833
Mounting
Flange
Mounting
Bushing
Outfall
Tube, etc,
come out
together
Clamp–
loosen
this one
only
Fig. C
Mechanism
Standoff Screw
(dotted oval)
Blade Actuator
Advertisement
Table of Contents

Related Manuals for Thetford 19833


Summary of Contents for Thetford 19833
- Page 1 Part No. 19833 Aria CLASSIC RV Toilet Service Parts for Mechanism Blade Seal Tools Needed • 7/16” wrench Fig. A • Adjustable wrench Mounting Flange • Flat-blade screwdriver • Phillips screwdriver Mounting • Short Phillips screwdriver Bushing • Pliers • Towels Outfall Note Tube, etc, Mounting come out • Read all instructions before beginning work.
- Page 2 Aria CLASSIC RV Toilet Service Parts for Part No. 19833 Mechanism Blade Seal, continued groove and is flush to Blade (Fig. D). Fig. D Cable – 2. Slide Mechanism back into place and seat. keep 3. Replace 3 Screws that attach Mechanism to Plate (Fig. B). connected Blade to actuator 4. Replace Mechanism standoff Screw (Fig. C). Seal 5. Snap Cable Sheath fitting back into left side Mechanism Plate slot (Fig. C). 6. Replace Mounting Flange, Mounting Bushings, Outfall Tube (high-profile only) and Connector Seal (Fig. A).
Need help?
Do you have a question about the 19833 and is the answer not in the manual?
Questions and answers