Table of Contents
Advertisement
Quick Links
Download this manual
See also:
User Manual
Advertisement
Table of Contents

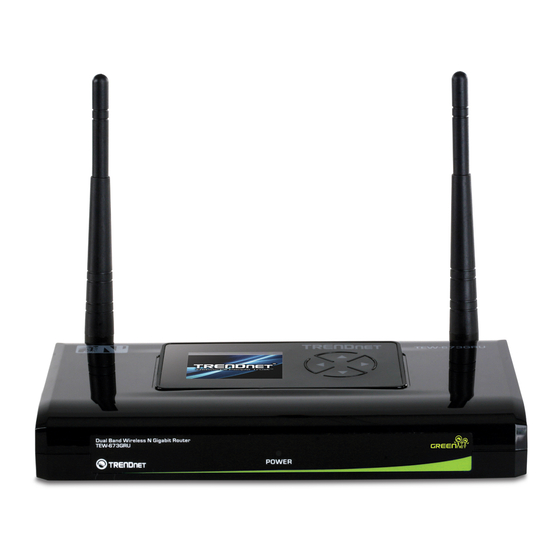
Summary of Contents for TRENDnet TEW-673GRU
- Page 1 Quick Installation Guide TEW-673GRU 1.01...
-
Page 2: Table Of Contents
Table of Contents English 1. Before You Start 2. Hardware Installation 3. Configure the Wireless Router 4. Installing the Utility 5. Printing 6. Scanning 7. Storage Troubleshooting Version 12.21.2009... -
Page 3: English
1. Before You Start Package Contents TEW-673GRU CD-ROM (Utility and User's Guide) Multi-Language Quick Installation Guide Cat. 5 Ethernet cable (1.5m / 5ft.) AC Power Adapter (12V DC, 2A) System Requirements A computer with a wired or wireless network adapter properly installed Web Browser: Internet Explorer (5.0 or higher) Broadband Internet Installed Cable or DSL Modem... -
Page 4: Hardware Installation
Cable or DSL modem. Open your browser (e.g. Internet Explorer) and type in a URL (e.g. Cable/DSL Modem http://www.trendnet.com) in the address bar. 2. If you plan on connecting a multi-function printer to the USB port on the TEW-673GRU, install the printer drivers on your computer. - Page 5 5. Connect the 3dBi detachable antennas to the TEW-673GRU. 6. Connect the USB printer or USB storage device to a USB port on the TEW-673GRU. 7. Connect the AC Power Adapter to the wireless router and then to a power outlet. 8.
-
Page 6: Configure The Wireless Router
3. Configure the Wireless Router Note: It is recommended that you configure the Wireless Router from a wired computer. 1. Open your web browser, type http://192.168.10.1 in the Address bar, and then press Enter. 2. Enter the User Name and Password, and then click Login. - Page 7 5. Enter a Password, verify the Password and then click Next. By default, the Password is admin. 6. Select your Time Zone and then click Next. 7. Click Next. Note: Do not change default settings unless it is conflicting with your existing hardware.
- Page 8 9. Enter the desired SSID. Then click Next. By default, the SSID for 2.4GHz WLAN is TRENDnet673N. By default, the SSID for 5GHz WLAN is TRENDnet673A. Note: It is recommended that you enable encryption on the wireless router. Please refer to the User Guide on the User's Guide CD-ROM for information on setting up encryption on the wireless router.
-
Page 9: Register Your Product
13. Open up your browser and enter in a URL (e.g. www.trendnet.com) to verify that you have Internet connection. Your Installation is complete For detailed information regarding the TEW-673GRU’s configuration and advanced settings, please refer to the Troubleshooting section, User's Guide on the Utility CD-ROM, or TRENDnet's website at http://www.trendnet.com. -
Page 10: Installing The Utility
4. Install the Utility Windows 7 / Vista / XP / 2000 Note: 1. Before installing the utility, install the printer drivers on your computer. Then shutdown the printer and disconnect the printer from your computer. Please refer to your printer's manual for printer installation instructions. 2. - Page 11 4. Click Next. 5. Follow the InstallShield Wizard instructions. Then click Finish.
-
Page 12: Printing
2. For Mac OS X (10.1~10.4) instructions, please refer to the User's Guide on the Utility CD-ROM. 1. Double click on the TRENDnet USB Control Center icon. 2. Select the printer. Click Auto-Connect Printer and click Set Auto-Connect Printer. -
Page 13: Scanning
6. Scanning Note: 1. Only one user can scan at a time in Network Scanner mode. Once a user has finished scanning, another user can scan documents. 2. For Mac OS X (10.1~10.4) instructions, please refer to the User's Guide on the Utility CD-ROM. -
Page 14: Storage
1. Only one user can connect to the USB storage device at a time. 2. For Mac OS X (10.1~10.4) instructions, please refer to the User's Guide on the Utility CD-ROM. 1. Double click on the TRENDnet USB Control Center icon. 2. Click Connect. -
Page 15: Troubleshooting
Troubleshooting 1. I typed http://192.168.10.1 in my Internet Browser's Address Bar, but an error message says “The page cannot be displayed.” How can I get into the TEW-673GRU's web configuration page? Check your hardware settings again by following the instructions in Section 2. 2. - Page 16 SSID. The preset SSID is TRENDnet673. 6. The TRENDnet USB Control Center does not detect the TEW-673GRU. What should I do? 1. Double check your hardware connections; make sure that the TEW-673GRU is powered ON and is properly connected.
- Page 17 TRENDnet USB Control Center utility. 2. Connect the printer directly to your computer and reinstall the printer drivers. 3. Follow the directions in section 4. Install the Utility to reinstall the TRENDnet USB Control Center utility. 10. I am not able to print or scan. What should I do? Verify that no other computer is using the printer.
- Page 19 Informations générales GPL/LGPL Ce produit TRENDnet comprend un logiciel libre écrit par des programmeurs tiers. Ces codes sont sujet à la GNU General Public License ("GPL" Licence publique générale GNU) ou à la GNU Lesser General Public License ("LGPL" Licence publique générale limitée GNU).
- Page 20 General Public License) ou ao LGPL (GNU Lesser General Public License). Estes códigos são distribuídos SEM GARANTIA e estão sujeitos aos direitos autorais dos desenvolvedores. TRENDnet não presta suporte técnico a estes códigos. Os detalhes do GNU GPL e do LGPL estão no CD-ROM do produto.
- Page 21 Product Warranty Registration Please take a moment to register your product online. Go to TRENDnet’s website at http://www.trendnet.com/register Copyright ©2010. All Rights Reserved. TRENDnet.


Need help?
Do you have a question about the TEW-673GRU and is the answer not in the manual?
Questions and answers