
Related Manuals for Slinex SL-07IP


Summary of Contents for Slinex SL-07IP
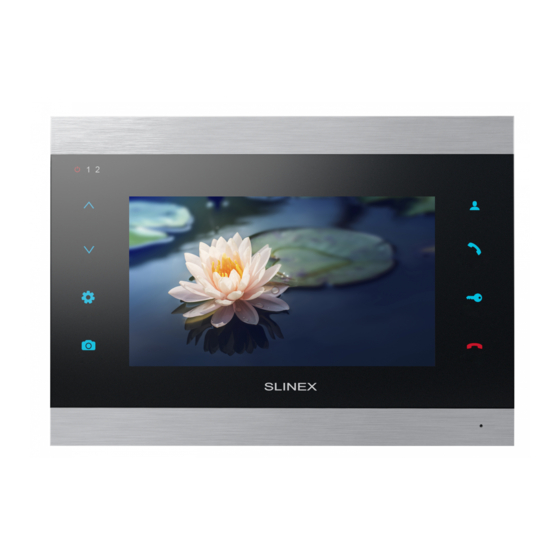
- Page 1 SL-07IP DESIGN 7” video door phone DIRECT User manual Thank you for the choice of our equipment { Design. Uniqueness. Innovation }...
-
Page 2: Table Of Contents
This manual can contain some inaccuracy or misprint. The owner reserves the right to 3. Description......................................4 make corrections to the information described in the user manual and device package. 4. Installation.......................................5 The last revision of this manual is available on www.slinex.com 4.1 Cable requirements...............................5 Safety instructions 4.2 Schematic diagrams..............................6 Read and keep that manual. -
Page 3: Package
DESIGN DIRECT { Design. Uniqueness. Innovation } 1. Package 3. Description SL-07IP door monitor − 1 pc. Wall mounting bracket − 1 pc. Connection wires − 5 pcs. Mounting screws and nuts − 1 pkg. User manual − 1 pc. -
Page 4: Installation
{ Design. Uniqueness. Innovation } 4. Installation 4.2 Schematic diagrams Diagram 1. SL-07IP door panels, cameras and locks connection. 4.1 Cable requirements Disconnect all power cables before device installation. This device can be connected with such cable types depends on the distance between door monitor and... -
Page 5: Unit Mount
~100-240 V disconnected from the outlet, otherwise it can damage monitor circuits. ** Door panels, cameras, power supplys and locks, described on the schemes are optional devices and are not included into monitors kit. *** SL-07IP can only be used as a «Master» in the door phones system. -
Page 6: Operation
DESIGN DIRECT { Design. Uniqueness. Innovation } 5. Operation 5.2 Door panel and camera image view 5.1 Incoming call Standby mode Standby mode Monitor will display Press «Monitor» the image from the button on the rst door panel monitor Visitor presses call button Visitor presses call button (monitoring time –... -
Page 7: Incoming Call Redirection
DESIGN DIRECT { Design. Uniqueness. Innovation } Notes: 5.4 Intercom 1) If only two door panels connected to the monitor (no CCTV cameras) then you can escape monitoring Two monitors connected into one system are used. mode by pressing «Monitor» button one more time. -
Page 8: Display And Conversation Volume Settings
Brightness setting bar will appear on the screen. Press buttons to increase or decrease Diagram 2. SL-07IP wireless Wi-Fi network connection. brightness, then press button to go to the next parameter setting in the next order: color/contrast/volume. Every parameter value can be changed by buttons. -
Page 9: Software
{ Design. Uniqueness. Innovation } 8. Software 8.1 Wired network connection steps Use twisted pair CAT5 or CAT6 cable to connect SL-07IP door monitor to the local network according to the Diagram 1 on page 14. Wired network setup includes next steps: 1) Enter «GooglePlay»... -
Page 10: Wireless Wi-Fi Network Connection Steps
Wireless Wi-Fi network connection should be made according Diagram 2 on page 14. Wireless network setup includes next steps: 1) Enter «GooglePlay» (for Android) or «AppStore» (for iOS) and search for «Slinex» application, then install this application on your mobile device. -
Page 11: Noti Cation Messages
Press «View» button to talk with the visitor or «Cancel» button to stop alarm message. Note: For the iOS mobile devices, go to «Settings» → «Noti cations», then click «Slinex» icon and make sure that all the noti cation are turned on: Allow noti cations;... -
Page 12: Rtsp Support
9. Limited warranty 8.4 RTSP support SL-07IP door monitor supports video streaming through the RTSP while monitor display is active (Real Time Manufacturer guarantees product normal functioning during the warranty period if the user keeps all safety Streaming Protocol). This function allows to view or record video on the PC or NVR (Network Video instructions described in that manual.
Need help?
Do you have a question about the SL-07IP and is the answer not in the manual?
Questions and answers